Single Views Configuration
In this document we guide you through the configuration of Single Views directly in the Console.
Create the Single View
Click on the Single Views voice of the left menu, which opens the Single View page, and click the button to create a new Single View.
Fill the modal with the name of the Single View, that is going to be the name of the collection.
Once created, you will be redirected to the Single View detail page.
Single View Data Model
Single views collections are created on the CRUD Service, so we add all the default fields and indexes required for the CRUD collections in creation.
To define the custom fields, indexes and internal endpoints of your single view collection, add them in the respective card.

Import Single view fields
In addition to manually manually creating your CRUD fields, it is also possible to import them:
- from a JSON schema
- from a data sample
This simplify the schema definition whenever it has already been defined somewhere else or a record representative of your dataset is available.
How to create the fields of your single view by importing a JSON
From the Import fields from JSON schema button, the supported field types are the same as those described in the dedicated section of the MongoDB CRUD, since single views are treated as CRUD collections.
Generate single view fields from data sample
In the card Fields in Single Views, you can upload a data sample to generate fields by clicking on the appropriate button. Doing this will replace the current fields with those contained within the file.
The supported file extension are: .csv and .json.
Example json
[
  {
    "field1": "anyString",
    "field2": "true",
    "field3": "123"
  }
]
Example CSV
field1,field2,field3
false,anyString,123
At the end of the upload an internal function will try to cast the types correctly, otherwise it will treat them as strings by default.
Import of fields is supported only for the following data types: String, Number, Boolean or Date. For example, you cannot import fields of type object.
In Case some fields are not in the correct format, they will be ignored.
You cannot import fields with the same name as one of the metadata fields. If this happens, a warning will be displayed and the import won't be successful
The type fields supported are the same of the collection you can create in the MongoDB CRUD section.
To know more about indexes click here.
Create the Single View Creator service
You need to create a Single View Creator to update or delete a Single View when a Projection Changes event occurs.
A Single View can be updated by many Single View Creator. Each Single View Creator should be linked to one System of Record through Projection Changes.
system_1
 _______________     __________________________
| projection_1 |---> |projection_change type A |  ----> single_view_creator_1
| projection_2 |---> |_________________________|                      \
|______________|                                                       \update
                                                                         ________________
                                                                        | single_view_A |
                                                                        |_______________|
system_2                                                                /
 _______________     __________________________                        / update
| projection_3 |---> |projection_change type B |  ----> single_view_creator_2
| projection_4 |---> |_________________________|
|______________|
To associate the Single View with the service, add a service in the Configurations tab in the Single View detail page. You can attach more than one service to the Single View.
In this tab you can also edit the main Config Map Configurations of the associated Services, but only if they're Single View Creator Low Code Services.
Nonetheless, you will find in all associated Services a link to the microservice page to edit its details, including the edit and creation of your own Config Map Configurations.
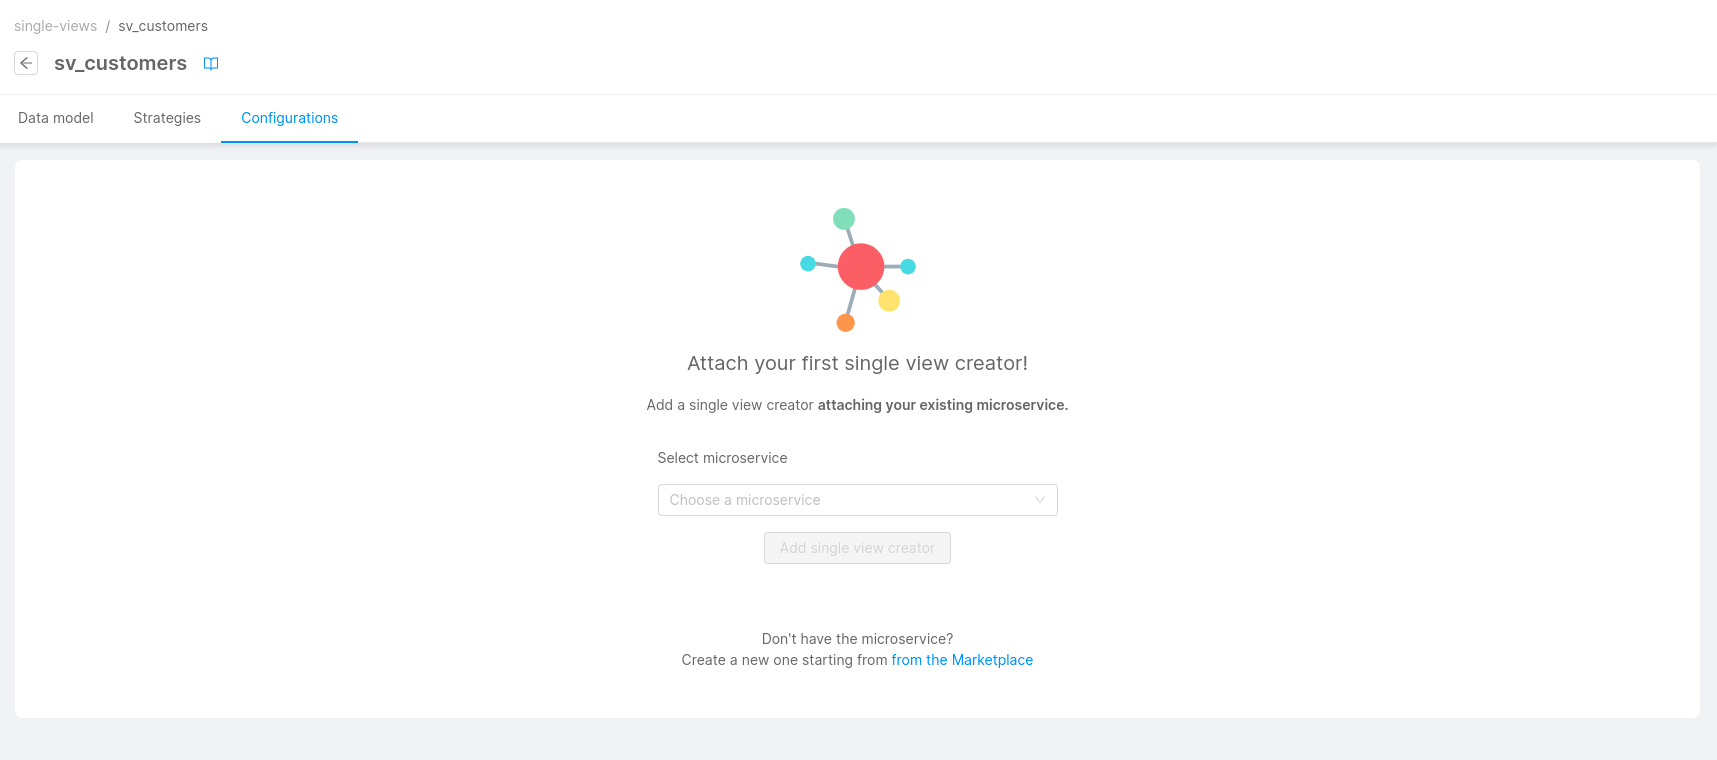
If you have no Single View Creator linked yet, a placeholder will be shown to invite you to link one.

If you already have Single View Creator services linked, you can add more by clicking on the dedicated button.

In the Marketplace, you can find a template and two plugins that can help you in configuring all the Single View Creator services that you need. You can find more information here.
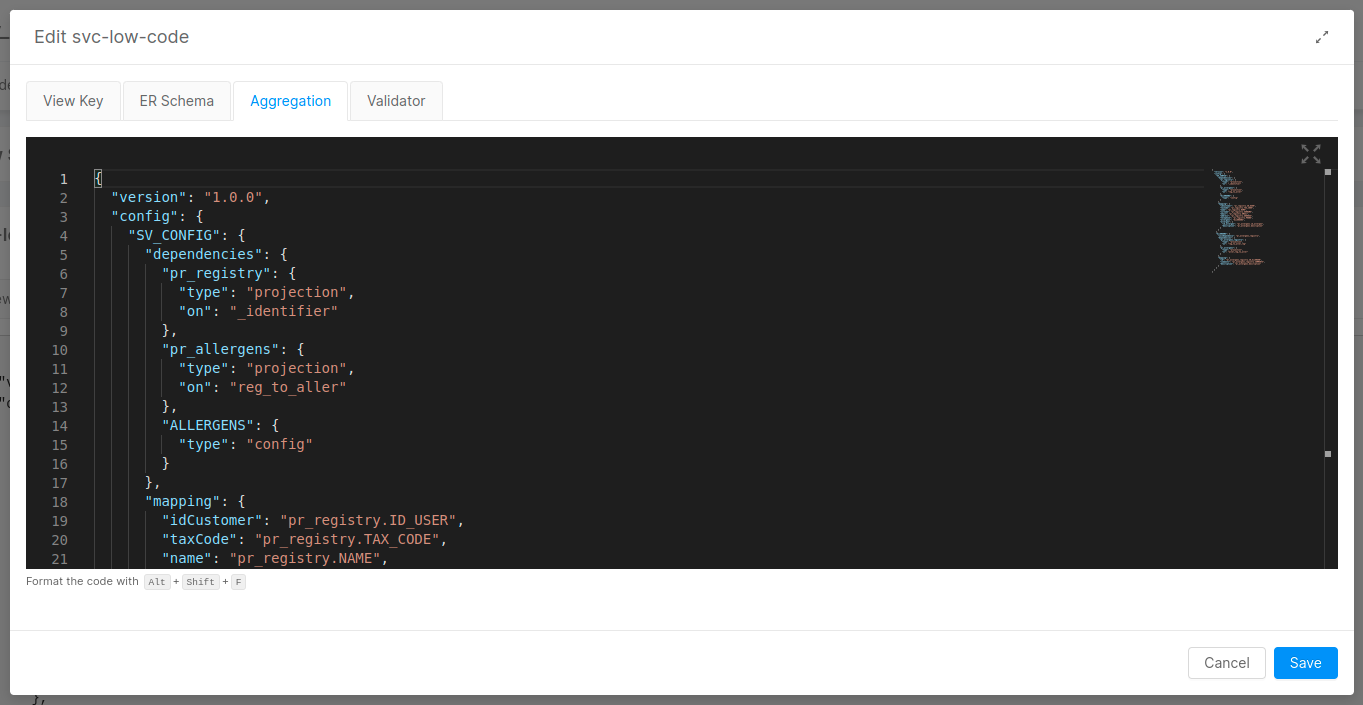
Once a Single View Creator is linked, if it's configured as Low Code, then its Low Code configuration files are shown in a dedicated card. Click on the Edit button to edit them.

Any changes to the Low Code JSON configurations will be validated to ensure that they are syntactically correct.
These validations are not a substitute of Unit Tests. They validate only that configurations match a JSON schema.
Check the How to test Low Code configurations paragraph for further information about unit testing.
Click on Save to save the configuration, otherwise click on Cancel to discard changes.
When you save the Low Code configuration, the related Single View Creator config maps are updated locally with the changes. No automatic commit is going to be made. To persist the changes on Git, like for any other changes on the Console, you need to Save the branch configuration.
Link projections to the Single View
In the detail page of the Single View, click on the Strategies tab.

Here it's shown a table in which you have to specify the all projections that will be read to get the data that the Single View needs (remember that a Single View is an aggregation of data from different projections).
To link a strategy to your Single View, once you entered the Strategies tab, you can click on the Add link to strategy button, which will let you select:
- A System and a Projection from said system
- Whether the strategy type is
low codeormanual - The main strategy function file name
You can link a strategy as low code only if the system it belongs to is low code as well. If you choose to link the strategy as low code, instead of its main function file name, the __automatic__ marker will be used.
Once you have linked some strategies to a Single View Creator in low code mode, if you try to change the Real-Time Updater making it manual, you will not be allowed to save.
If you choose to use manual strategies, each listed manual projection must be linked to a file without the extension .js which is the entry point of your strategy function.
Notice that the strategy file must be placed directly inside the directory with the name of the System of Record, placing it inside a subfolder of this directory is not supported.
Example:
configurations/
    |-- fast-data-files
        |-- strategies/
              |-- my-system/
                    |-- myStrategyForProjection1.js
                    |-- someFunctions.js
Where myStrategyForProjection1.js is the file that exports the strategy function, and internally it uses some functions imported from the someFunctions.js file.
So, you have to set myStrategyForProjection1 as main function file for the projection associated.
In the table, you have the option to turn a manual strategy into a low code strategy. Note that this is only possible if the system the projection belongs to is low code too.
How to consume the Single View
You can expose the Single View through the crud-service without writing any code, or you can always create a custom service to access to MongoDB if you have special needs.
You could check here how to expose an endpoint of the CRUD service outside your project through the Console.
Click here if you want the usage documentation for the CRUD.
How to delete a Single View
To delete a Single View just click on the Delete button in the Single View detail page.
You cannot delete a Single View if it has any endpoint associated, you will have to delete them first. Deleting a Single View does not delete the microservice associated.
How to test Low Code configurations
In order to test Low Code configurations with unit tests we recommend cloning the Fast Data Low Code Test Template repository from Mia-Platform GitHub.
This repository contains some configurations, such as the aggregation and ER Schema, and a suite of related unit tests. After cloning it, you must update the existing configurations to match your use case and run the tests to see if the configurations produce the expected results for the aggregation and the validator.
Once you've finished with the configuration you can compile the updated files with the compile-config npm script to get the configuration files that can then be directly uploaded or copied inside your Low Code service.
Single View Patch
The Aggregation is not the only way possible to update Single Views, there is also an alternative called SV Patch. With this operation, the Single View Creator performs a Mongo update starting from the update of a single Projection, without regenerating the whole Single View.
This kind of operation is strongly recommended when a field of a Projection that is in common with a vast portion of Single Views, is updated. Let's see an example:
Supposing we have a Projection that maps every country to a unique code, like:
{
   "ITALY": 0001,
   "FRANCE": 0002,
   ...
}
And we have a Single View with personal data for a lot of people, including the code of the country in which they live, like:
{
   "name": "mario",
   "surname": "rossi",
   "address": "foo",
   "countryCode": 0001,
   ...
}
It could happen that the code corresponding to Italy has to be updated.
This scenario brings to a problem: The Single View Creator will have to re-generate every Single View, for all the users with the obsolete countryCode; this operation is extremely heavy and time demanding, it could potentially block the updates of other Single Views.
To prevent this problem, a new infrastructure has been designed:
The Idea is to configure a second Single View Creator with the sole purpose of performing SV-Patch operations. This second service will consume pr-update messages from the Real-Time Updater which will be generated only for specific projections.
To understand how to configure both services click on them: Real-Time Updater and Single View Creator.
Technical limitation
In your custom files (e.g. fast-data-files) you can import only the node modules present in the following list:
