Create Endpoints
What is an endpoint
An endpoint allows you to expose your CRUD, services, and proxies. To quickly create an endpoint linked to a CRUD, you can follow the steps described in Design QuickStart page.
This page will delve into the endpoint types and configuration. The purpose of this page is to describe all the functionalities that you can find in the Endpoints section of the Design area of Mia-Platform Console.
An endpoint can be of different types:
- CRUD: hooks your endpoint directly to one of your CRUDs.
- MongoDB View: hooks your endpoint directly to one of your Mongo Views.
- Microservice: hooks your endpoint to a service with logics entirely created by you.
- External proxy: hooks your endpoint to a proxy linked to a service outside of your cluster.
- Cross Projects proxy: hooks your endpoint to a proxy linked to another project contained in your cluster.
- Fast Data Projection: hooks your endpoint to the service which exposes the Fast Data Projection. This type is visible only if Fast Data is enabled in the Console.
- Fast Data Single View: hooks your endpoint to the service which exposes the Fast Data Single View. This type is visible only if Fast Data is enabled in the Console.
The endpoint type is selectable only during the creation phase. You won't be able to modify it later.
The information in this section is grouped into 3 cards: Details, Endpoint settings, Routes.
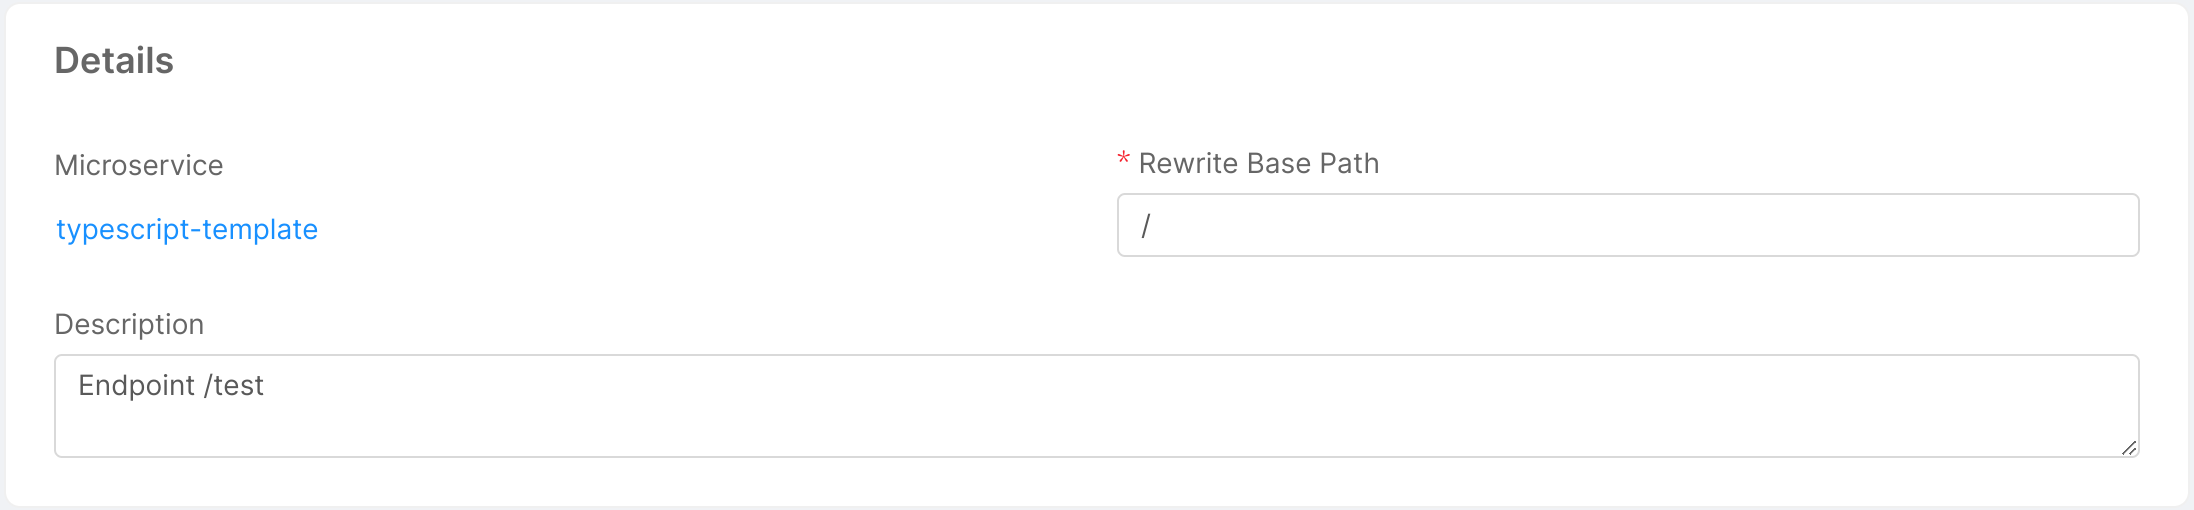
Details
This card provides information about properties (basic and specific) of the endpoint. For endpoints of type Microservice and Fast Data Single View, a link to the microservice or the single view is also provided.
Basic endpoint properties
All endpoint types share the following properties:
- Base Path: is the prefix of the route. It can be set as the base address to which the API is served, relative to the host (name or IP) that supplies the endpoint.
- Description: optional description of the endpoint.
Specific endpoint properties
CRUD
Upon creation of CRUD type endpoints, you will be able to choose any CRUD Base Path from the routes that have been configured in the CRUD section.
You can find more info about how to create an internal endpoint in the CRUD documentation.
Microservice, External Proxy and Cross Project Proxy
These endpoint types all share the microservice property that allows you to link the endpoint to a specific microservice (or proxy) configured in your project.
When creating a new endpoint from a Microservice, you will have to select both the microservice and the container port to use.
Ensure that the microservice uses the configured port to ensure that the endpoint is reachable.
Upon creation of an endpoint linked to a microservice, you will be able to edit the Rewrite Base Path parameter. This path is useful to customize the base path that is used when invoking APIs exposed by the linked microservice.
Fast Data Projection
This endpoint type is used to read data of the Fast Data Projection. These APIs are read-only, because they should be edited only by the Real-Time Updater.
Fast Data Single View
This endpoint type is used to read data of the Fast Data Single View. These APIs are read-only, because they should be edited only by the Single View Creator.
About Rewrite Base Path
The developer can decide which base path is associated to an endpoint by applying an internal rewrite URL.
When a call enters the platform it undergoes a rewrite by the API Gateway or the Microservice Gateway and arrives at the service with a different path.
For example, you can create an endpoint hooked to a microservice with a base path like /hello-service and set as Rewrite Base Path something like /customers.
In this way, the API Gateway (or the Microservice Gateway) will rewrite any call to /hello-service into /hello-service/customers and send it to the hooked service.
For the CRUD endpoint it's not possible to set an internal Rewrite. The Internal Rewrite is / by default.
Endpoint settings
From this section it is possible to configure: Listeners, Security, Documentation, Microservice Gateway and Advanced settings for the Endpoint.
Listeners
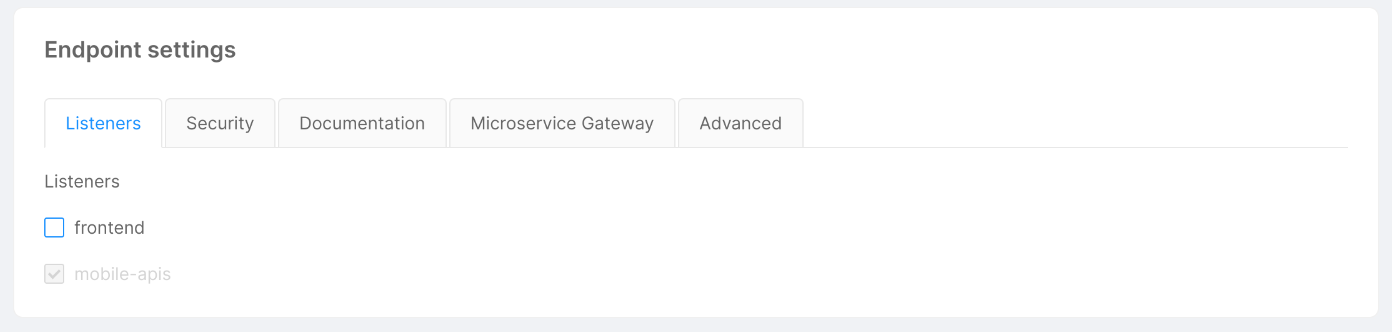
This section lets you define from which Listener your Endpoint should be exposed.
Keep in mind that you must expose an Endpoint with at least one Listener.
Manage the security of your endpoints
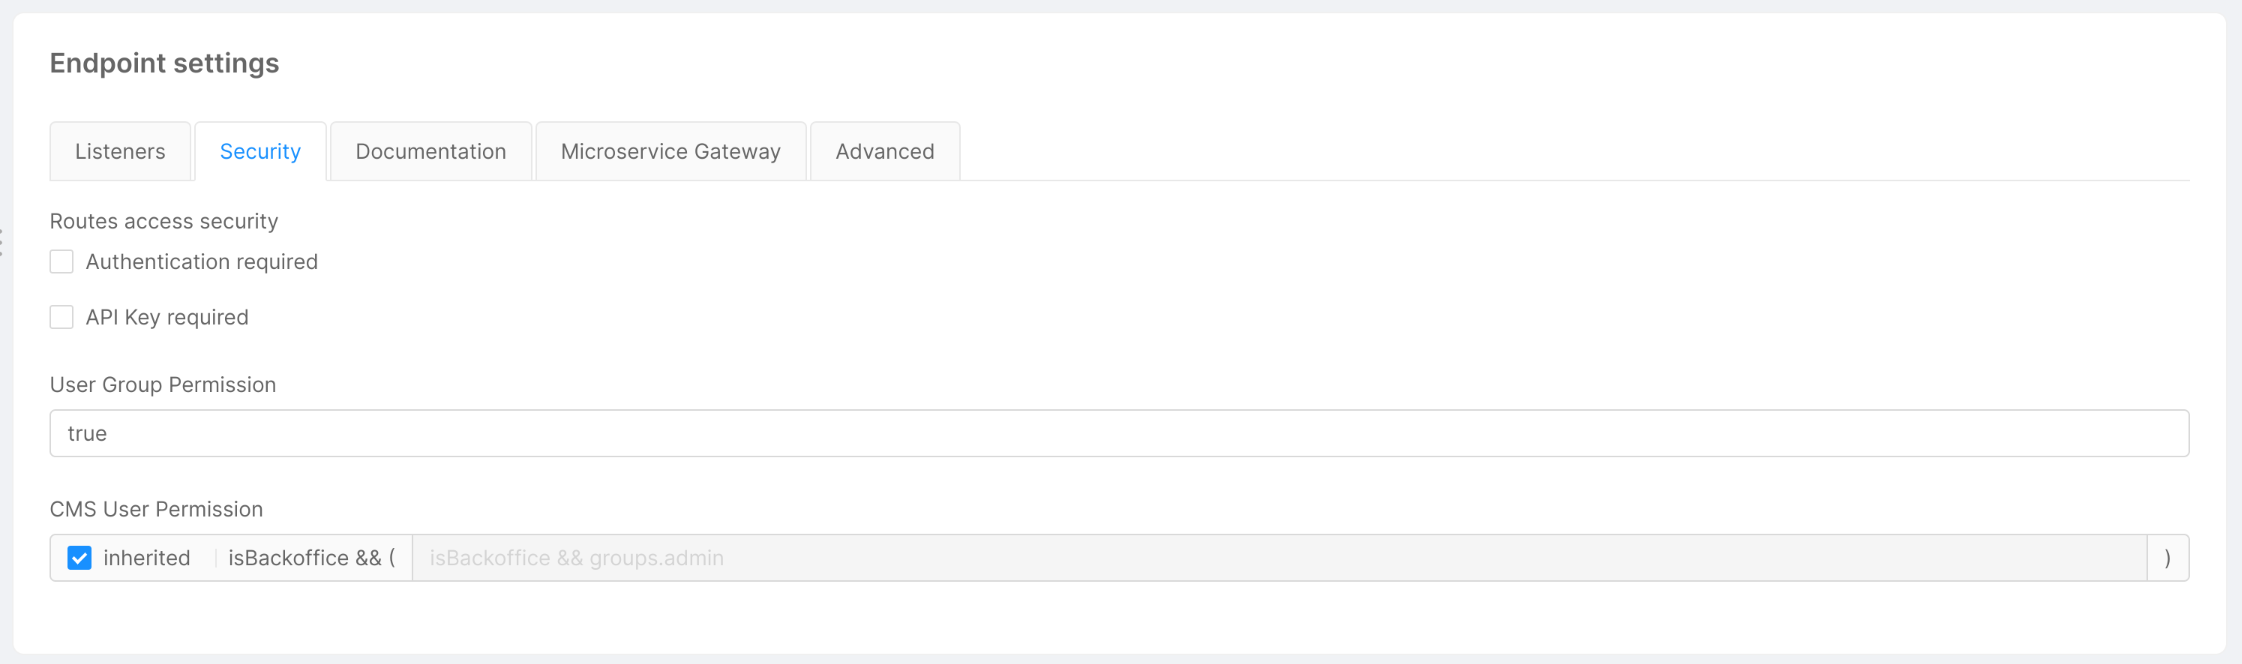
In the Security tab, you can manage the security and the permissions at the endpoint level. All the following functionalities require the authorization service and are based on its configuration.
The security can be managed at three levels:
-
The
Authentication requiredflag, when disabled, allows to call an endpoint without the need to be logged in. If it is enabled and the endpoint is invoked by an unregistered user, the request will receive an unauthorized error. -
The
API Key requiredflag configures the endpoint to require to set thesecret/client-keyheader with a valid API Key. You can also set amia_client_keycookie with the value of the API Key.
curl --request GET --url <https://your-url/endpoint> --header 'accept: application/json' --header 'secret: <Api Key value>'
-
User Group Permissionallows defining a logical expression for authorizing or not the call. If the expression validates to true, then the user can access the route. You can use the following properties:-
clientType=='<clientType associated with Api Key>to identify the client author of the call. In this way, you can limit the access to the selected clients only, identified by the API Key passed in thesecretorclient_secretheaders. E.g:clientType == "apiKey" || clientType == "apiKey2";
infoIf you have entered a Client Type, the endpoint will be secured by API Key even if the
API Key requiredflag is disabled.groups.<group name>or<group name> in groupsto check the group to which the logged user belongs. In this way, you can limit the access to specified groups. E.g:
// Limit access only to users in "admin" groupgroups.admin"admin" in groups// Limit access only to users in "admin" or "user" group"admin" in groups || "user" in groupspermissions.<permission name>or<permission name> in permissionsto limit the access to entities (being users or other clients) who have the required permissions. E.g:
// Limit access only to users who have "write:orders" permissionpermissions["write:orders"]// Limit access only to users who have "write:orders" or "view:orders" permission"write:orders" in permissions || "view:orders" in permissions -
The group expression can also be set to false (to block all accesses to the API) or to true (to grant all accesses to the API). You can combine different expressions using logical operators && (and) and || (or).
For example, you can create an endpoint with the following security configuration:
- Authentication required flag set to
false; - API Key required flag set to
false; - User Group Permission field set with the following expression:
groups.foo || clientType=="bar".
With this configuration, calls to this endpoint will have a different outcome depending on the credentials the user provides/has. Here is a list of possible outcomes:
- An unregistered user tries to contact your endpoint without providing any API Key: the user receives an unauthorized error because the User Group Permission condition is falsy.
- An authenticated user with authorization group
foocalls your endpoint without providing any API Key: the call is successful since the first condition of User Group Permission is truthy and the API Key is not required. - An unregistered user tries to contact your endpoint and provides the correct API Key value for the clientType
bar: the call is successful since the second condition of User Group Permission is truthy and the endpoint is open to not authenticated calls.
If the endpoint is linked to a CRUD you can specify dedicated user permissions for the CMS application.
Enable the inherited flag to use the displayed default expression, or disable the flag to change it manually.
If you figure out that there is some problem in how you configured the security of your endpoints, go to the Log & Monitoring section to check out the logs of the Authorization Service. Here you can visualize the logs concerning authorization operations, and eventually any group expression errors.
Check out the API Key section to know more about API Keys.
Manage the visibility of your endpoints

The Documentation tab is visible only if the API Portal is enabled, and includes the Show in API Portal flag, which, if enabled, allows seeing all endpoint routes in the Documentation Portal documentation. By default, all endpoints have this flag enabled. Disabling this flag for any endpoint type will guarantee that all its routes will not appear.
The visibility can also be defined at the route level in the routes section. In this way, it is possible to specify which routes of a specific endpoint should be visible in the API Portal and which should not.
The inherited flag (enabled by default) will guarantee that the selected route will inherit the visibility of its base endpoint.
Disabling this flag for a specific route will allow defining a custom behavior for that route.
Managing the visibility of the endpoints and their routes is useful if, for example, you want to show publicly exposed routes while hiding in the API Portal the ones that require special permissions that users do not possess.
It is important to notice that changing the visibility of an endpoint or a route will not alter its functionality, a route will still be contactable even if its visibility is hidden.
Transition through Microservice Gateway

Thanks to this feature, you can define, in all endpoints of type CRUD or Microservice, which route is going to pass through the Microservice Gateway.
In the Microservice Gateway tab you can manage the transition through the Microservice Gateway for all requests to the endpoint you are customizing. This tab is visible only if the microservice-gateway is enabled, and it is equipped with a checkbox which allows to force the endpoint that you are editing to pass through the Microservice Gateway.
For endpoints of type Microservice, this tab includes also two flags related to the format of the request/response. In particular, the Microservice Gateway service performs some checks on the content-type header:
-
Request: if your endpoint uses
content-type: application/jsonin requests, enable the "on request" flag. If this flag is disabled, you won't be able to access the request body from decorators, if set. -
Response: if your endpoint uses
content-type: application/jsonin responses, enable the "on response" flag. If this flag is disabled, you won't be able to access the response body from POST decorators, if set.
If your project has the microservice-gateway disabled, the configuration of the transition through Microservice Gateway is skipped.
- Due to an issue with microservice-gateway, content-type:
application/x-www-form-urlencodedis converted to JSON. - Due to another issue with microservice-gateway, if binary data (e.g. PDF files) passes through this service it could be wrongly encoded, resulting in corrupted files.
Manage advanced endpoint parameters
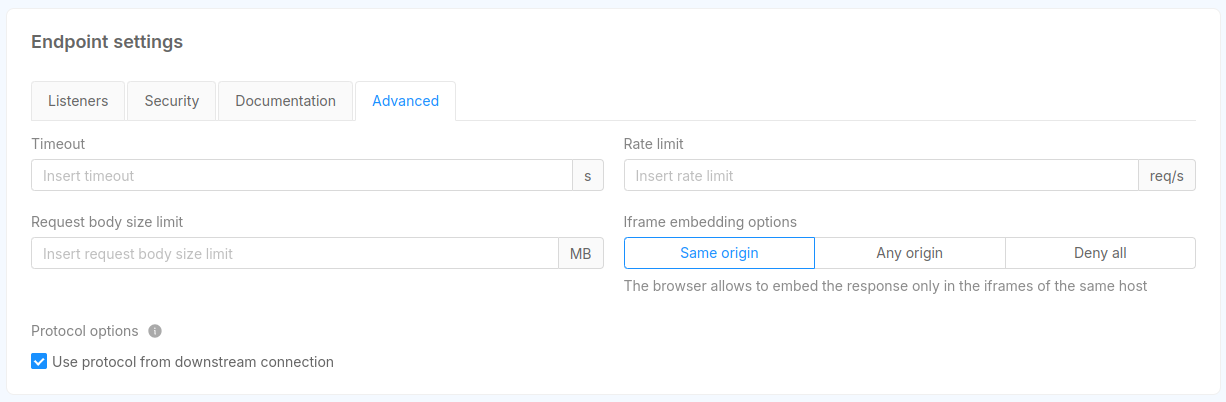
The Advanced tab is visible only if the Envoy API Gateway service is enabled, and allows to set values for some endpoint parameters. Specifically:
- Timeout (integer): the maximum amount of time (in seconds) the gateway waits while the request is processed by the upstream or downstream;
- Rate limit (integer): the maximum frequency (in terms of requests per second) with which requests are forwarded to the underlying service;
- Request body size (decimal): the maximum body size of user requests.
- Iframe embedding options: the X-Frame-Options directive that is considered when the endpoint response should be embedded in an iframe;
- Protocol options: this options instruct Envoy to process the request with the protocol coming from the downstream connection, allowing to dinamically infer the protocol to be used (HTTP/1.1 or HTTP/2);
This Iframe embedding option is configurable only for the Envoy API Gateway, instead for Nginx API Gateway it is required to configure it manually using the Advanced section of the Console
Routes
This card allows to create and manage all the routes that can be called from your endpoint in order to have a more granular control over them.
Endpoints of type CRUD and Fast Data Projection have a specific set of routes and it is not possible to create new ones, but you can still manage the configuration of each of them.
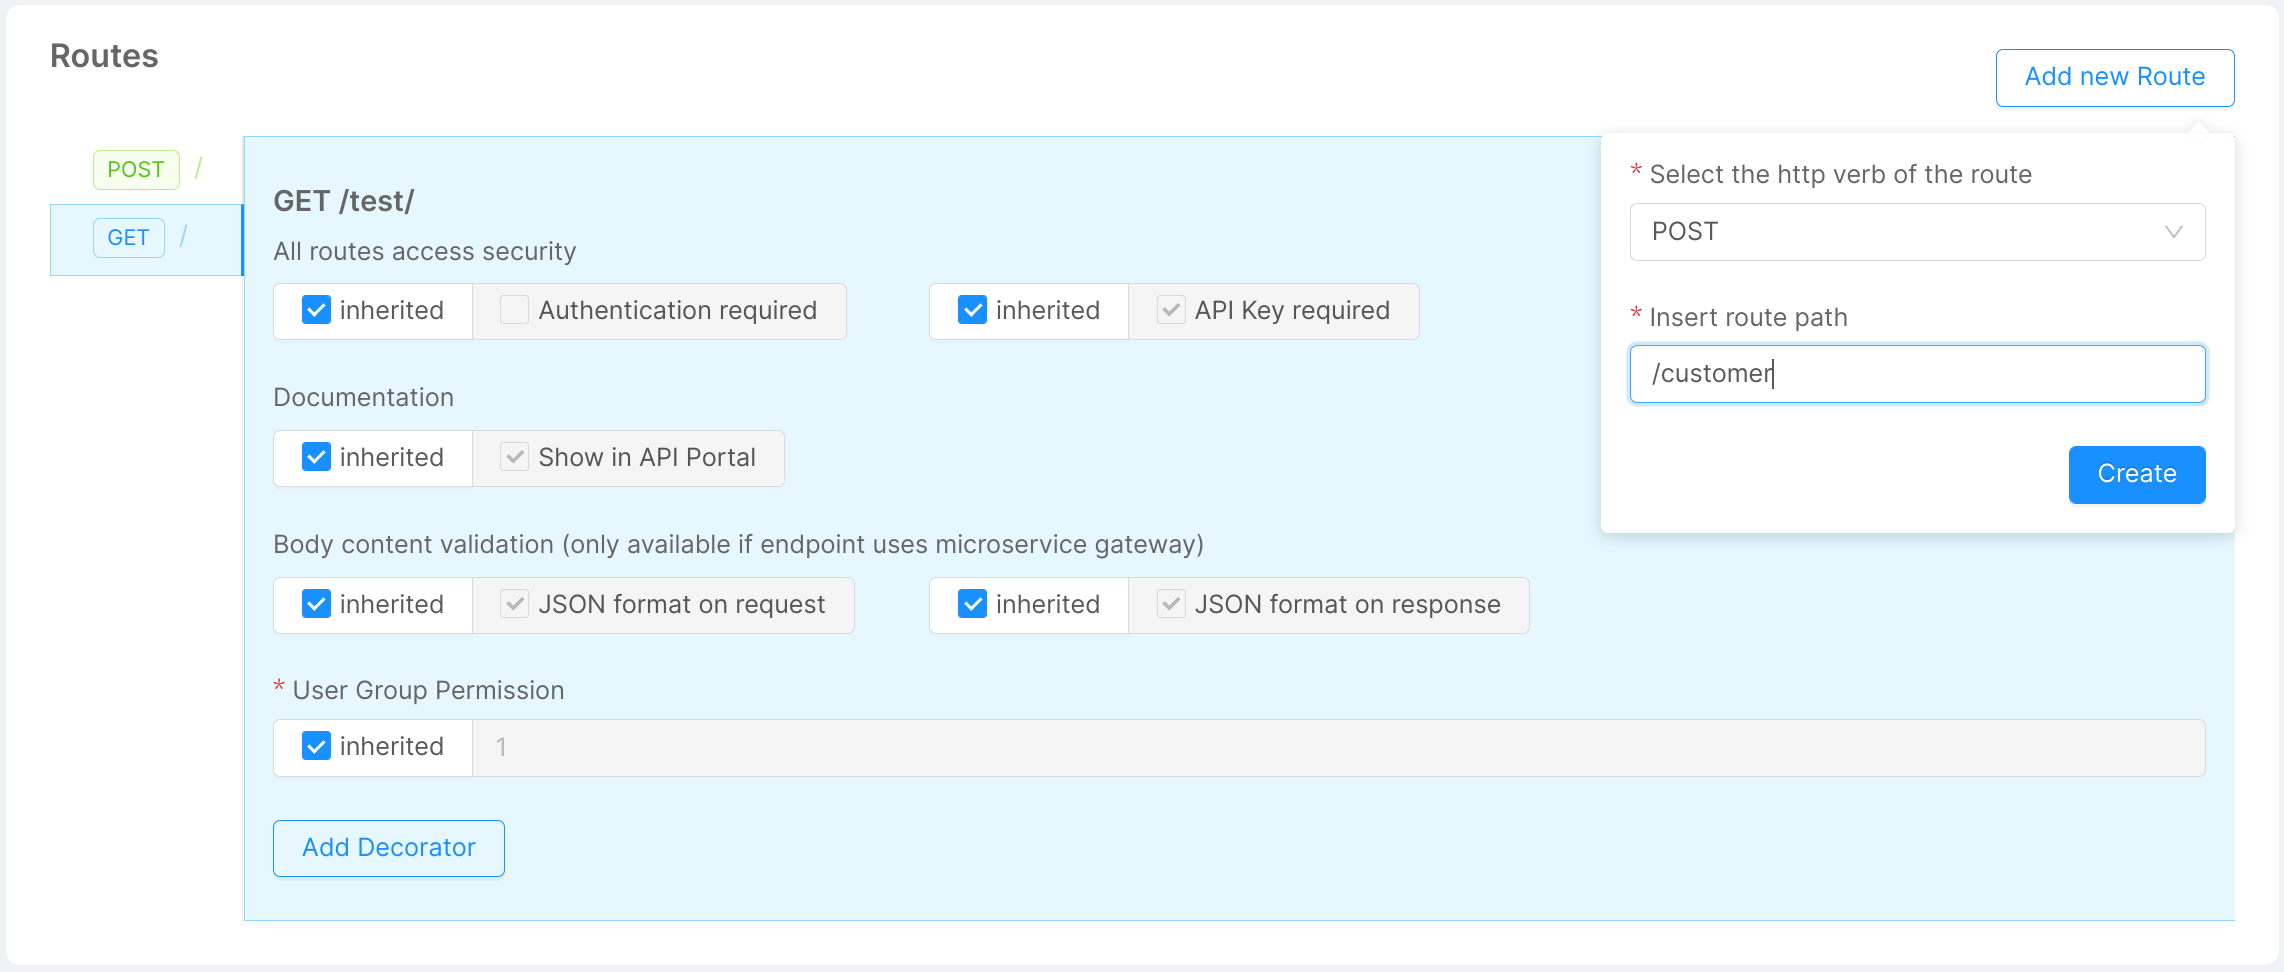
For all other endpoint types, you can create a new route by clicking the Add new Route button. You should then specify the http verb and the path of the new route.
Regarding the http verb, you can choose among the following:
- GET
- POST
- PUT
- PATCH
- DELETE
Once you have created all the routes you need, you can start configuring them and even decide a different behavior for each one.
By selecting one verb in the sidebar of this section it is possible to visualize a detailed view about the configuration of the selected route.
Here, it is possible to set or unset the flags described in the other sections, but with a deeper granularity. In fact, while in the sections described before you were configuring your endpoint, in this section you are managing one specific route verb of it.
For example, if in the Security section, you have unchecked the Authentication required flag of a Microservice type endpoint with base path /test it means that all routes that start with /test will have the Authentication required flag unchecked too.
Instead, if in the same endpoint page, you check the Authentication required flag in the Routes section for the route /management with verb DELETE you will only change the behavior of that specific route with that specific verb.
Here we list some example routes and their behavior with the configuration explained above:
- GET '/test': Authentication required is
false. - GET '/test/management': Authentication required is
false. - GET '/test/customers': Authentication required is
false. - DELETE '/test/management': Authentication required is
true. - DELETE '/test/management/sales': Authentication required is
false.
This feature is really helpful when you have to define a custom behavior for one of your routes that differs from the default one that you defined at endpoint level.
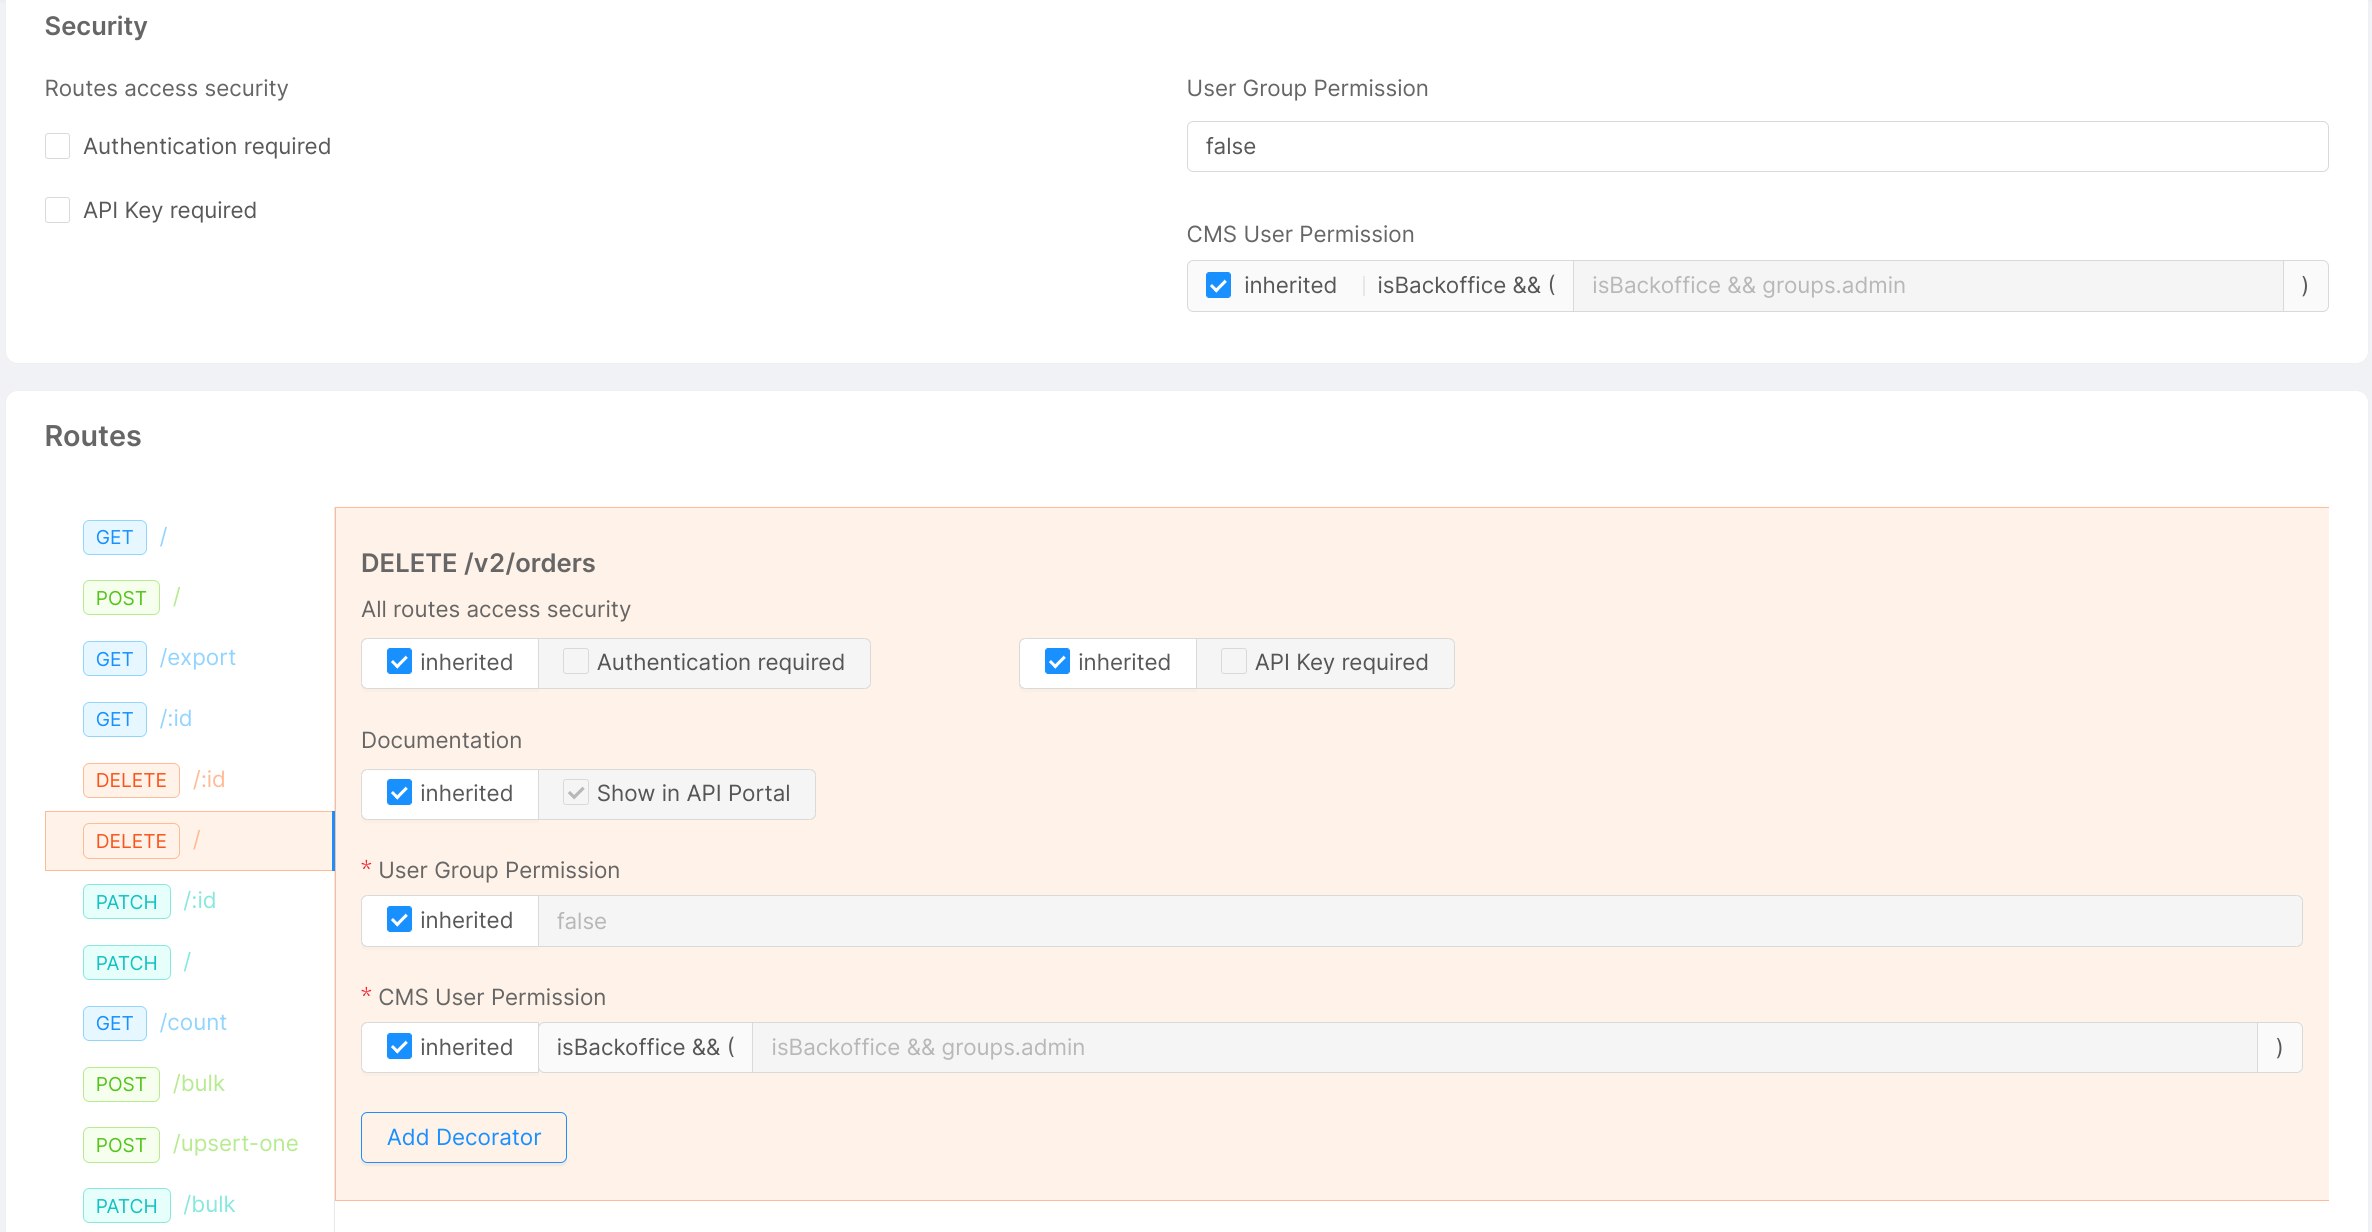
If inherited flag is enabled the field will inherit the behavior from its endpoint. By unchecking it, you can set specific rules for the selected route.
For example, we can set that the DELETE / route can only be reserved for a specific group of users (admin).
If it differs from the endpoint settings, we can choose not to inherit global settings. We can then uncheck the "inherited" flag and, in the input field, we are now able to write: groups.admin.
For endpoints of type CRUD, Microservice and Fast Data Projection it is also possible to link decorators to the selected route verb.
For a detailed description on how to link a decorator to a route visit this link.