Mia-Platform Microfrontend Composer Microfrontend Tutorial
Welcome to this tutorial on the Mia-Platform Microfrontend Composer. In this module, we'll delve into how to integrate two microfrontends: one in Angular and the other in React, into your microfrontend-composer. After the integration, we'll demonstrate how to add their pages to the menu, building upon what was learned in the Microfrontend Composer Basics Tutorial.
What We Will Build
In this tutorial, we will create Microfrontend Composer pages using the microfrontends:
- Create a new Microfrontend Composer page using an Angular microfrontend.
- Create a new Microfrontend Composer page using a React microfrontend.
Prerequisites
Before starting this tutorial, we need to be familiar with the concepts of the Mia-Platform Microfrontend Composer and have completed:
Angular Microfrontend
Create a new Angular Microfrontend
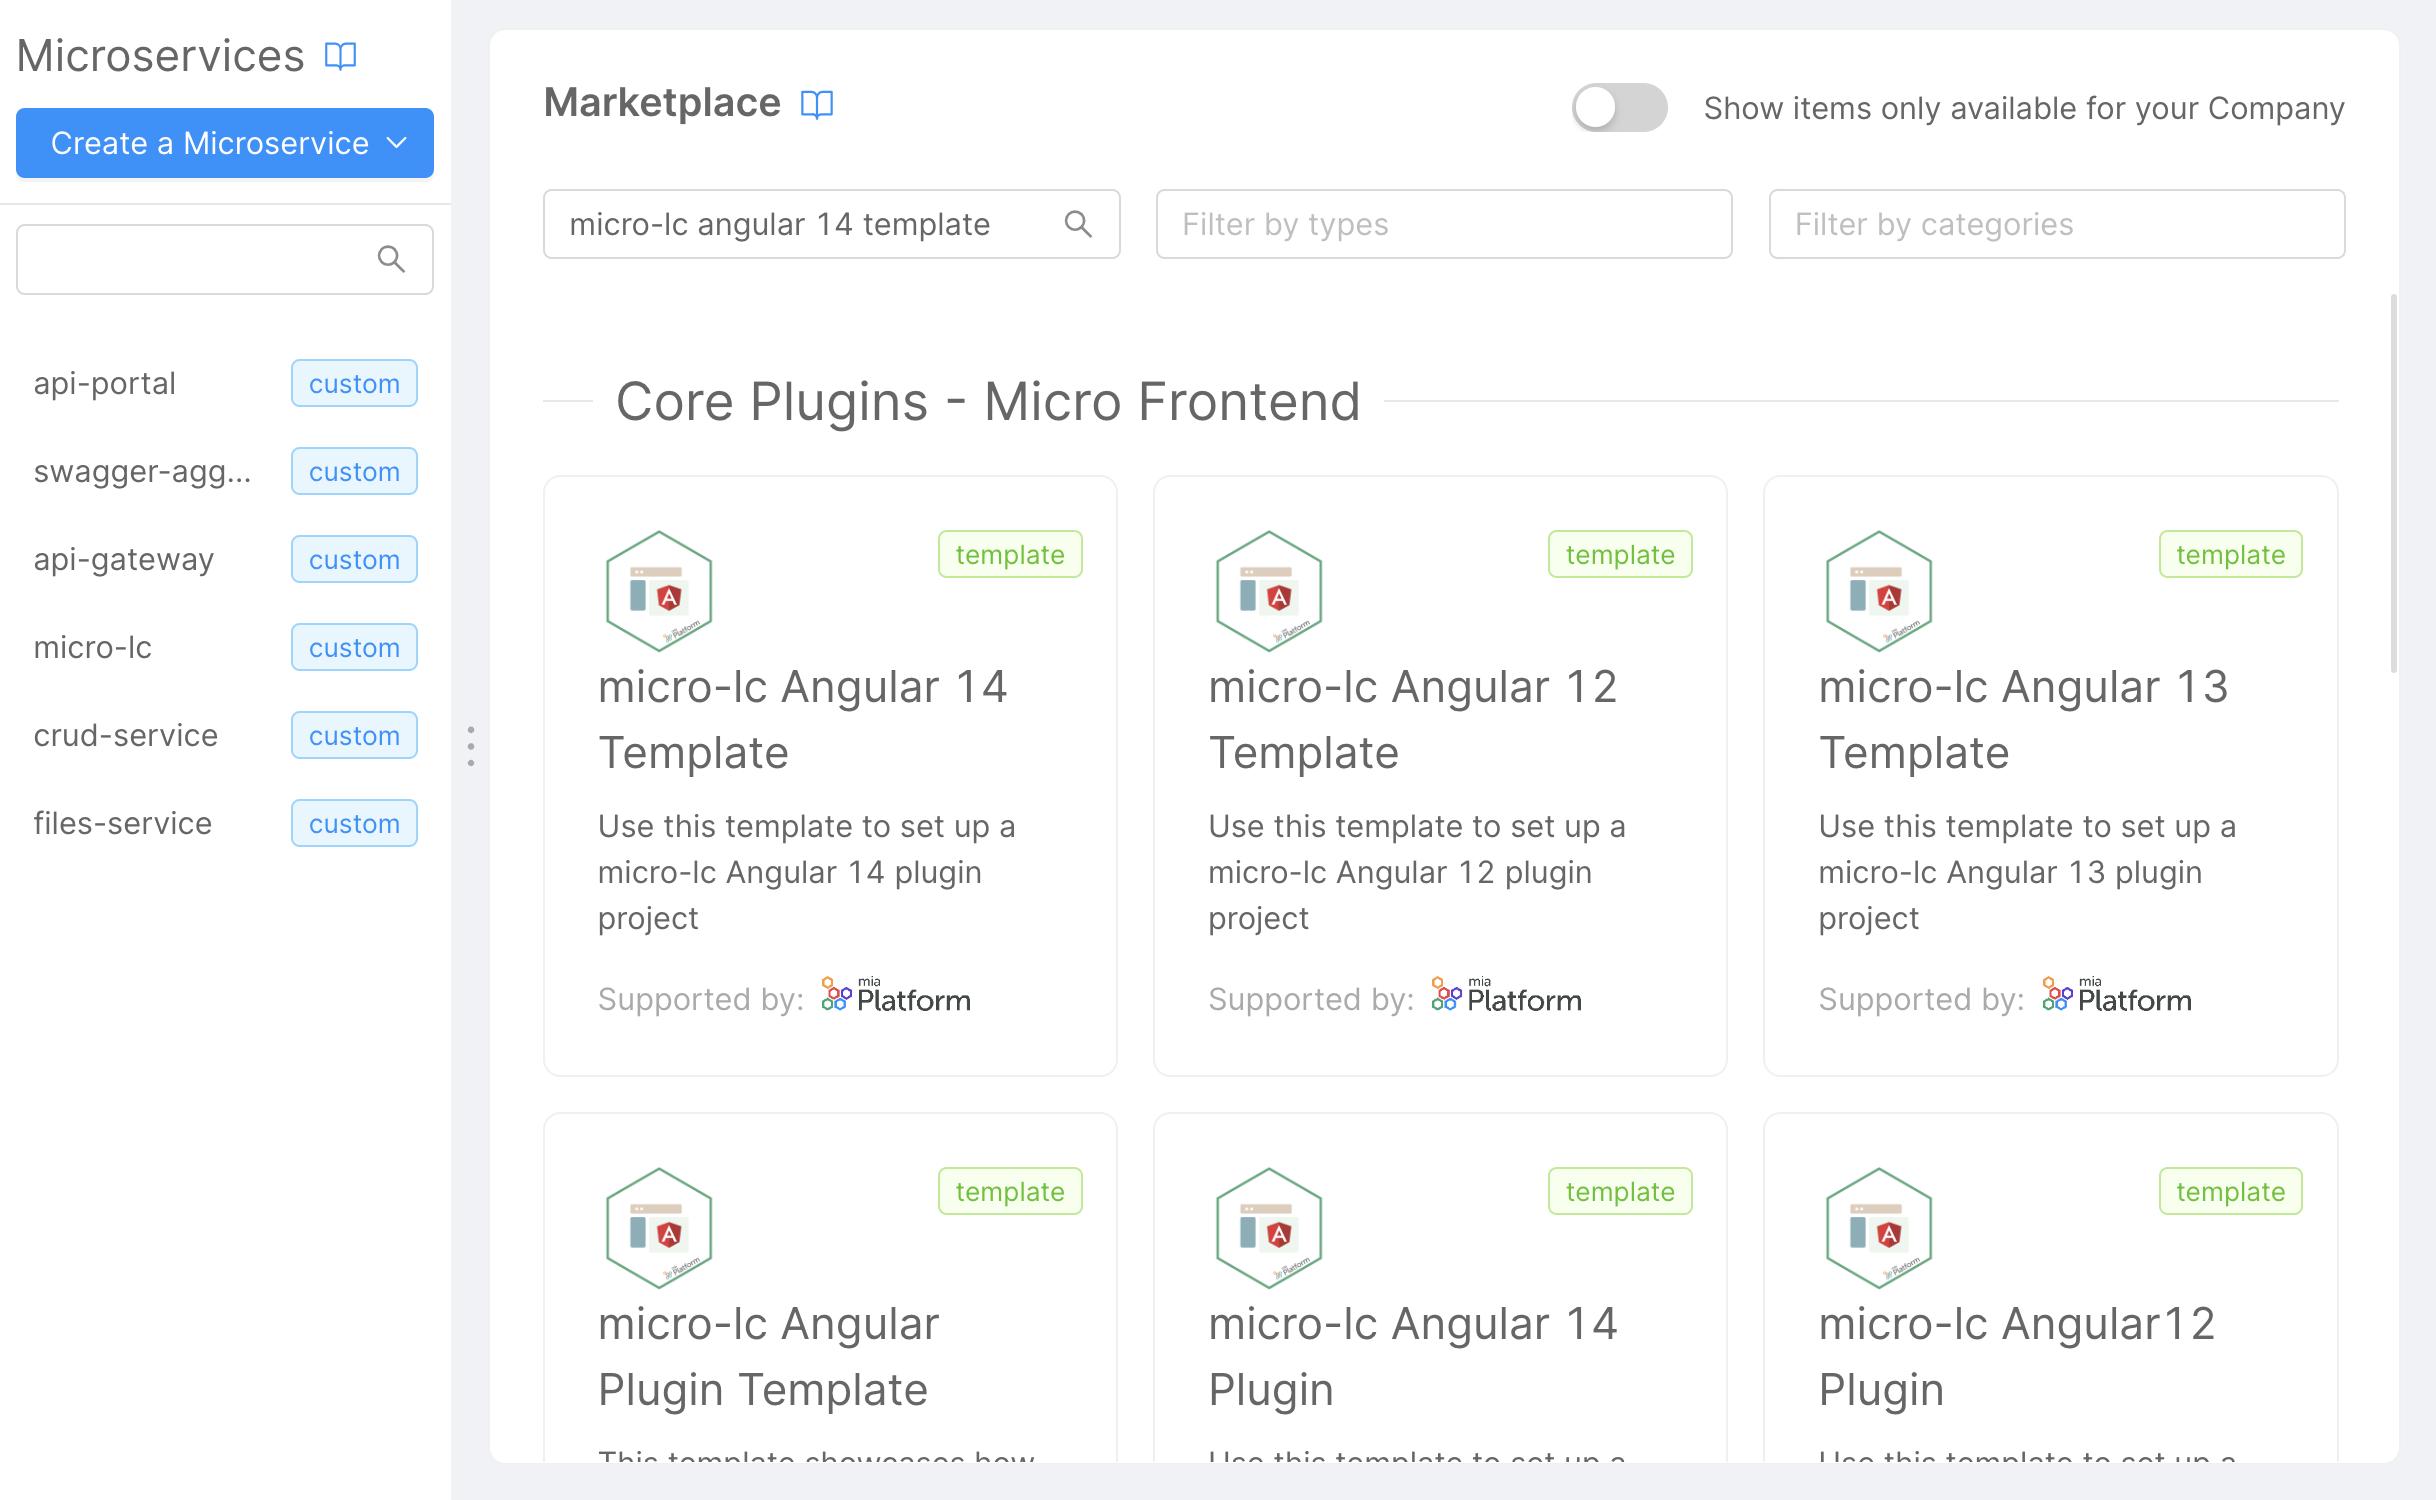
To create a new Angular microfrontend, we will use the micro-lc Angular 14 Template provided by the Mia-Platform Marketplace.
In the Microservice section of the Mia-Platform Console, click on Create a Microservice, then select From Marketplace and search for micro-lc Angular 14 Template.
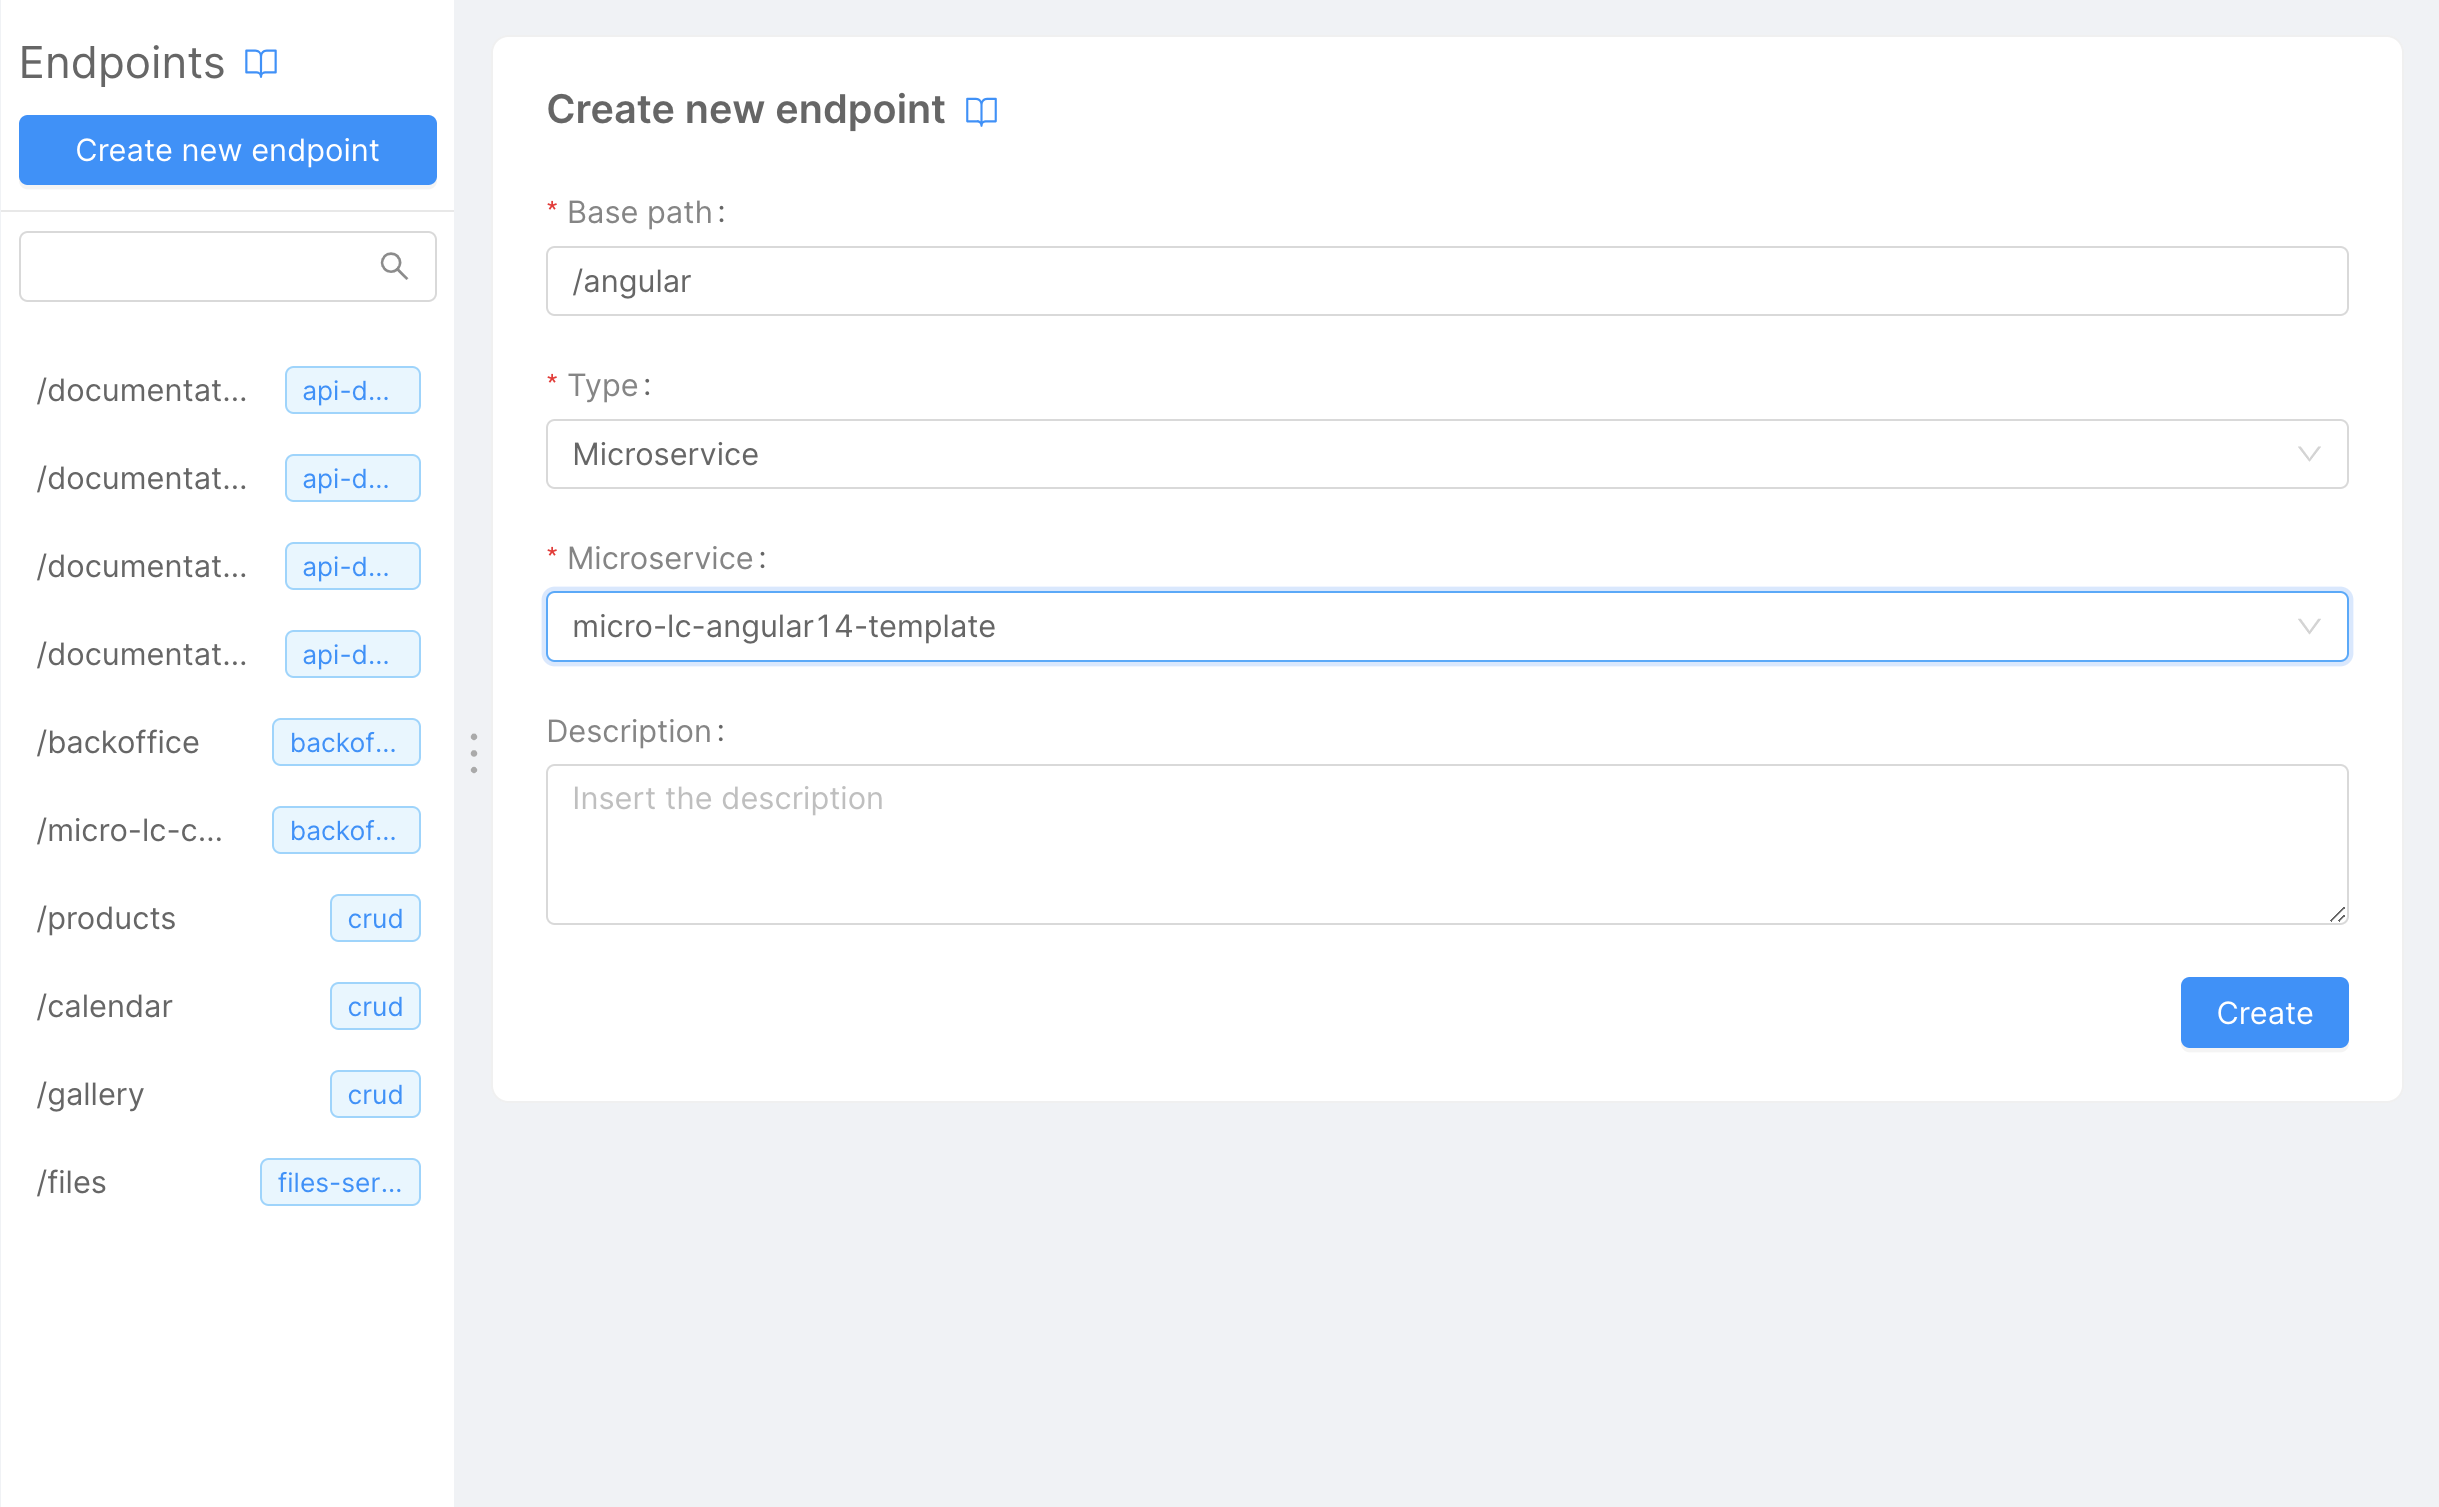
Install the microservice and expose it using an Endpoint.
Create a new Microfrontend Composer Page using the Angular Microfrontend
To create a new Microfrontend Composer page using the Angular microfrontend, we will use the Microfrontend Composer Configuration. In the Pages section, create a new page by clicking on the Create New Page button.
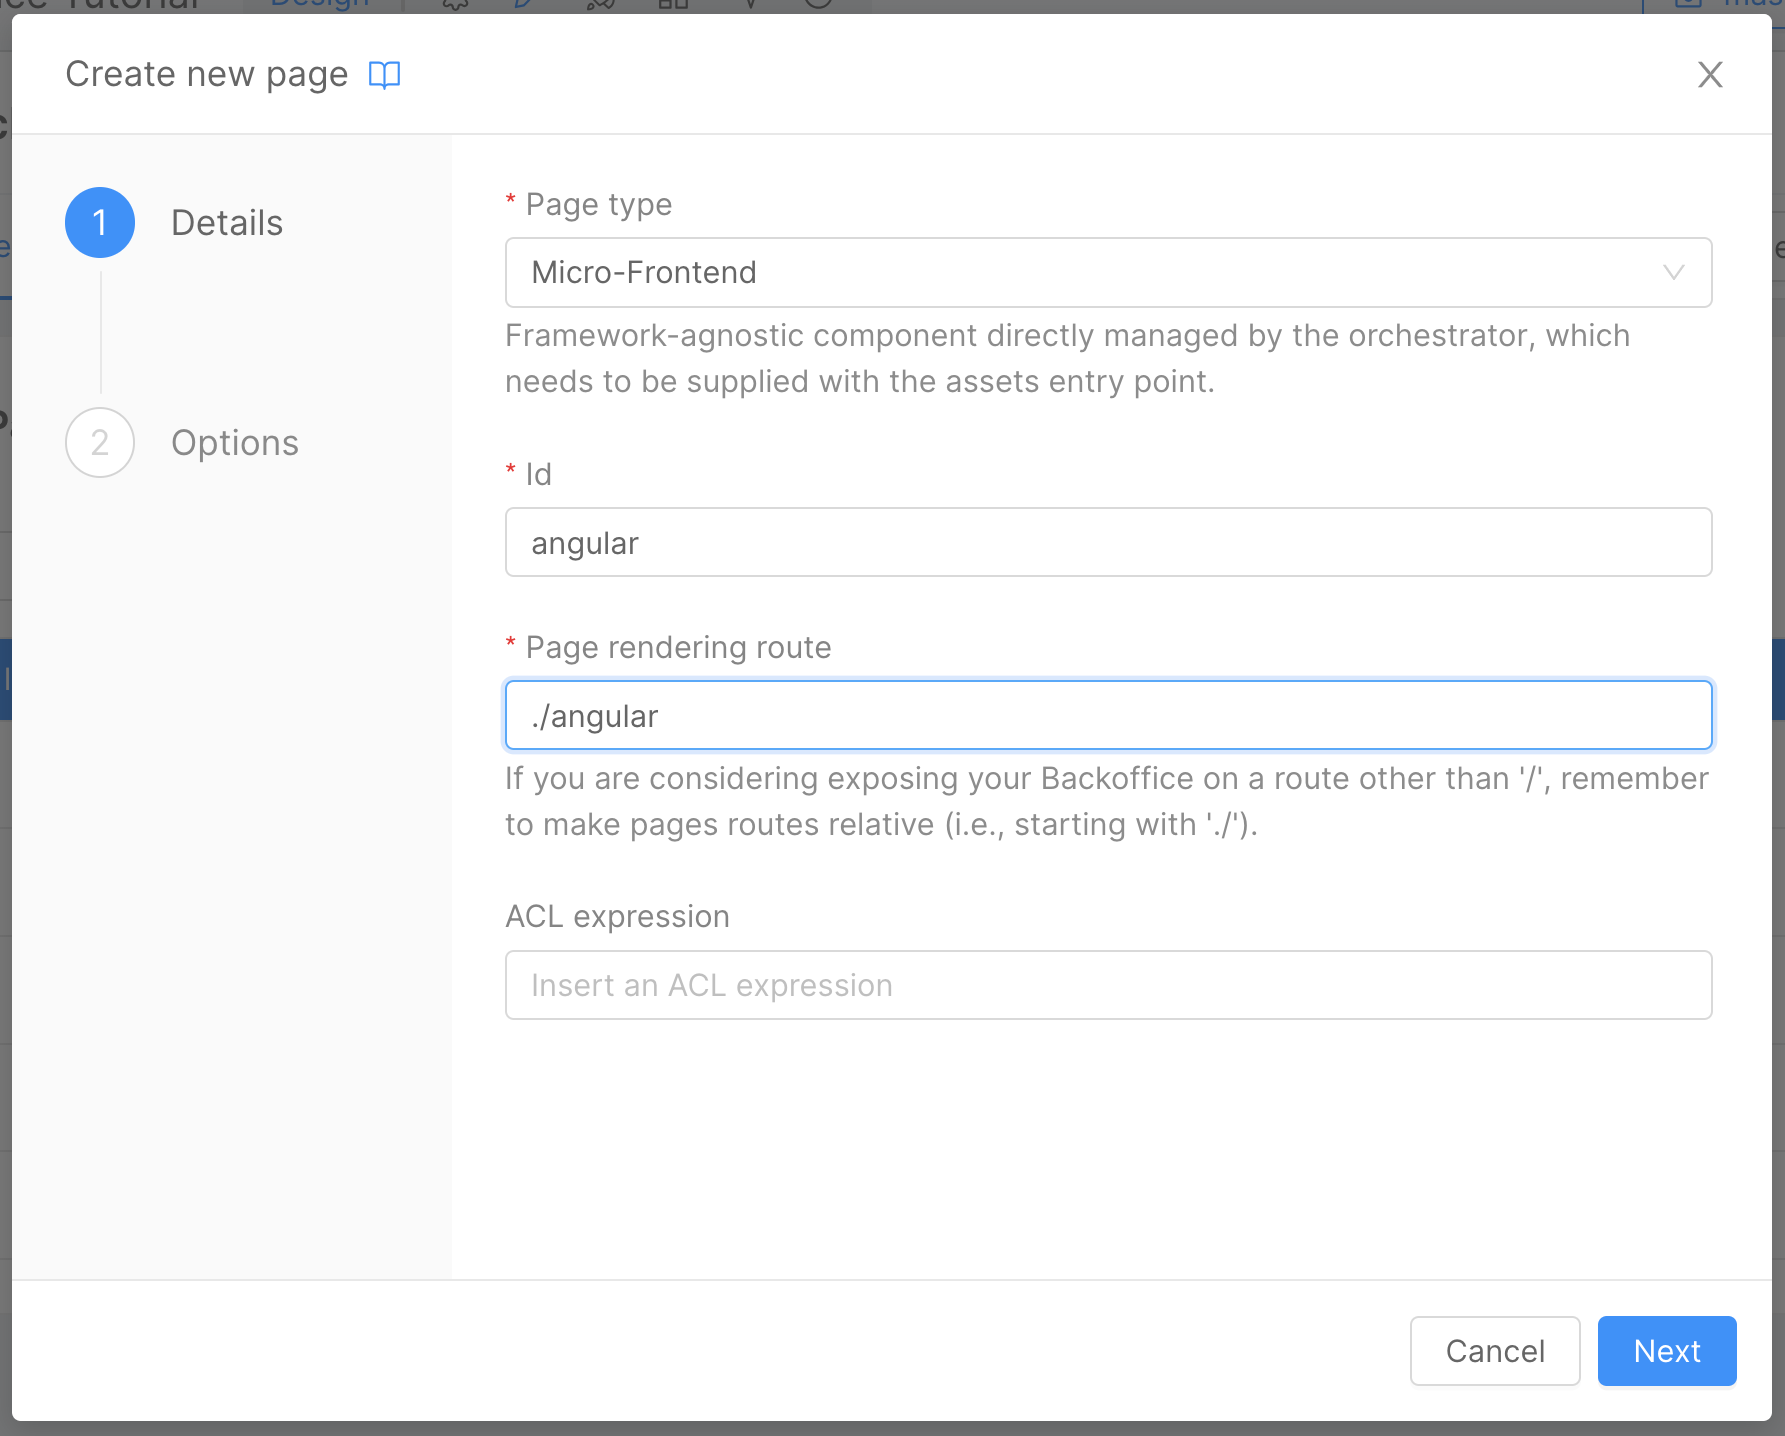
In the first wizard step, choose the Page type. In this case, select the Micro-Frontend option.
Provide an id for the page. For this example, we will use angular, then provide a Page rendering route, using ./angular.
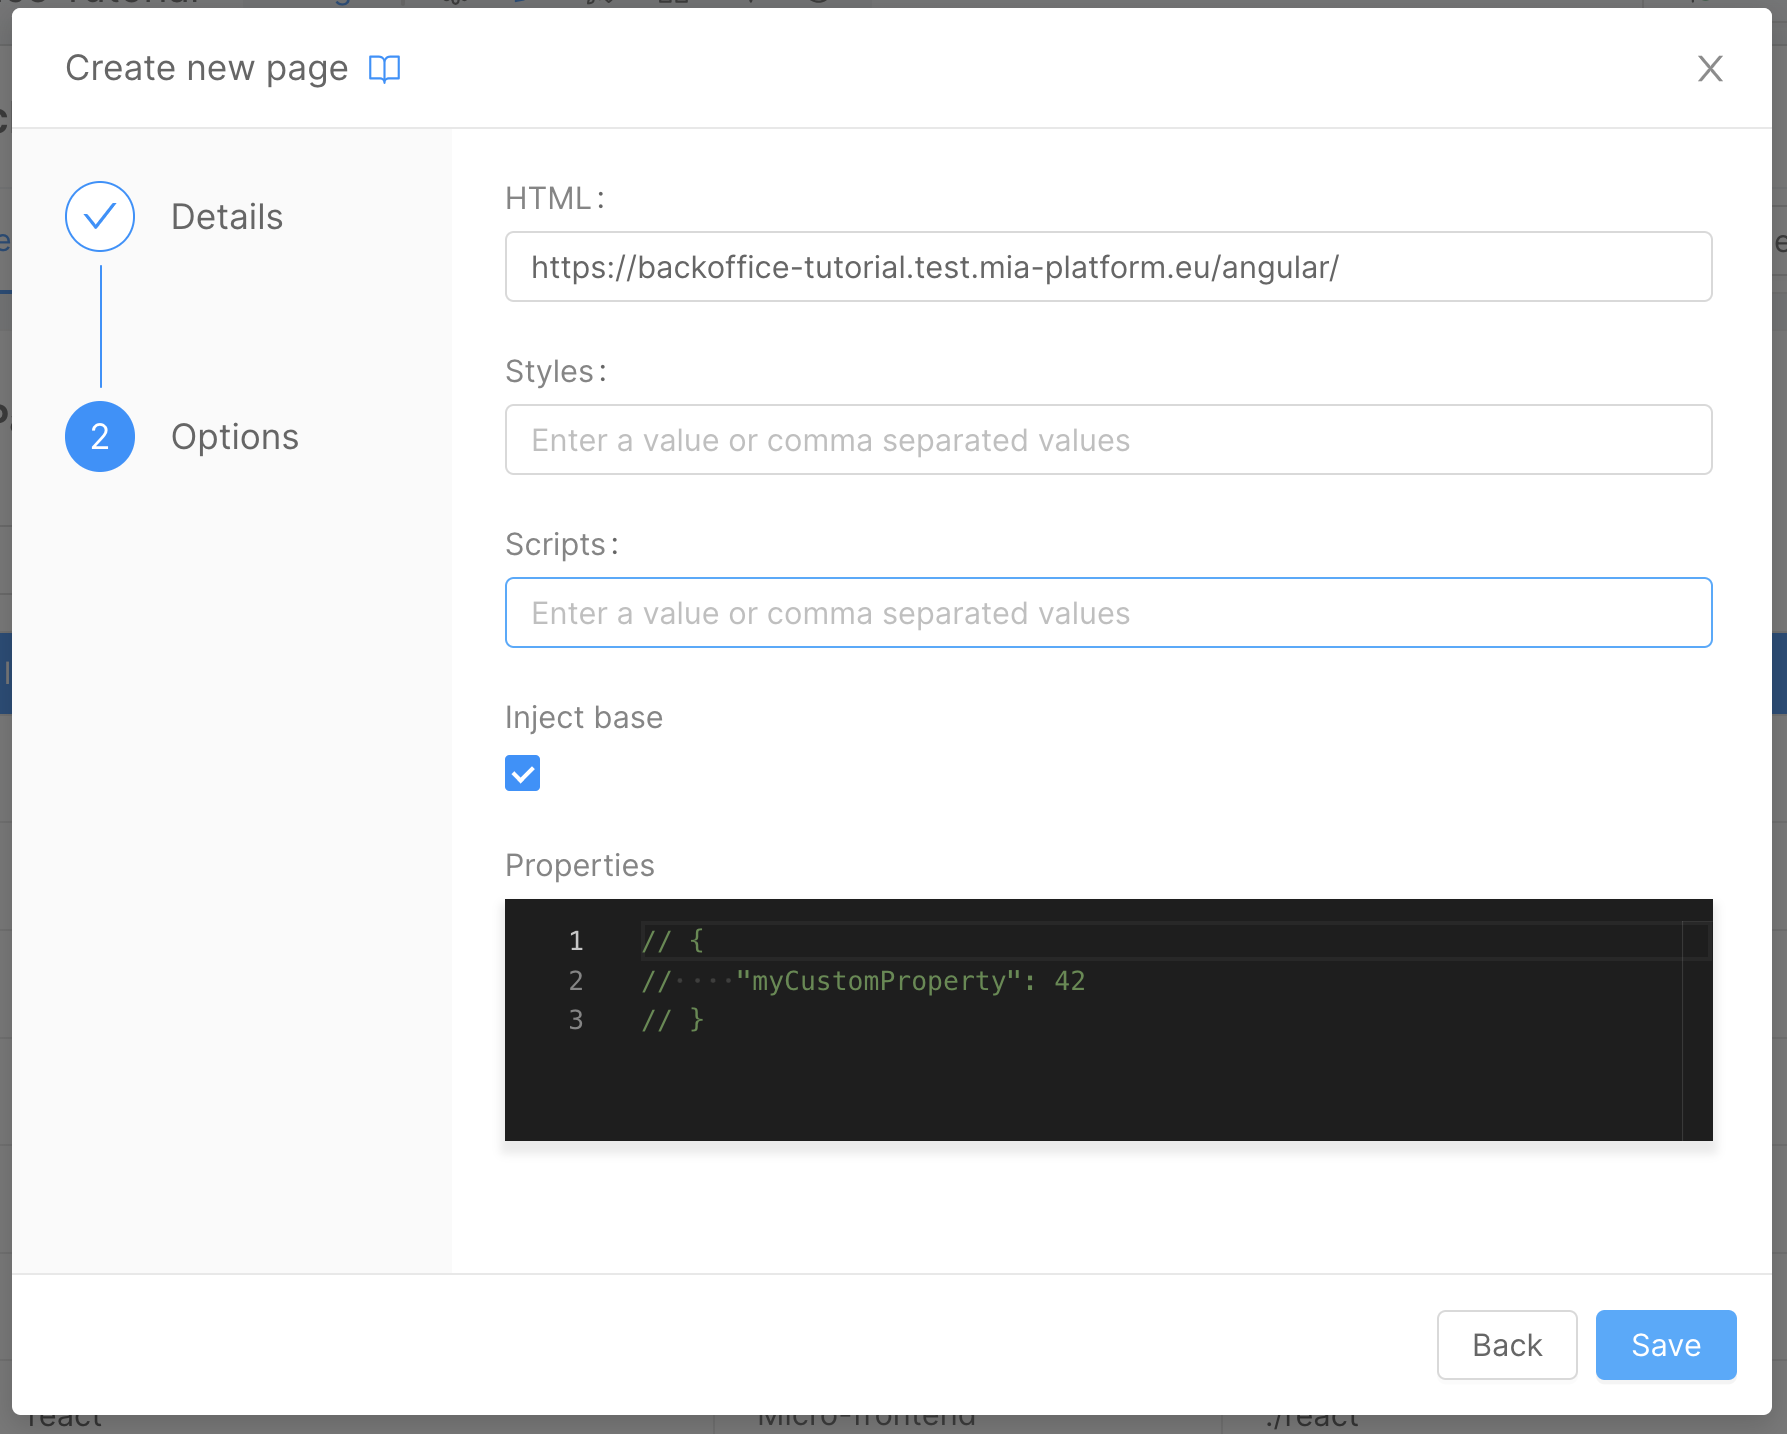
In the second wizard step, provide an HTML entrypoint. Use {{your_address}}/angular (the same address created in the endpoint step) and make sure that the Inject base field is flagged.
Click on the Save button, and you will be redirected to the Microfrontend Composer page.
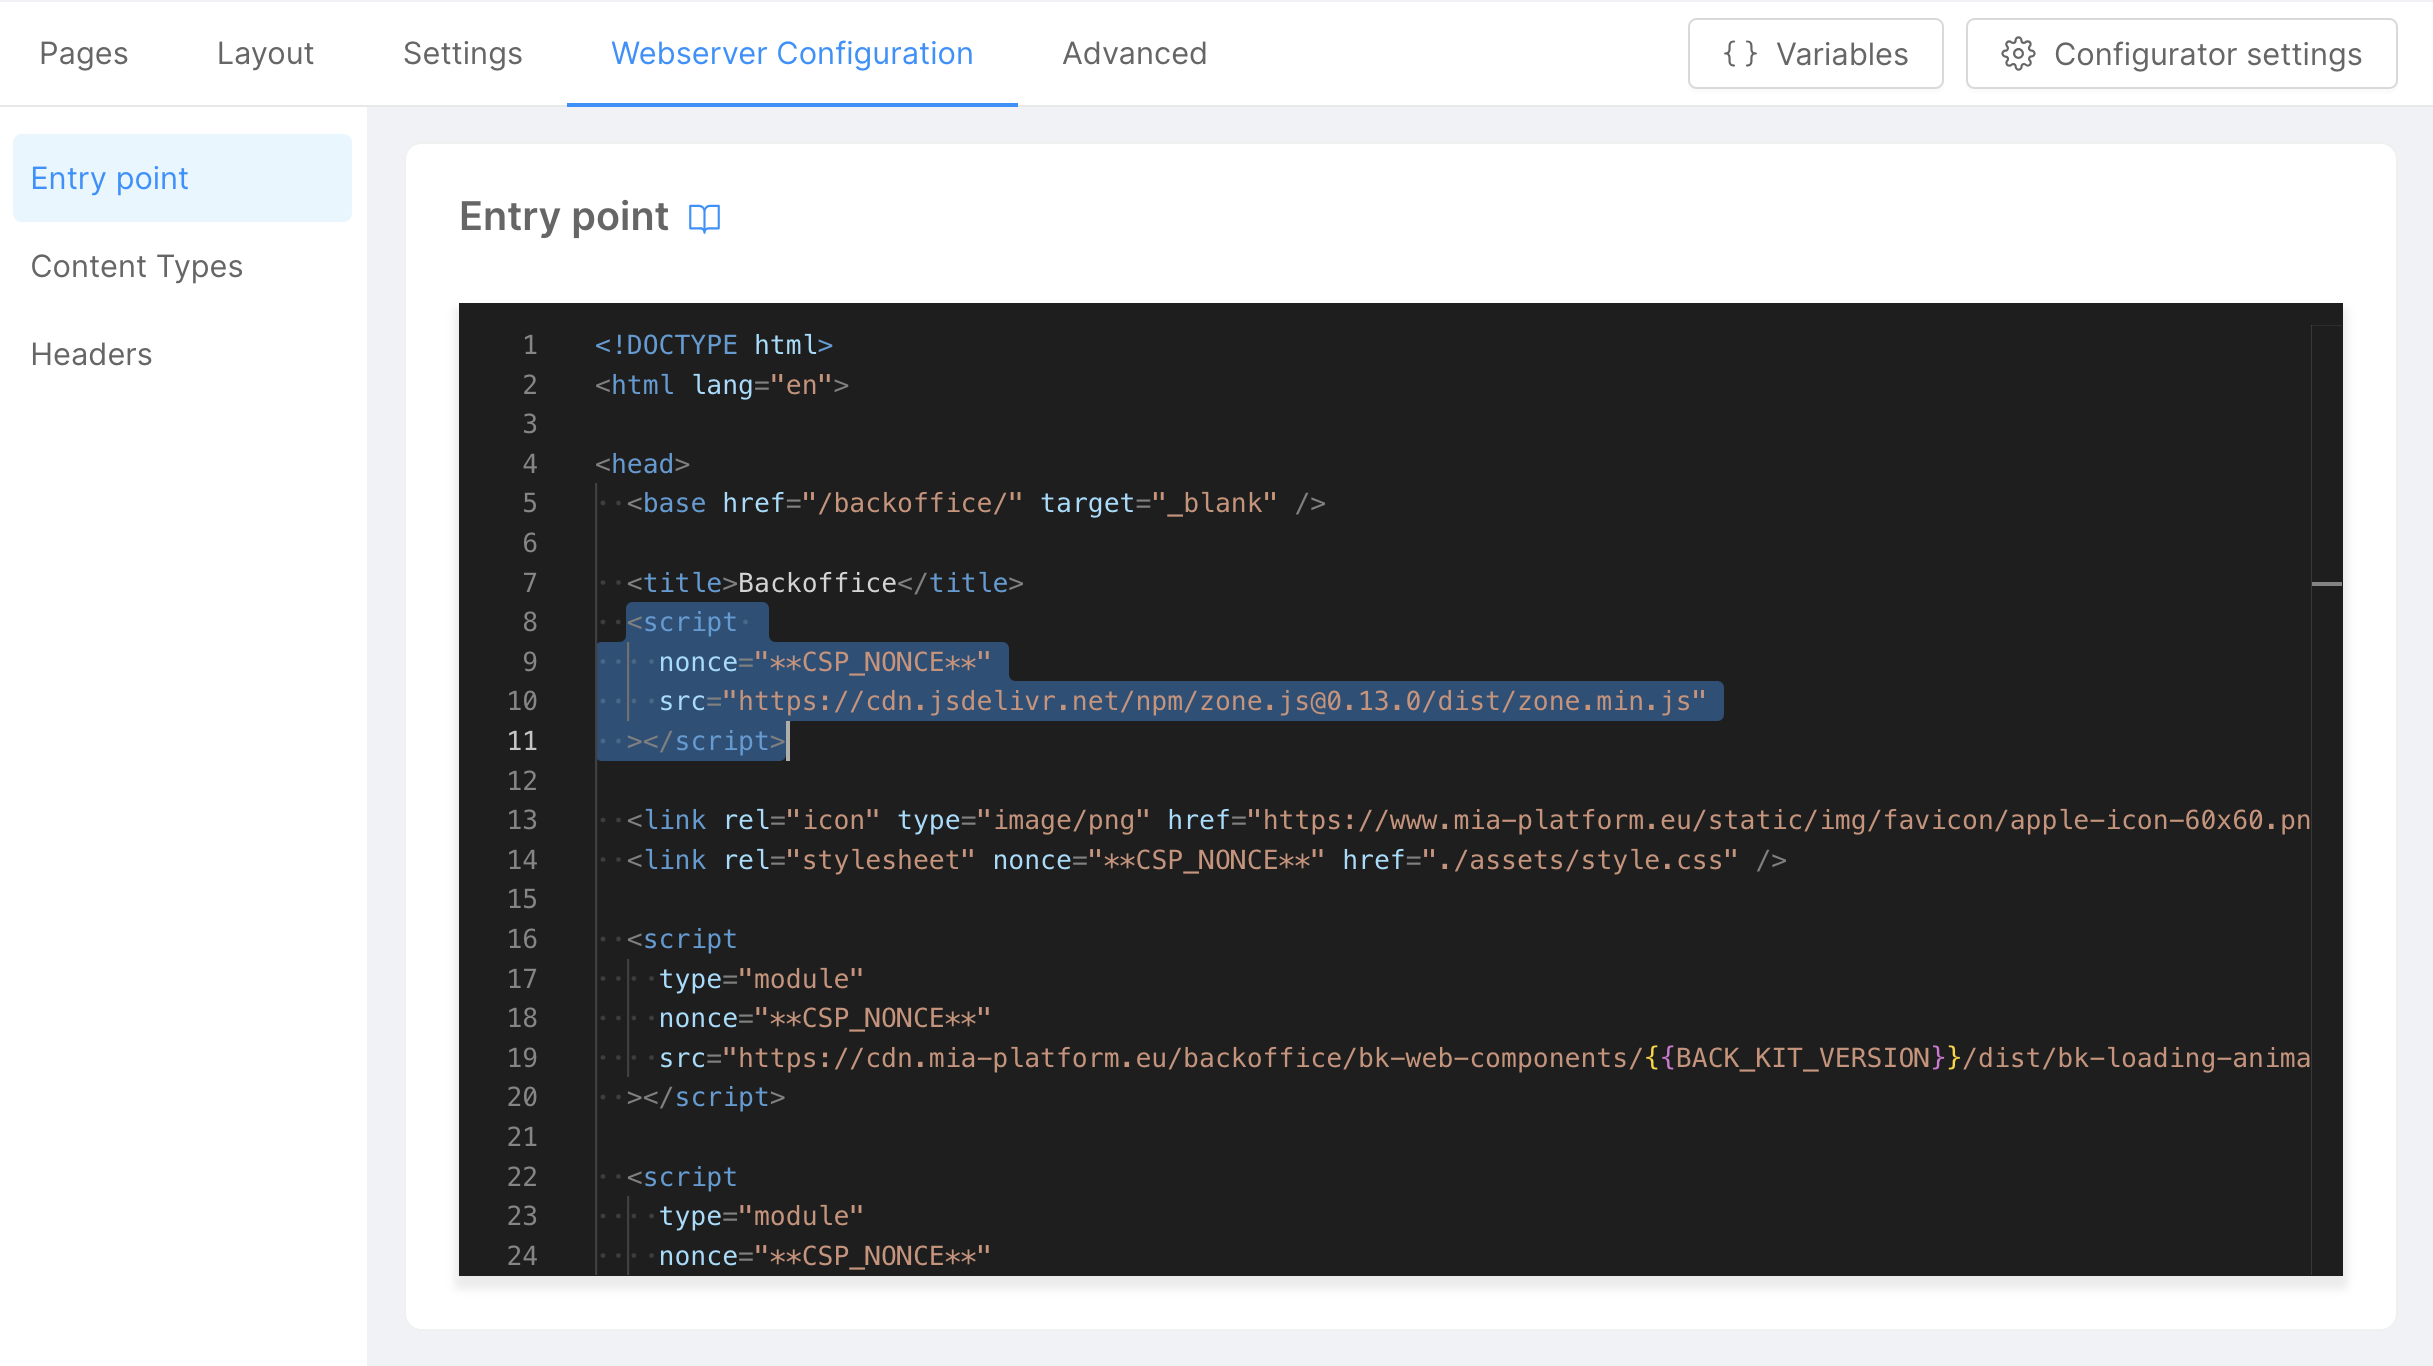
The last step is to add the zone.js library to our index.html. Inside the Microfrontend Composer Configuration, navigate to the Webserver Configuration tab and click on the Entry Point button on the left panel.
Add the zone.js library to the head section, after the <title> tag in the index.html file.
    <script
        nonce="**CSP_NONCE**"
        src="https://cdn.jsdelivr.net/npm/zone.js@0.13.0/dist/zone.min.js"
    ></script>
Add a new menu item to the Microfrontend Composer Menu
Now we can connect the page to the menu. To do that, return to the Layout tab and click on the Layout button on the left panel.
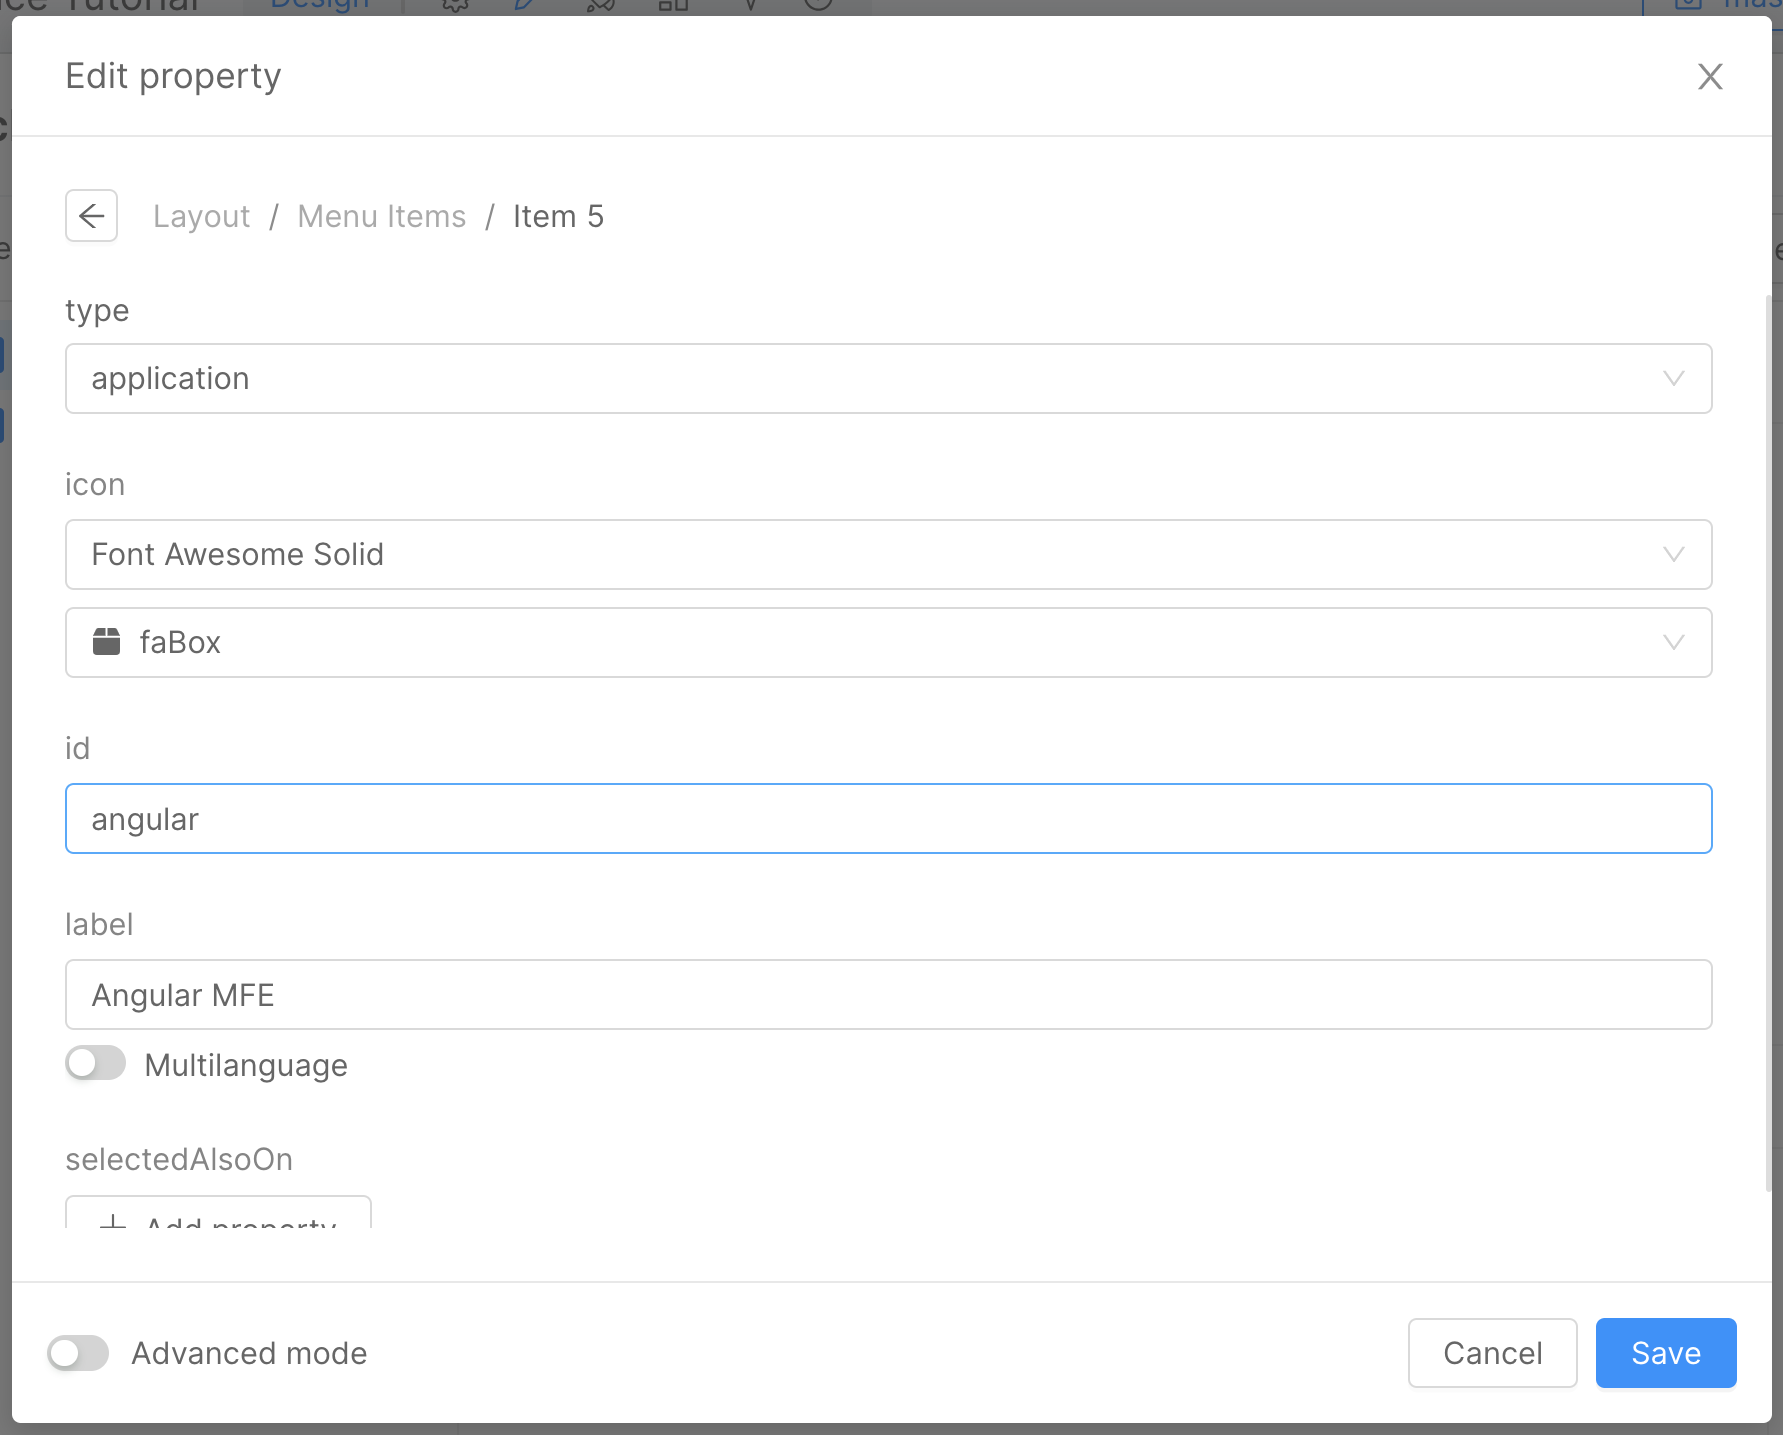
In the right panel, click on Edit Property under the Menu Items section. Then click on the Add Item button and provide a Label and a Id for the menu item.
Now save the configuration and deploy. Check the Save and Deploy section for more information.
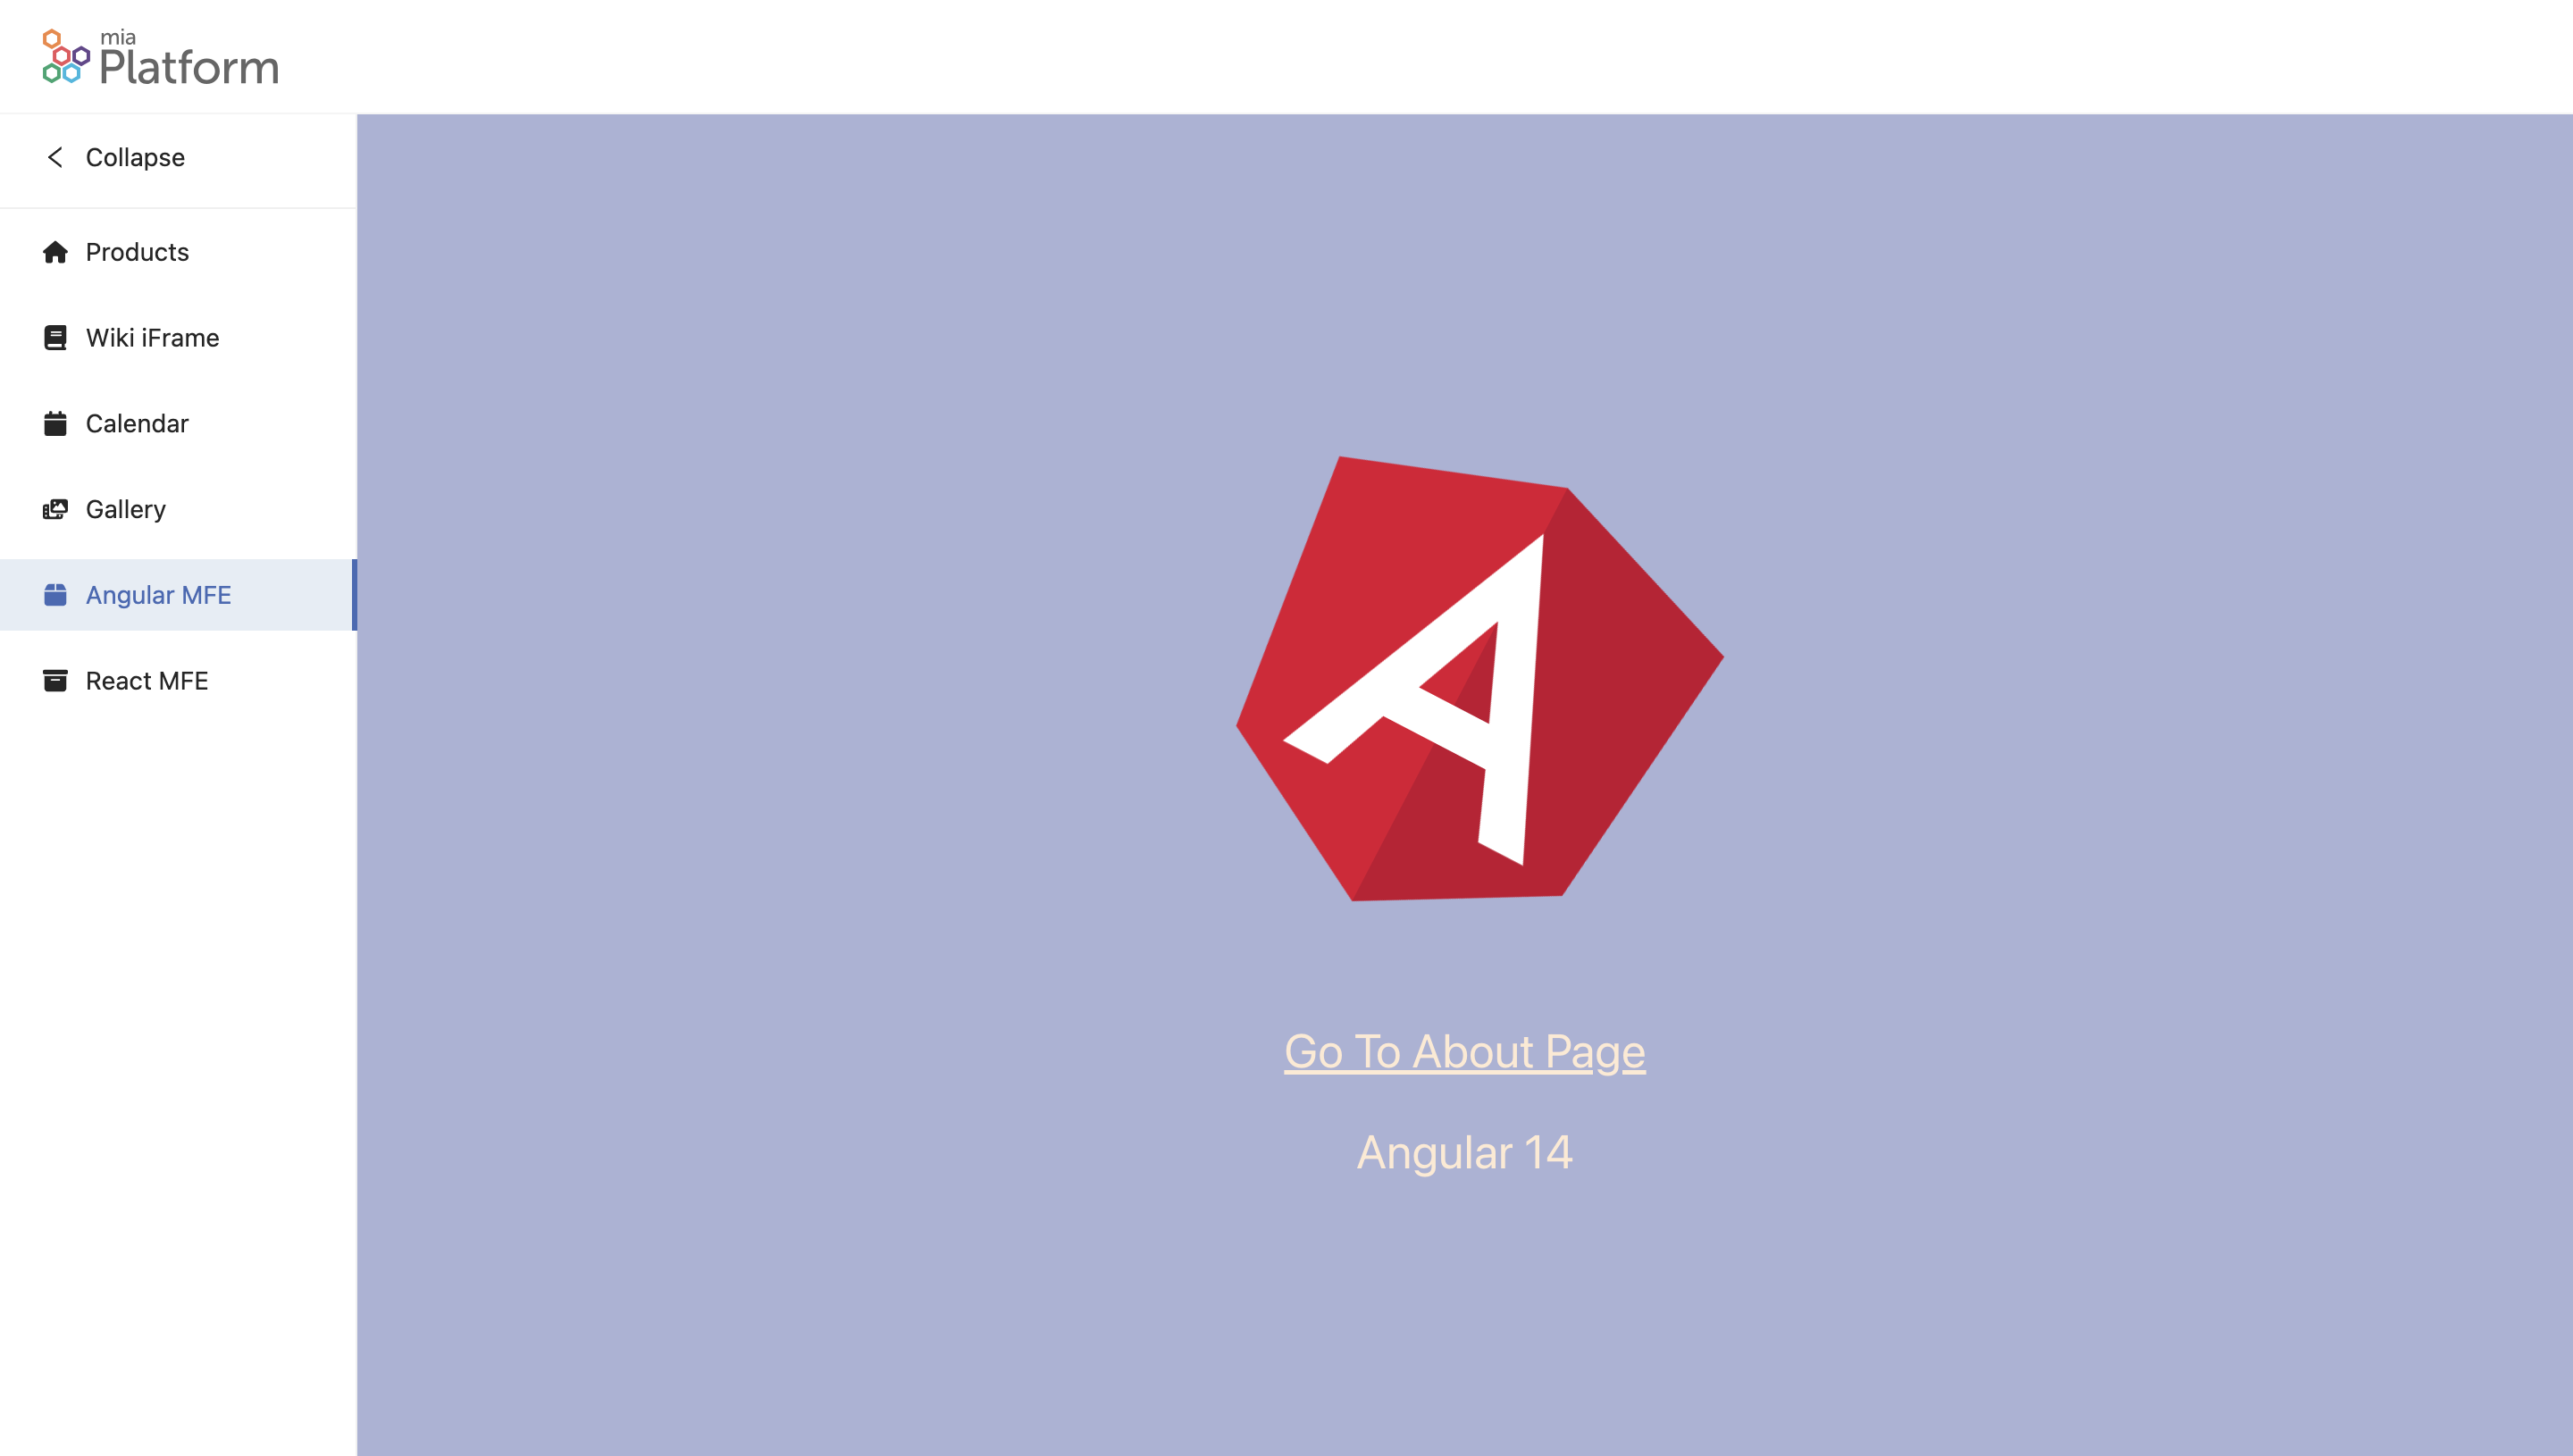
The output of the Angular page should look similar to the following:
React Microfrontend
Create a new React Microfrontend
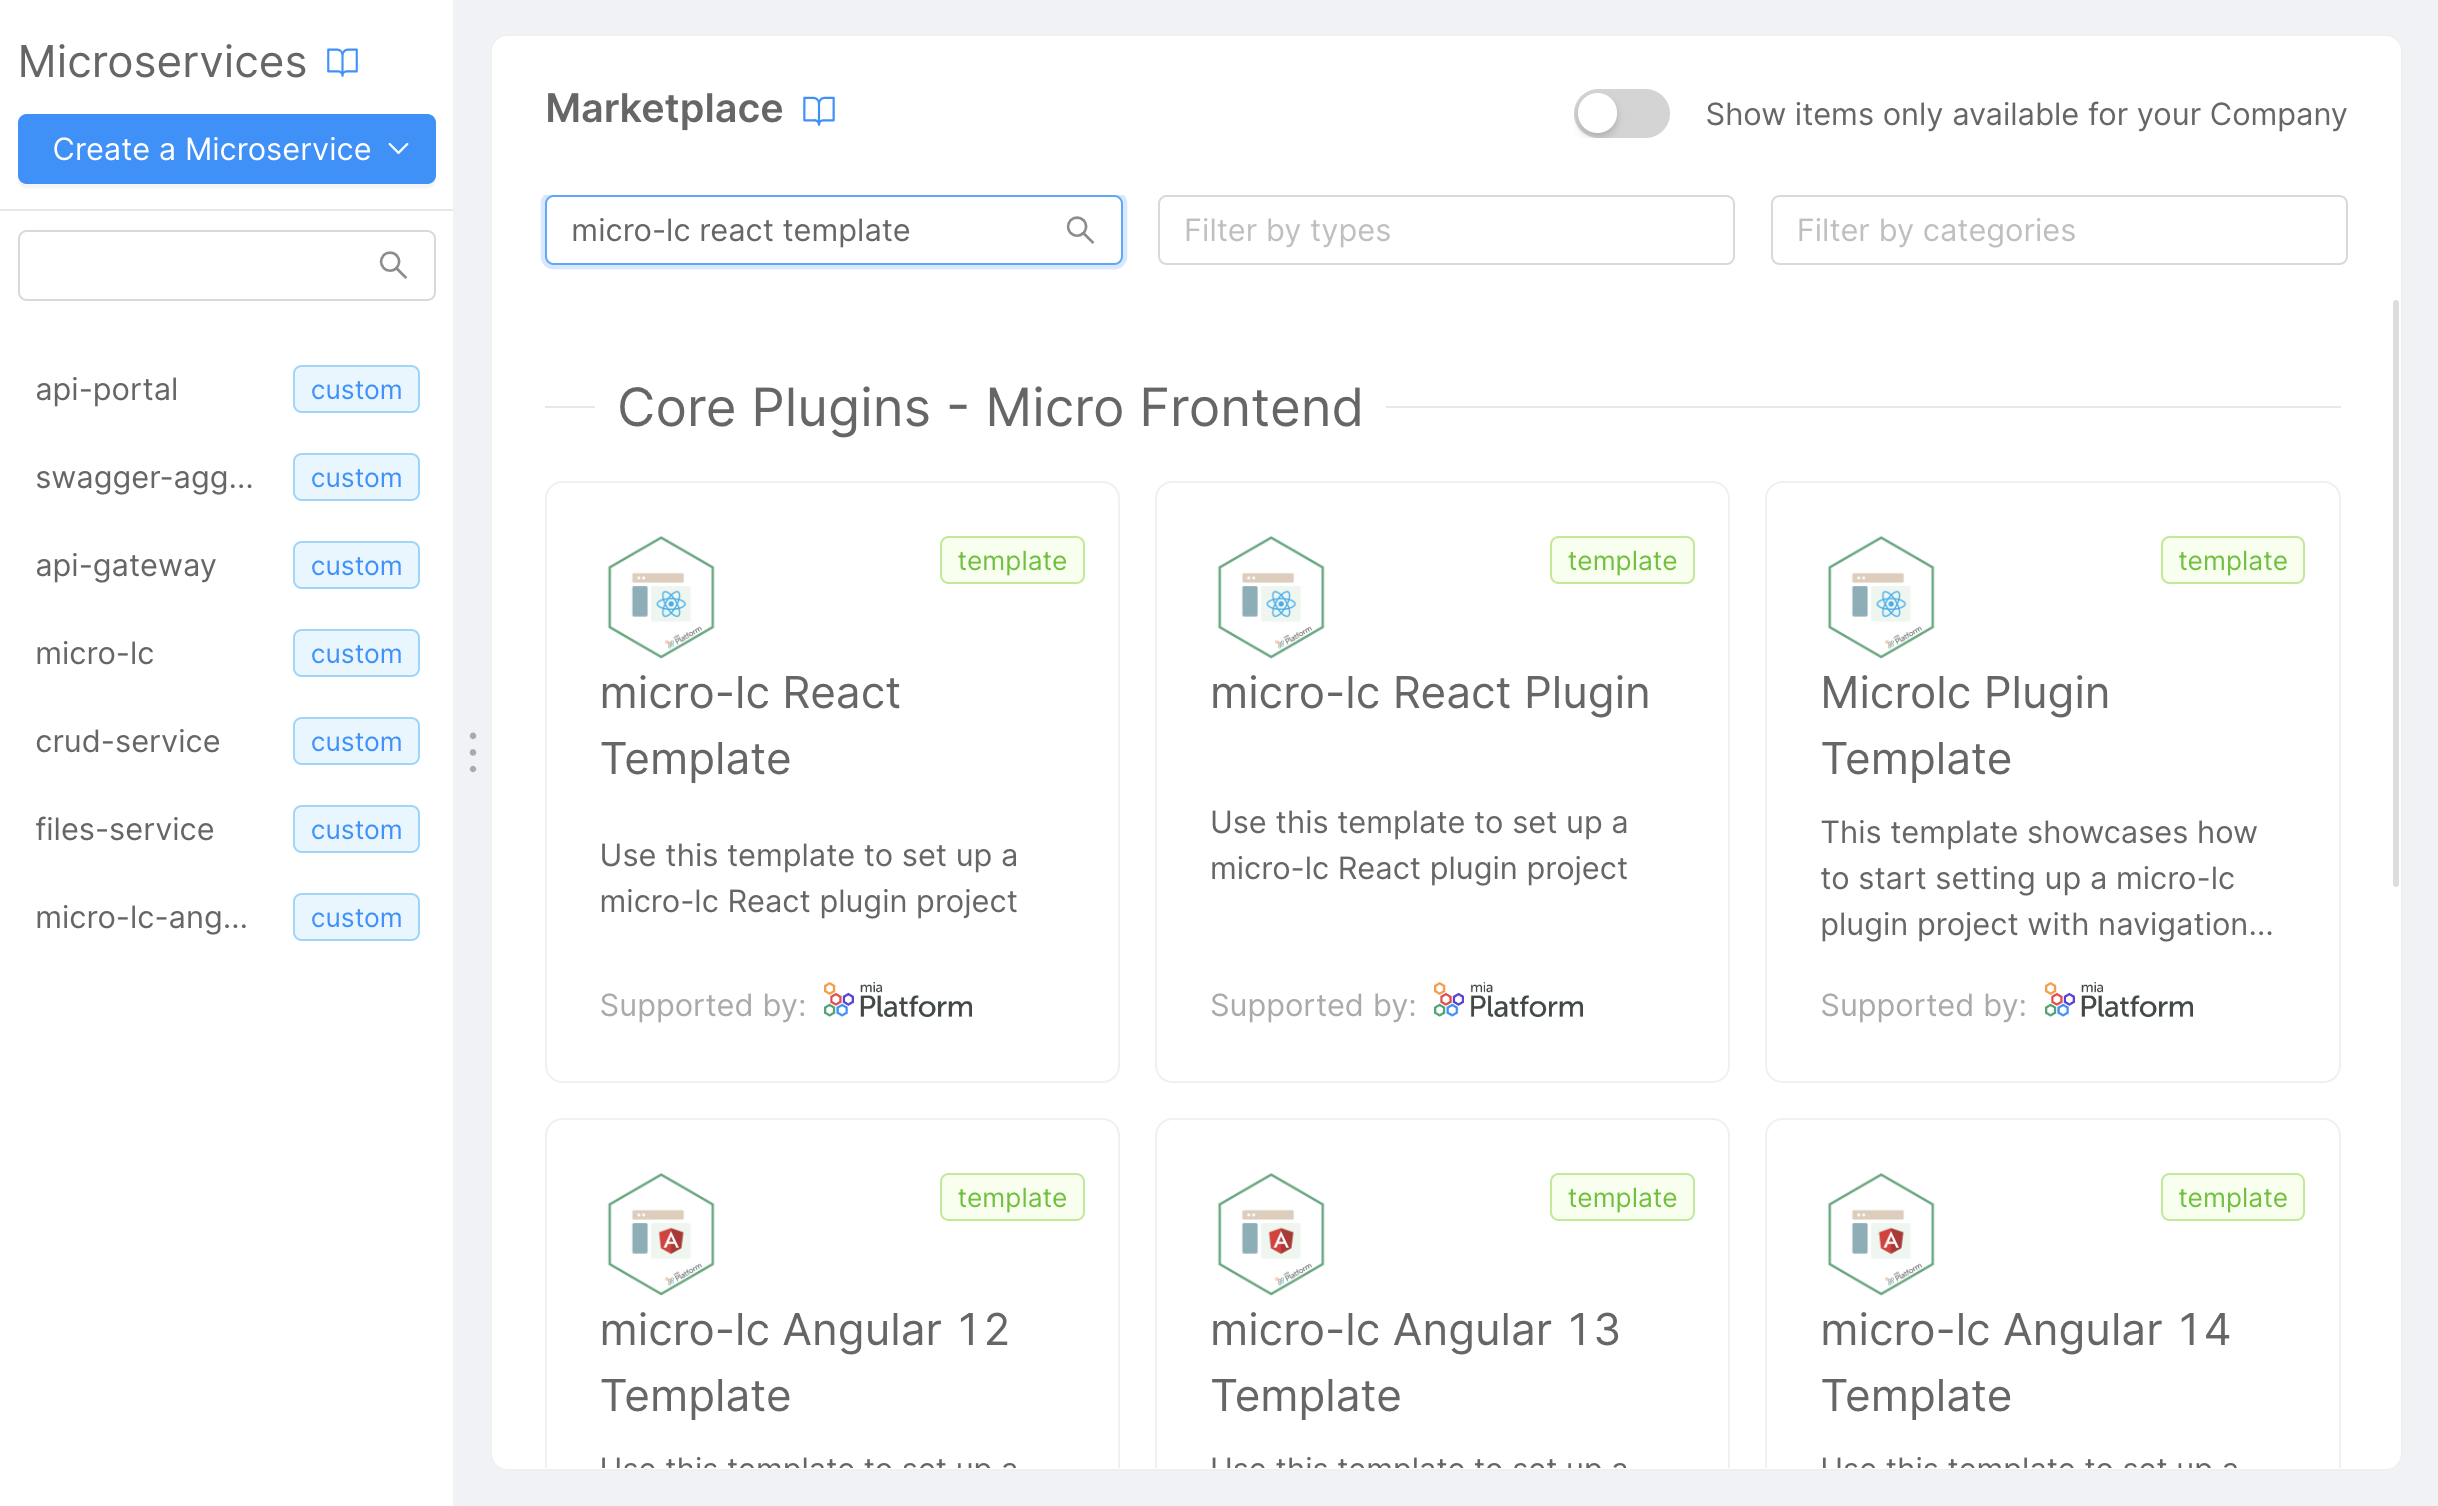
To create a new React microfrontend, we will use the micro-lc React Template provided by the Mia-Platform Marketplace.
In the Microservice section of the Mia-Platform Console, click on Create a Microservice, then select From Marketplace and search for micro-lc React Template.
Install the microservice and expose it using an Endpoint.
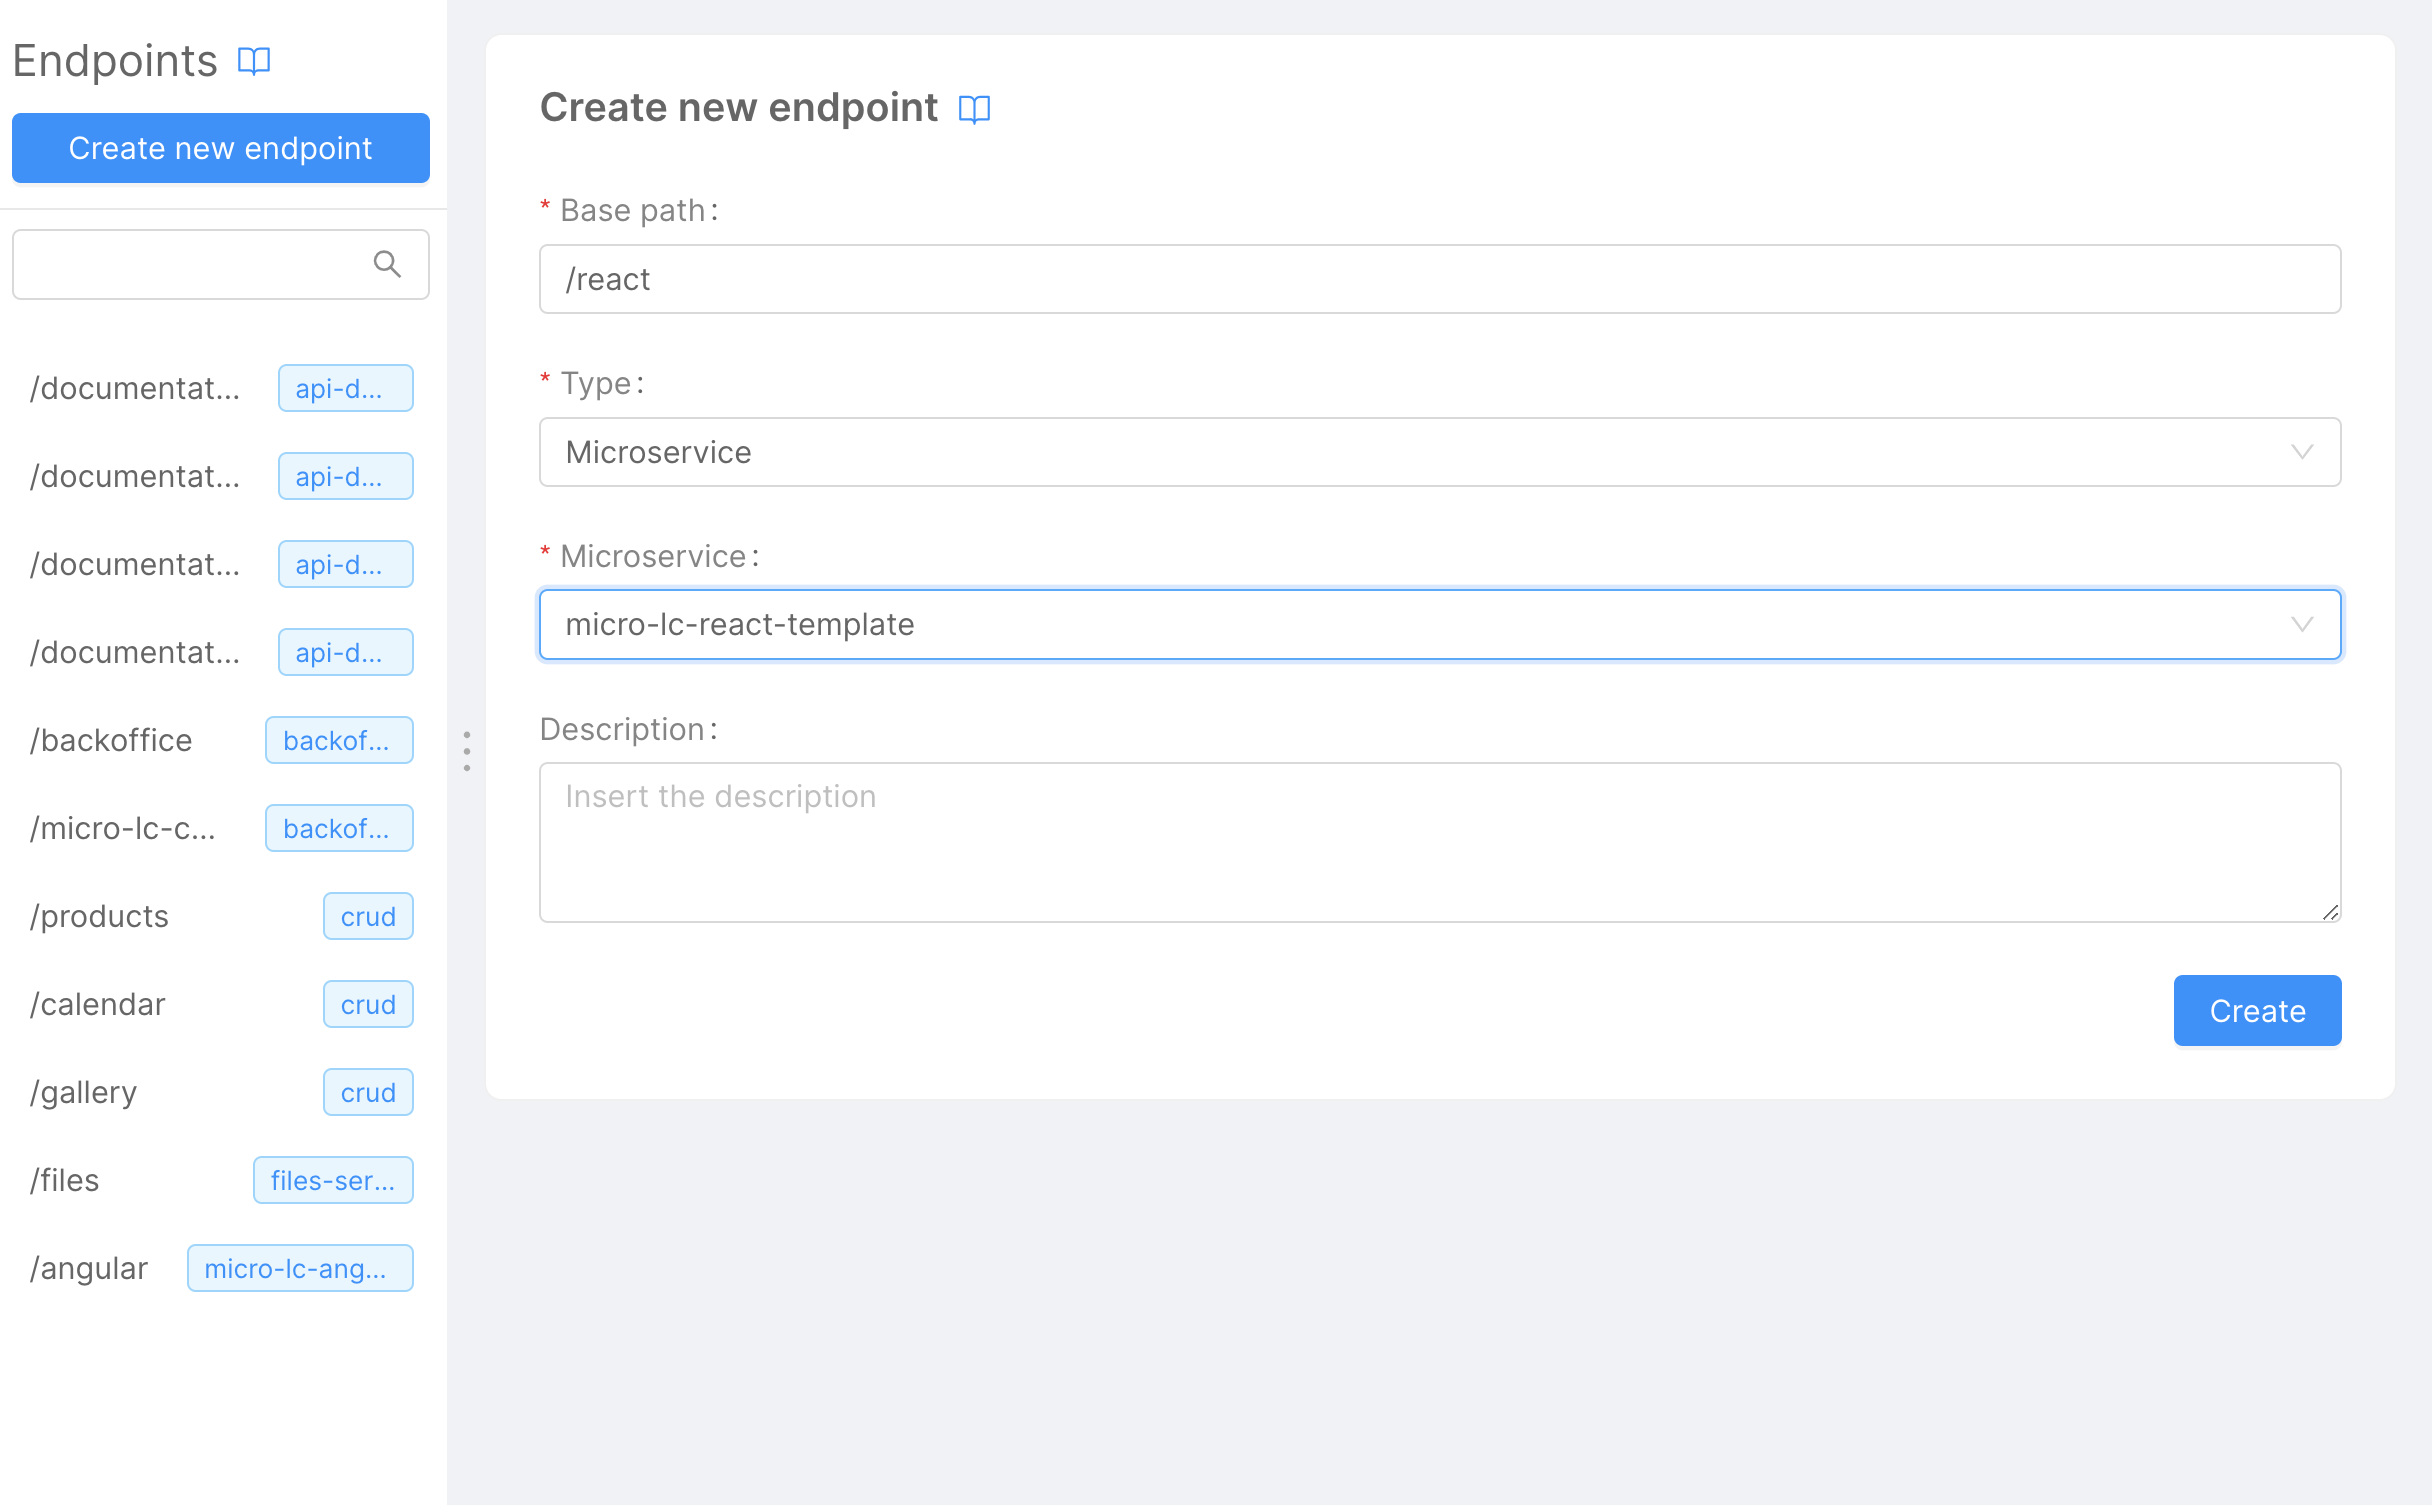
Create a new Microfrontend Composer Page using the React Microfrontend
Now we can create a new Microfrontend Composer page using the React microfrontend. This process is the same as with the Angular microfrontend. Use the Microfrontend Composer Configuration, in the Pages section, create a new page by clicking on the Create New Page button.
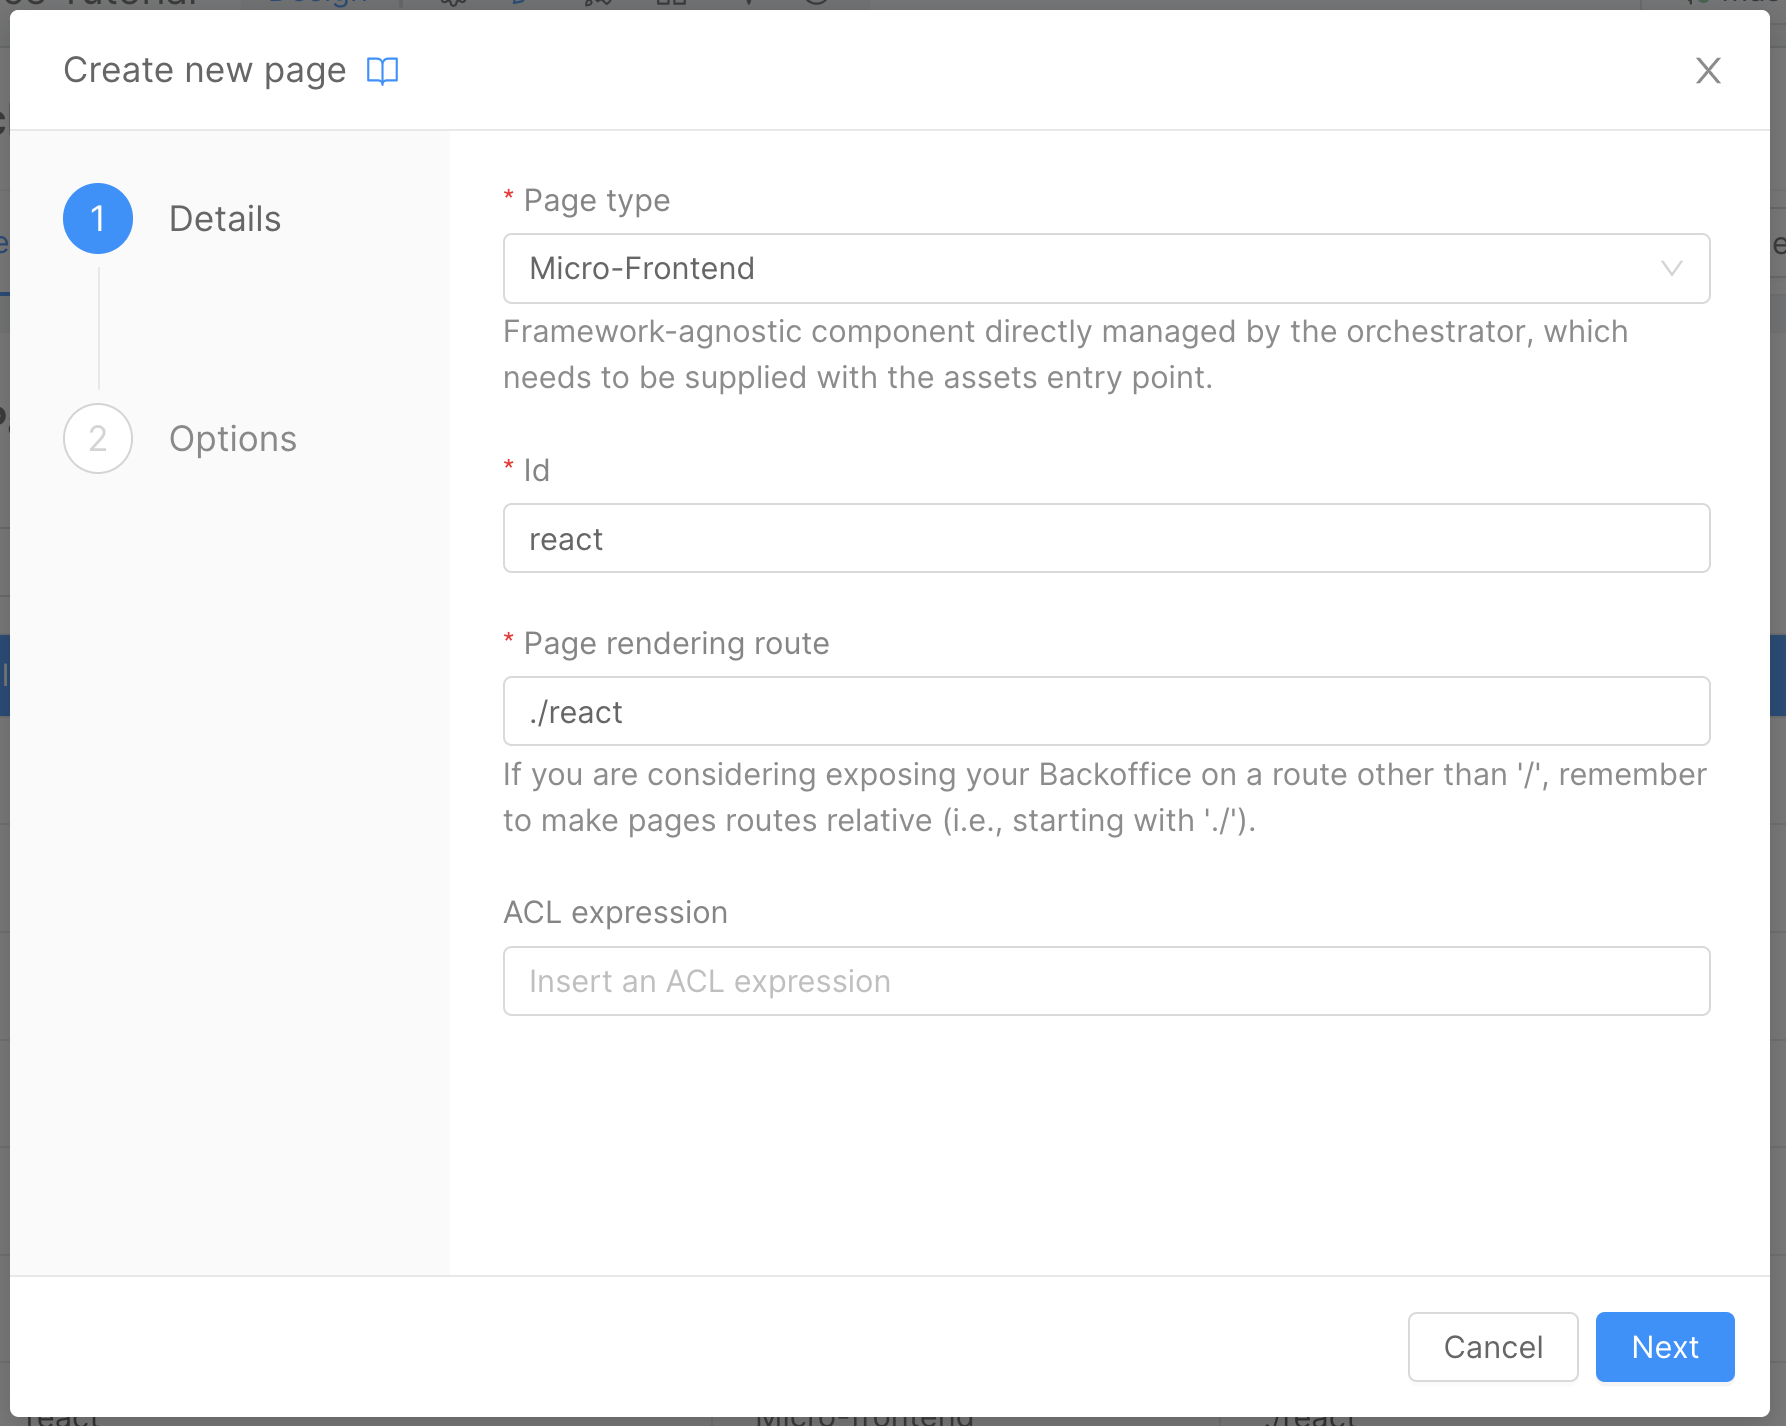
In the first wizard step, choose the Page type. In this case, select the Micro-Frontend option.
Provide an id for the page. For this example, we will use react, then provide a Page rendering route, using ./react.
In the second wizard step, provide an HTML entrypoint. Use {{your_address}}/react (the same address created in the endpoint step) and make sure that the Inject base field is flagged.
Click on the Save button and you will be redirected to the Microfrontend Composer page.

Add a new menu item to the Microfrontend Composer Menu
Now we can connect the page to the menu. To do that, return to the Layout tab and click on the Layout button on the left panel.
In the right panel, click on Edit Property under the Menu Items section. Then click on the Add Item button and provide a Label and a Id for the menu item.

Now save the configuration and deploy. Check the Save and Deploy section for more information.
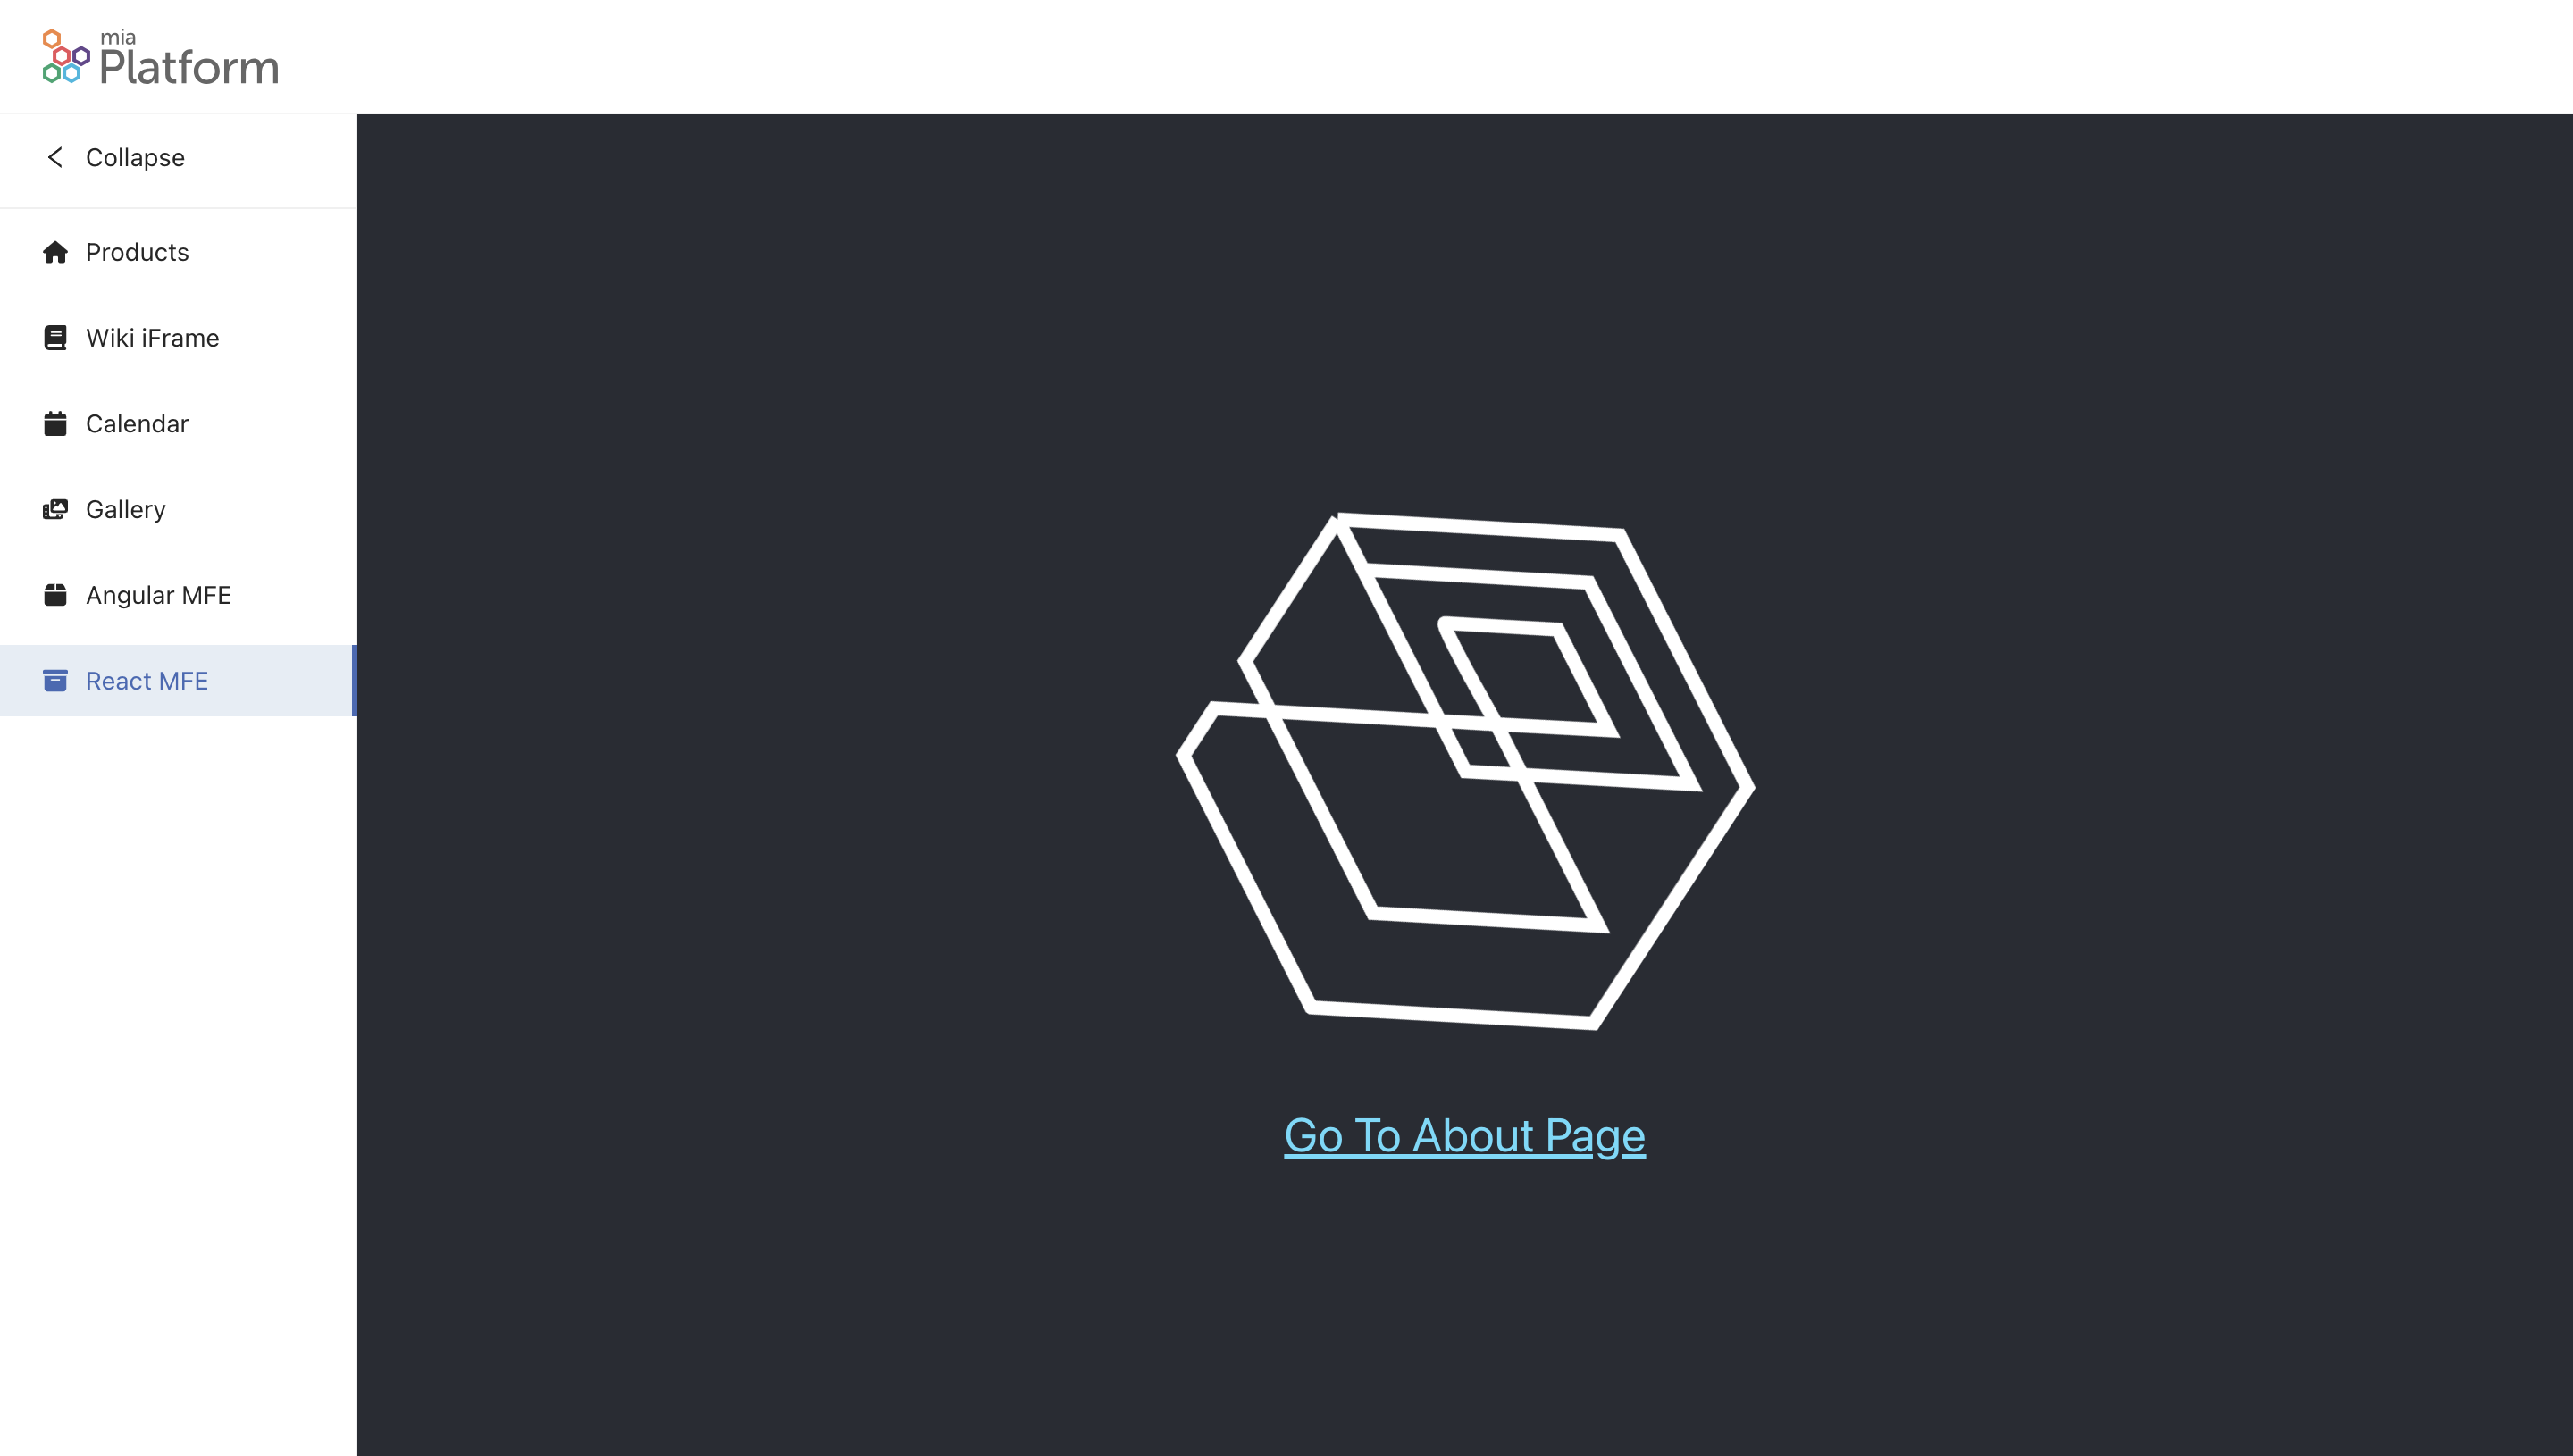
The output of the React page should look similar to the following:
Microfrontend Composer Tutorials
In this tutorial, we learned how to create new Microfrontend Composer Pages using Microfrontends.
Also, make sure to check out:
- The Microfrontend Composer Templates Tutorial where we explain how to configure other types of pages using the Microfrontend Composer Page Composer and an iFrame Page.
- The Microfrontend Composer Basics Tutorial where we demonstrate how to create a new Microfrontend Composer and how to create a new Microfrontend Composer Page using the Microfrontend Composer Table Template.