Integrate custom frontends into the CMS
The Content Management System (CMS) has been deprecated and it has been substituted by Microfrontend Composer.
The CMS provides a way to dynamically integrate external custom frontends into a dedicated side menu option.
To integrate this functionality there are steps to follow, all through the API Console.
Integration requirements
Following the requirements to integrate this functionality:
- access to the API Console into the desired project;
- a custom frontend already Dockerized;
- basic knowledge about the Console backoffice proxy name and backoffice proxy url customizations.
Note that this guideline is base on the Console version 5 and CMS version 7.x.x
Integration steps
Following the steps to integrate this functionality into the desired CMS.
All the steps to do are on the Console
1. CRUD - cmsmenu creation
First of all you need a CRUD named cmsmenu where you can store the menu options you want to create:
- Click on CRUD
- Click on Create new CRUD
- Create the CRUD with the following data:
- name: cmsmenu
- description: insert a custom description
- rows:
name: String (Required)_order: Number (Optional)icon: String (Required)link: String (Required)iframe: Boolean (Required)groups: Array (Required since Mia-Platform v5.6.1)cmsProperties: Object (Optional)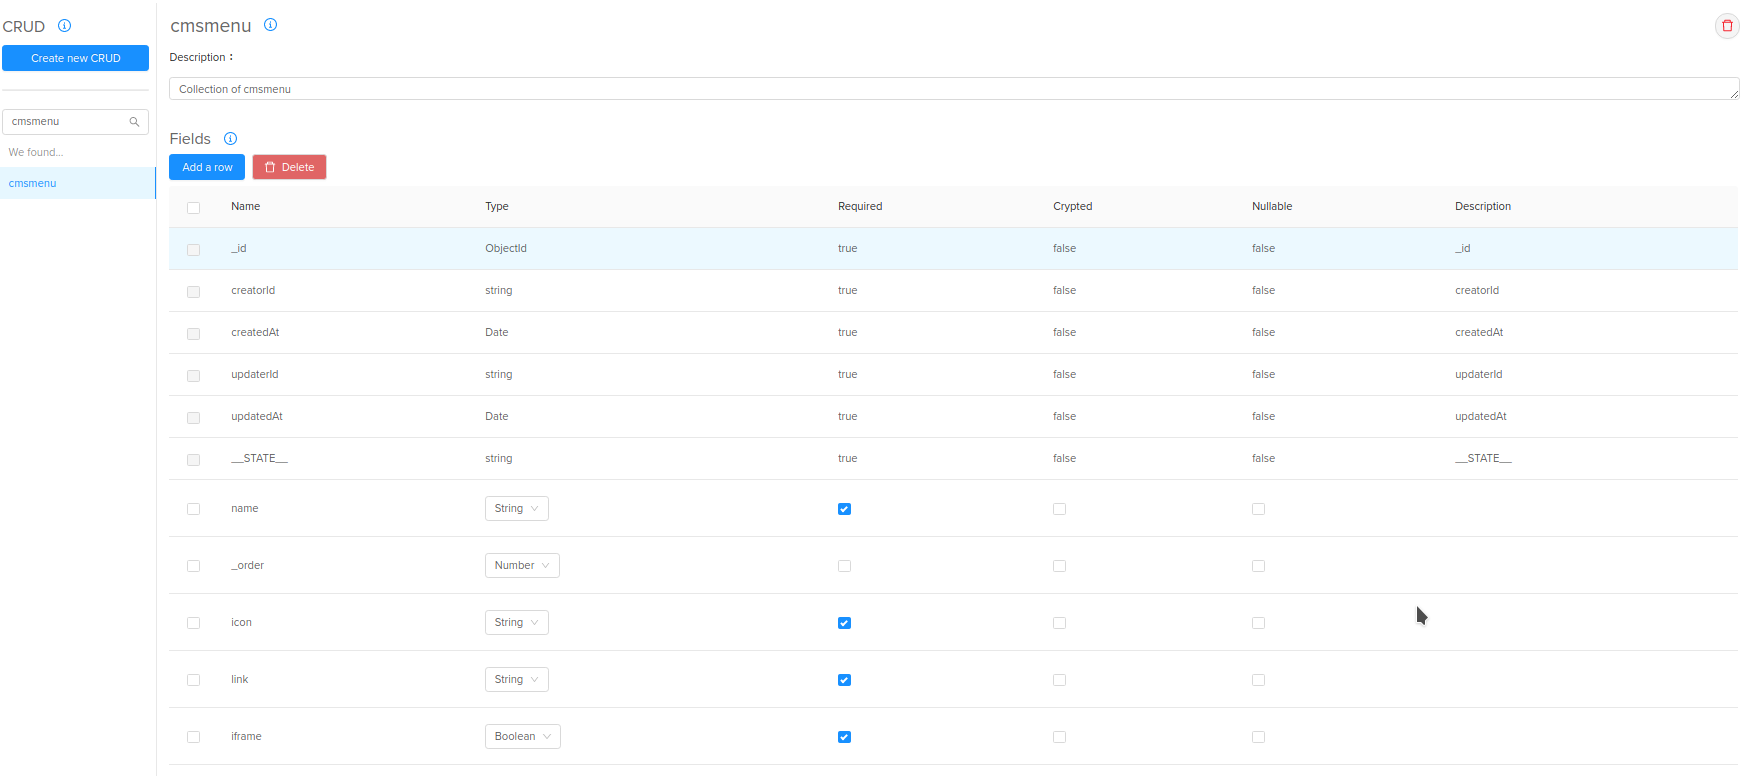
2. Service - create the microservice for your frontends
You also need to add the microservice of the frontends that you want to integrate into the CMS; note that the microservice must be already Dockerized.
- Click on Services
- Click on Create new service
- Select Create from an existing Docker image
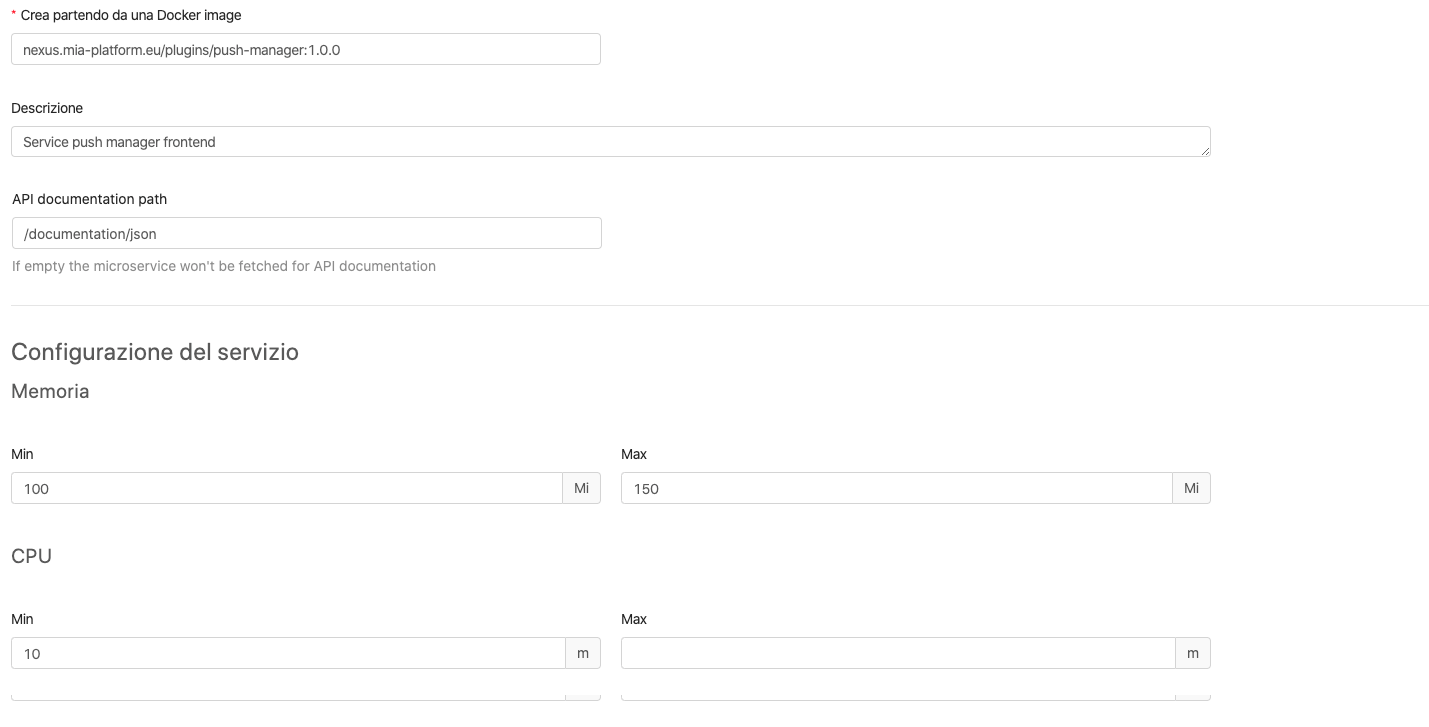
- Create the microservice with the following data:
- name: the name of your microservice
- Docker image: the url of your docker image
- description: insert a custom description
- the result will be something like this
3. Endpoints - create the endpoints
The CRUD and the microservice are not reachable until you create the corresponding endpoints through the following steps:
-
cmsmenu endpoint:
- Click on endpoints
- Click on Create new endpoint
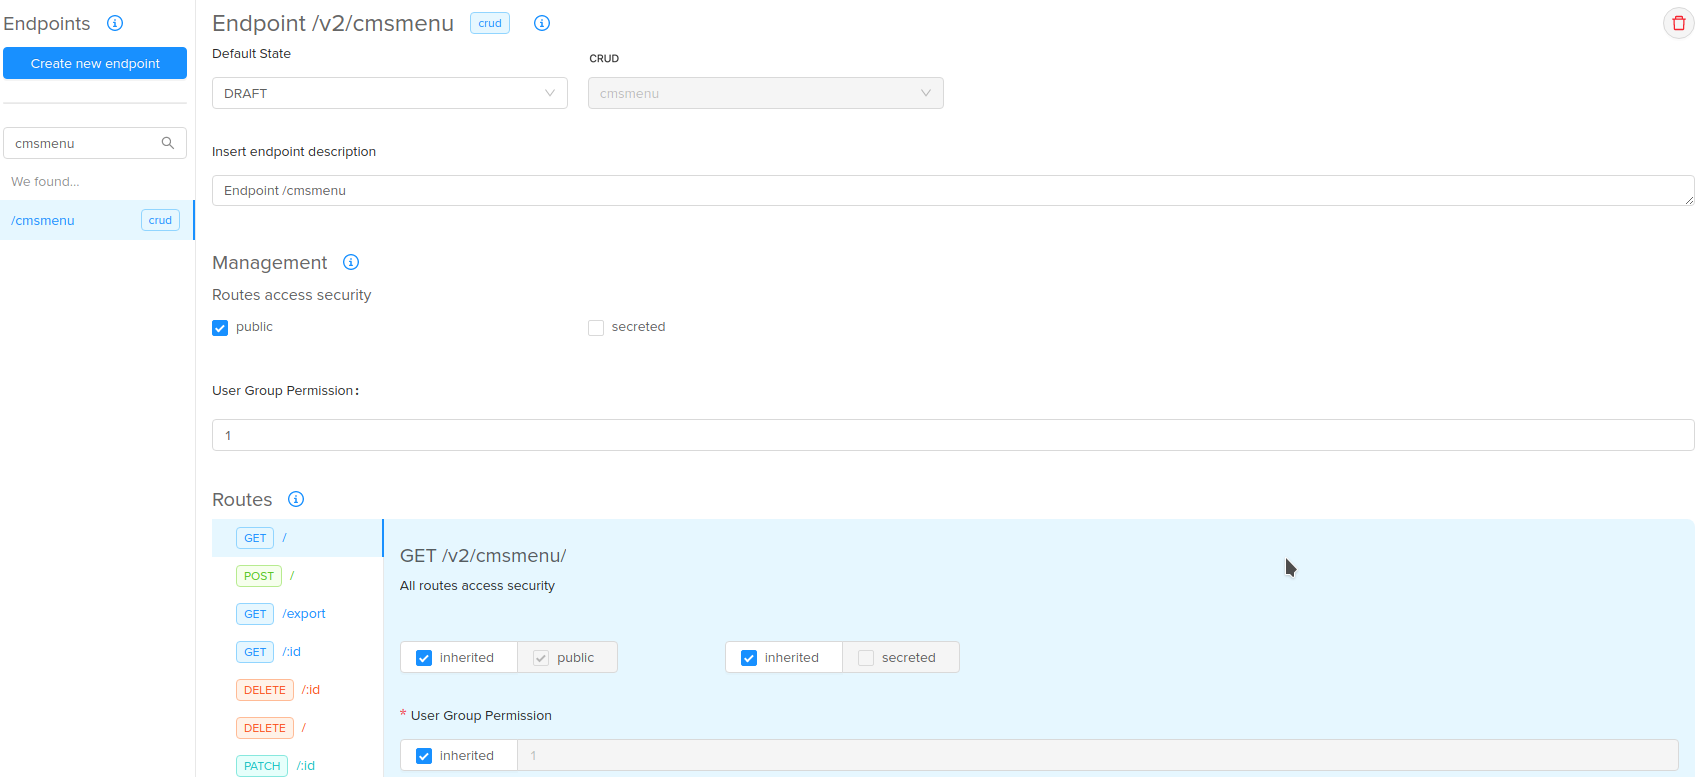
- Create the endpoint with the following data:
- base path: cmsmenu
- type: CRUD
- description: insert a custom description
- the result will be something like this
-
Microservice endpoint:
- Click on endpoints
- Click on Create new endpoint
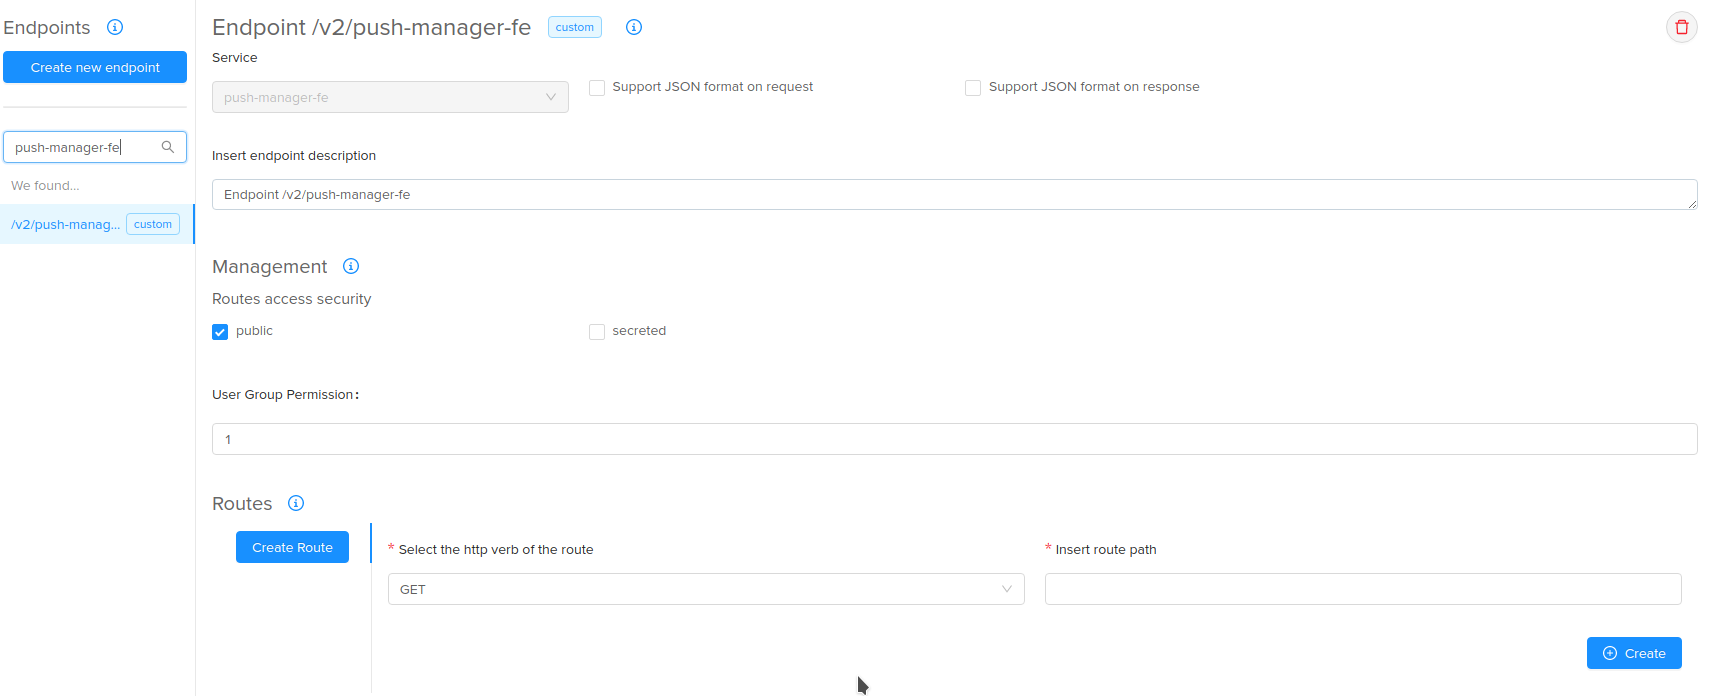
- Create the endpoint with the following data:
- base path: /custom-service-path
- type: Microservice
- description: insert a custom description
- Remember to uncheck the two fields
Support JSON format on requestandSupport JSON format on response - the result will be something like this
4. CMS configurations (optional)
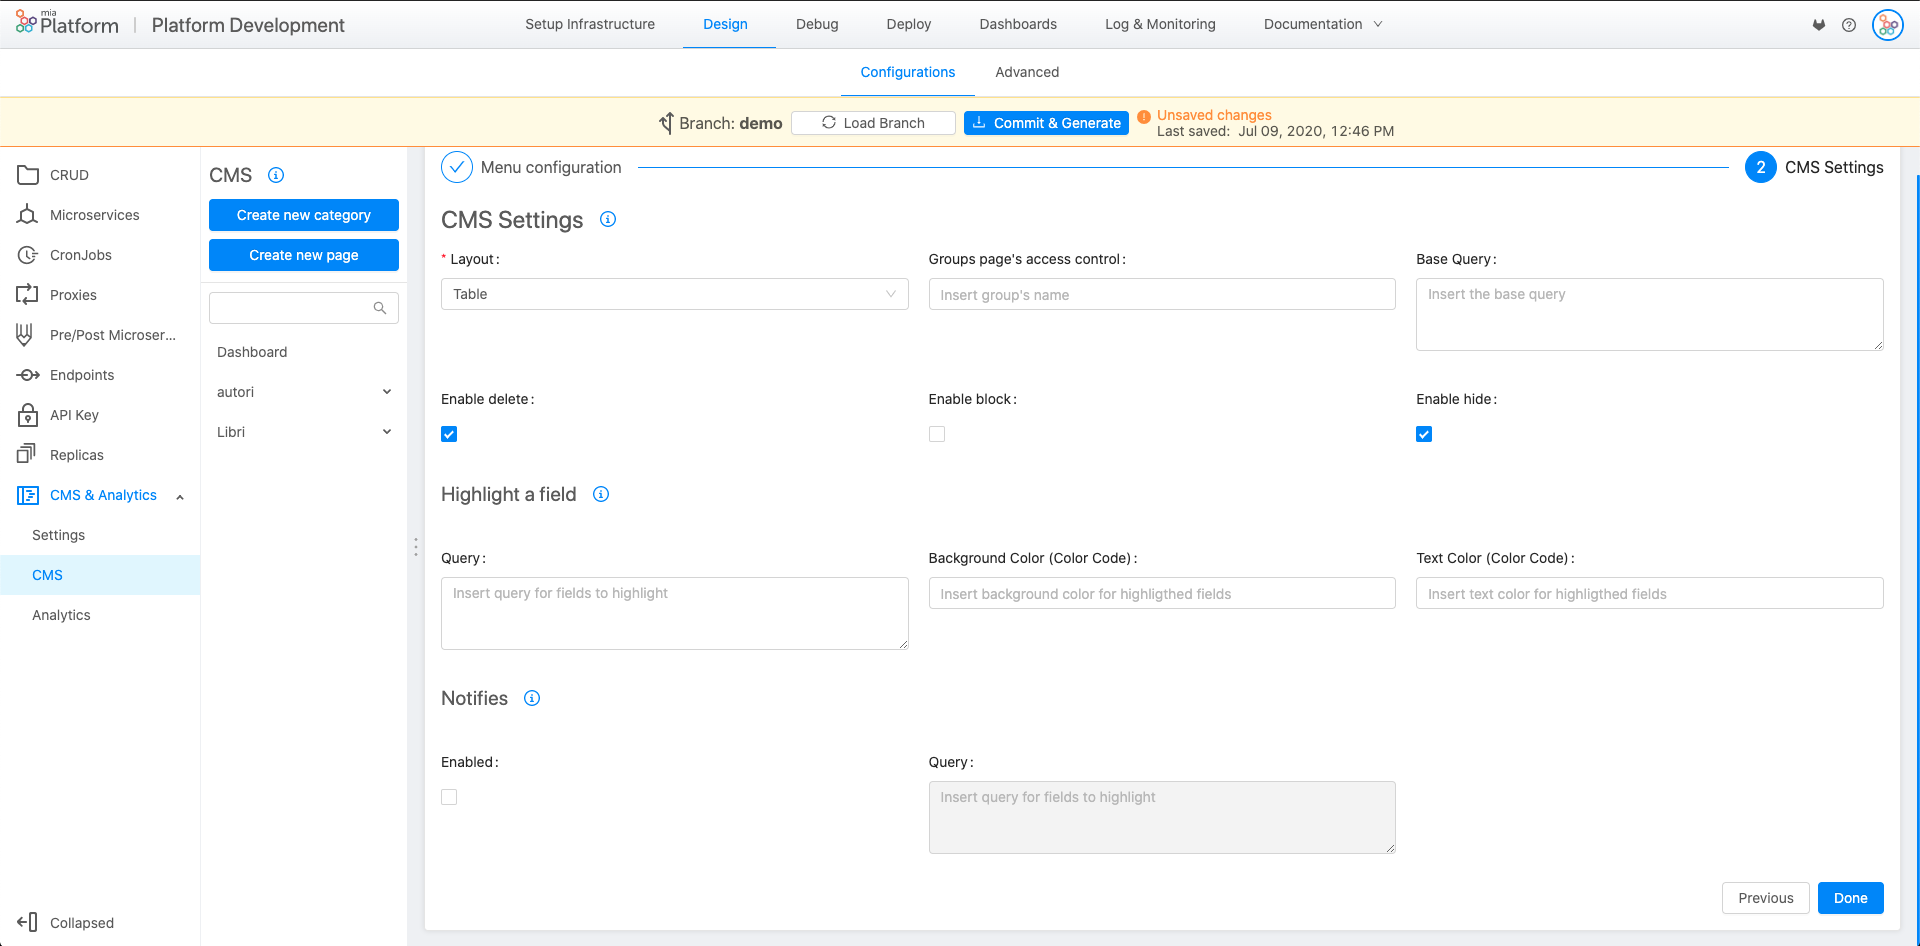
If you want to manage the custom menu configuration through the CMS you can create a page linked to the cmsmenu CRUD. This step is optional and not needed for the integration but useful to manage the configuration.
- Click on CMS and Analytics
- In the submenu, click on CMS
- Click on Create new page
- Create the page with the following data:
- name: the label that you want to visualize
- endpoint: /cmsmenu
- category: the category in which you want the page
- icon: insert the name of a Fontawesom Icon, without the fa prefix (e.g. bell for the notification bell)
- Click on the Next button
- Select the table Layout and eventually the group expression for the accesses
- Finish, the result will be like this
5. CRUD cmsmenu - insert data
It's time to insert the menu data in the cmsmenu CRUD to make the menu option visible.
name: the name you want to visualize in the menu
_order: the order of the page inside the category
icon: the name of the icon visible in the menu
link: the endpoint created for the microservice (and the path you want to reach in your frontend)
iframe: true if you want to open the frontend in the iFrame, false if you want to open in another tab
groups: you can set the required groups a user needs to be able to see the menu in the CMS
cmsProperties: is an optional property which allows you to set some additional experimental properties not yet added directly to the console interface:
category: expects an object with the propertyname:stringand allows you to define under which category to place the custom frontend.
NB: the name you assign must be created, otherwise you'll have the custom frontend sorted under a category named Undefined
To do this you have two ways:
-
insert the data in the CMS in the cmsmenu CRUD: insert a new object specifying the fields.
Example of the Push Manager microservice:
-
name: Push Manager -
_order: 1 -
icon: bell -
link: /v2/push-manager-fe/ -
iframe: true -
cmsProperties.category.name: Push ManagerIn this case the frontend is called in the path
/. If we wanted to reach the path home you need to put this path in the link: /v2/push-manager-fe/home.Publish your content with the publish button.
-
-
make a POST to the cmsmenu endpoint with the following body:
Example of the Push Manager microservice):
{
    "name": "Push Manager",
    "_order": 1,
    "icon": "bell",
    "link": "/v2/push-manager-fe/",
    "iframe": true,
    "groups": ["admin"],
    "cmsProperties":{
        "category":{
            "name":"Push Manager"
        }
    },
    "__STATE__": "PUBLIC"
}
6. Backoffice proxy - Advanced configuration
The last step is to configure the route to go in the correct microservice. To do this you need to go in the advanced section of the console and manage the Api Gateway backoffice files. The extensions to customize are:
-
maps-proxyBackofficeName.before.map to map an endpoint to a microservice name.
Example for the Push Manager microservice:
"~^secreted-1-GET-/v2/push-manager-fe/" "push-manager-fe";
"~^(secreted|unsecreted)-(0|1)-\w+-/v2/push-manager-fe/" "unauthorized"; -
maps-proxyBackofficeUrl.before.map to proxy an endpoint to another url.
Example for the Push Manager microservice:
"~^GET-/v2/push-manager-fe/(?<path>.*|$)$" "$path";
According to your use case you can put the customization in both before or after file.
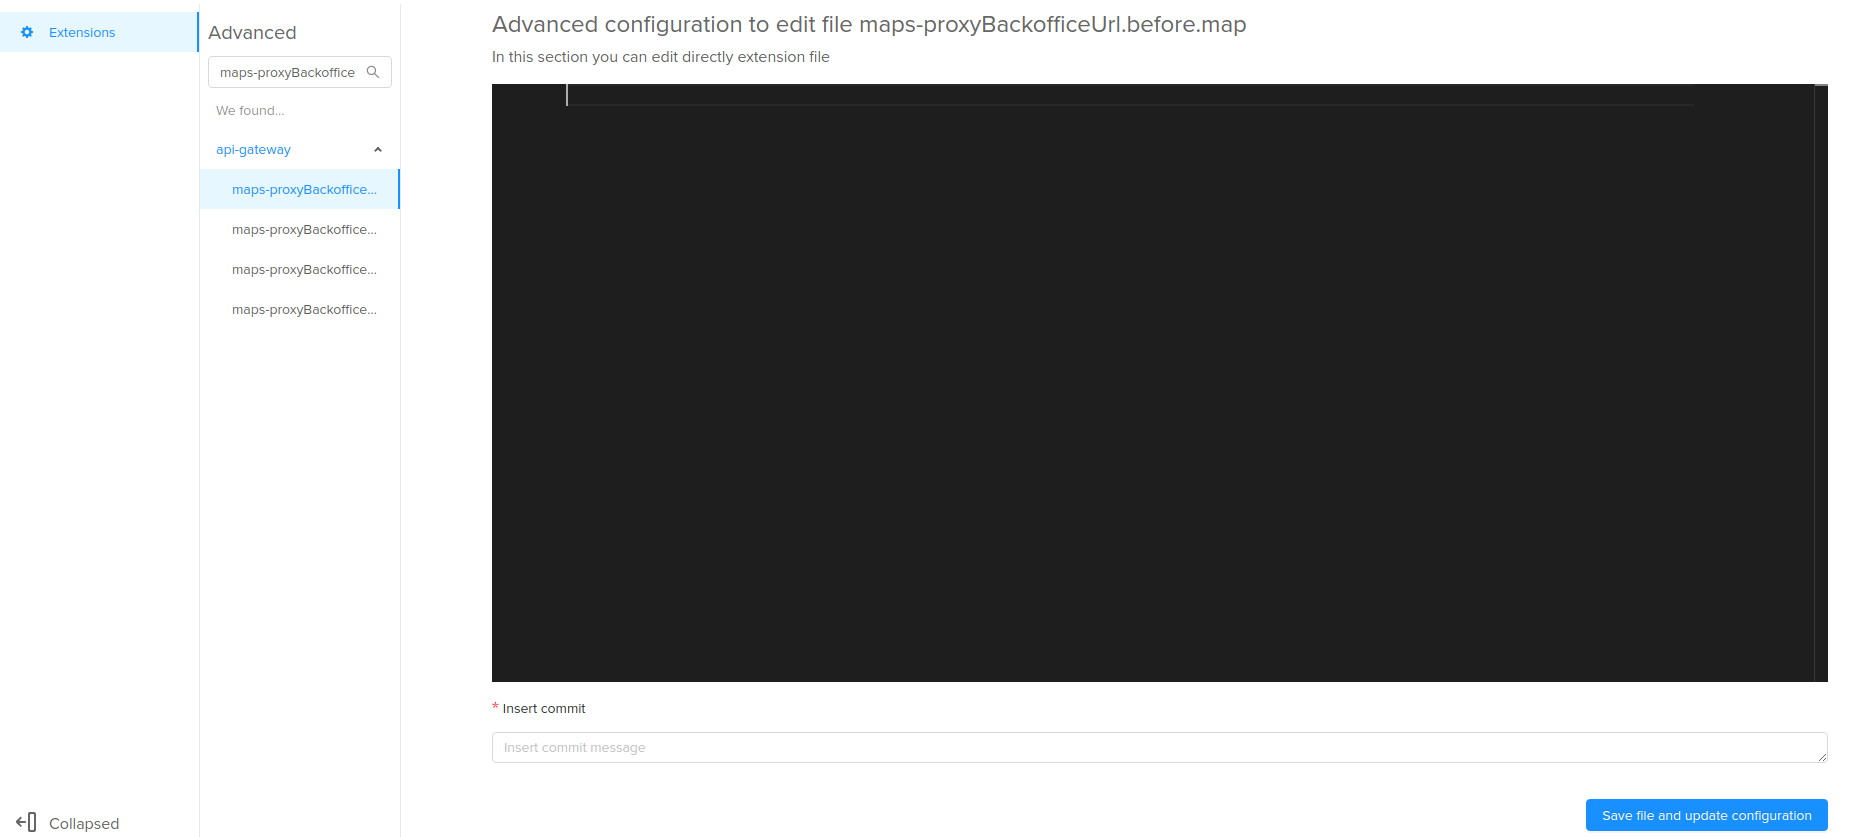
To customize these files:
- Click on Advanced
- Click on api-gateway
- Search maps-proxyBackoffice
- Customize the configurations
- Save and commit
It's time to deploy the configuration.
Result
Once the configuration is deployed you will see the result in the CMS as follows