Create a Company
A Company is a resource that provides governance on all the Projects it contains.
Within a Company, it is possible to:
- configure the infrastructure on which new Projects will be based;
- analyze the configuration of all existing Projects;
- manage users and permissions.
SaaS
To create a new Company in the Mia-Platform SaaS Console, open a Service Request and the Company will be created for you.
On-Premise
Before creating a new Company in a Mia-Platform On-Premise Console installation, contact your Mia-Platform referent.
Once you made sure you meet all the necessary requirements to create a new Company, you can continue with this guide.
The next steps will guide you through all the processes to create and correctly configure a new Company.
Requirements
To create and configure a Company, you must have:
- access to the Console CMS (granted by the
console_cmsgroup) Console Super Userrole, orconsole.root.company.createpermission
Create a Company from the Console
The easiest and most straightforward way to create a Company is to do it through the Mia-Platform Console.
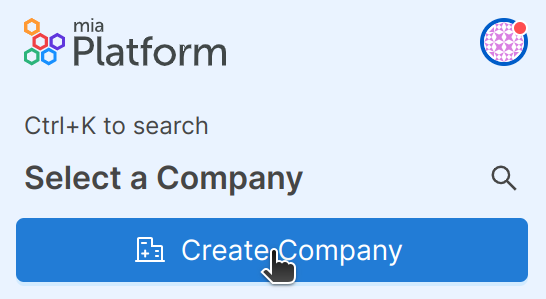
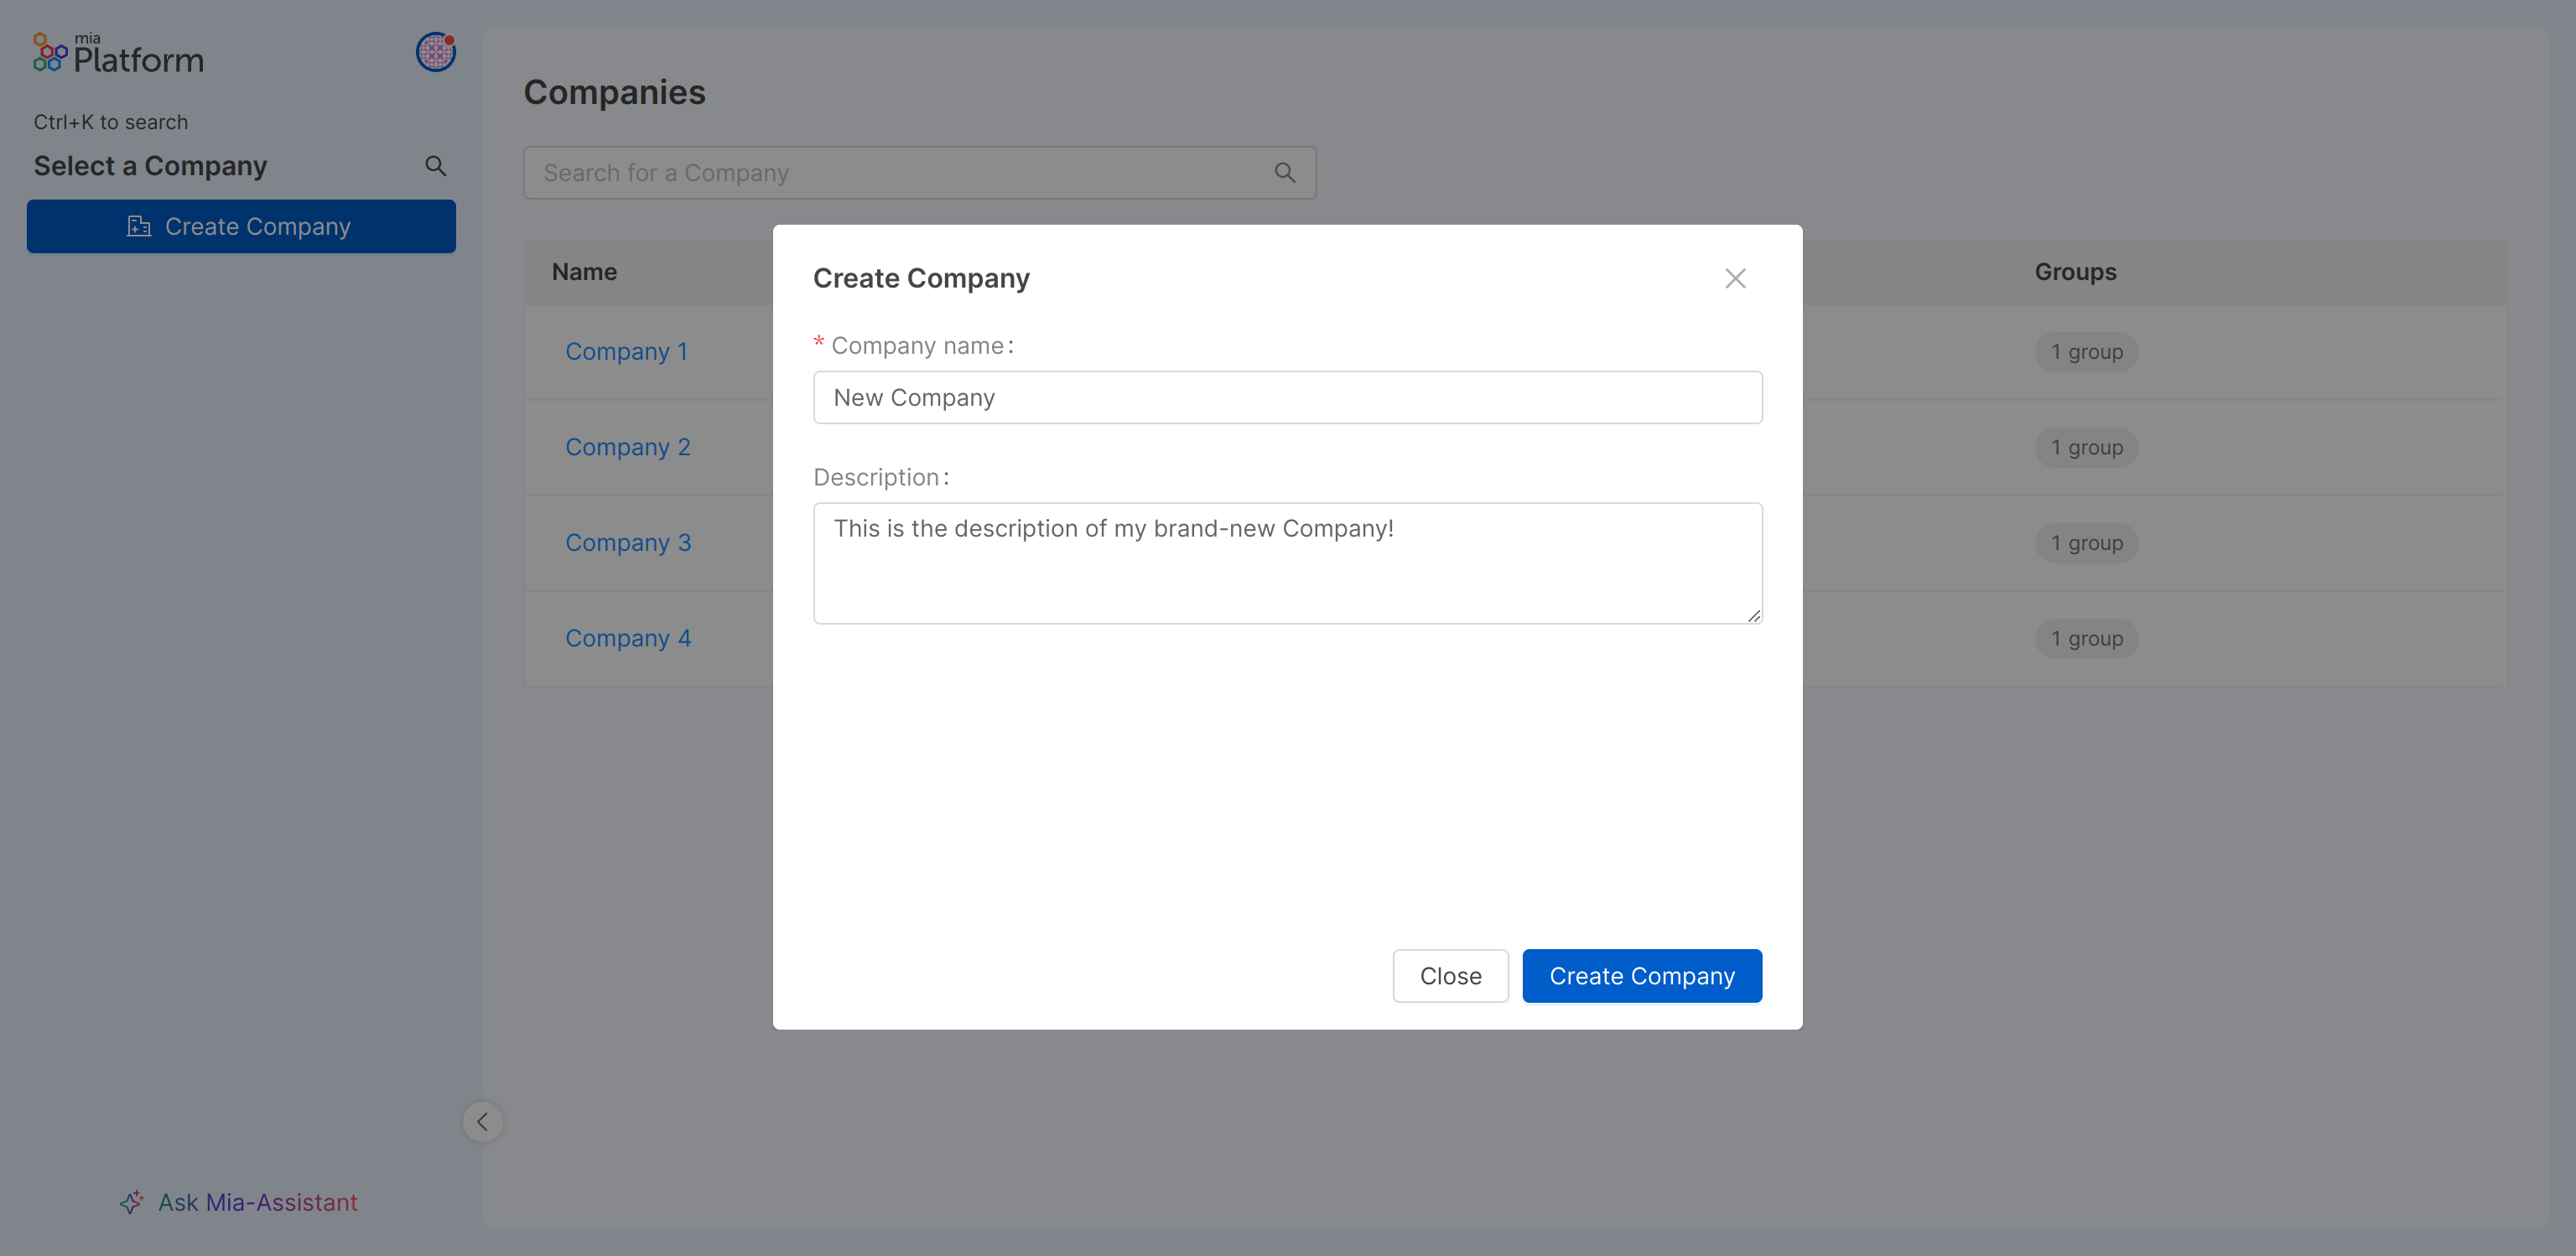
From the main screen, a simple click on the “Create Company” button will open a modal that requires 2 pieces of information to be entered: Company name (required) and description. Once entered simply click on “Create Company” to confirm the creation, and the new Company will appear in the table.


Create a Company from API
You can create a new Company by making a POST request to the /api/backend/companies API.
Endpoint /api/backend/companies has been deprecated in favor of the new endpoint /tenants.
This API is visible inside the Console API Portal ({{CONSOLE-HOST}}/documentations/api-portal/), under the Companies tag.
You will be asked to set the name and the description of the Company to add (only name is required).
In addition, you will be added as the first Company user with the role of Company Owner.
Example call
curl --request POST \
  --url "https://{CONSOLE_HOST}/api/backend/companies" \
  --header 'Accept: application/json' \
  --header 'Content-Type: application/json' \
  --header 'Authorization: Bearer {TOKEN}' \
  --data   '{
           "name": "your-company-name",
           "description": "your-company-description"
           }'
where CONSOLE_HOST is the base path of your Console installation and TOKEN is the access token to use to create the new Company.
Create a Company from CMS
It is also possible to manually create a Company from the Console CMS.
However, you will lose some of the automation provided by the Company creation API, such as adding the first user or providing a Company unique identifier.
It is recommended to use the API to create a new Company. Use this method only if strictly necessary.
Detailed guide
Create the Company
Visit the Console CMS page and open the Companies section.
Click the Add new button, you will be asked to provide an id, a name, and a description for the Company (only id and name are required).
You will be able to set all the optional fields after the creation of the Company. For further information regarding other configuration fields, visit the dedicated section later on this page.
Add the first Company User
Once your Company has been created using CMS, you need to associate the first user to be able to access the Company from the Console. The first user may either be yourself or another user on the Platform.
Regardless, head over to the CMS page and click the Bindings menu item.
Only a restricted set of users have access to the users' management section in CMS, contact your Console Administrator to obtain the right permissions to access this functionality.
In the Bindings section, click the Add new button and fill in the form:
- type a custom Binding ID
The Binding ID must be unique in the whole collection!
As a general recommendation, we suggest {companyId}-{desiredRole}, however in some cases, a more complex structure may be necessary.
-
select the proper Role (since it is the first user, it is recommended to set the role
Company Owner) -
select the correct user as Subject
-
assign the correct Resource by filling it with an object as follows:
{
  "resourceType": "company",
  "resourceId": "{THE COMPANY ID YOU PROVIDED UPON CREATION}"
}