Migrate or Create Project with the Enhanced Workflow
In order to adopt the Enhanced Workflow on your Projects, you can either create new Projects with this feature already enabled or migrate already existing Projects from the Standard to the Enhanced Workflow.
Create a new Project with Enhanced Workflow
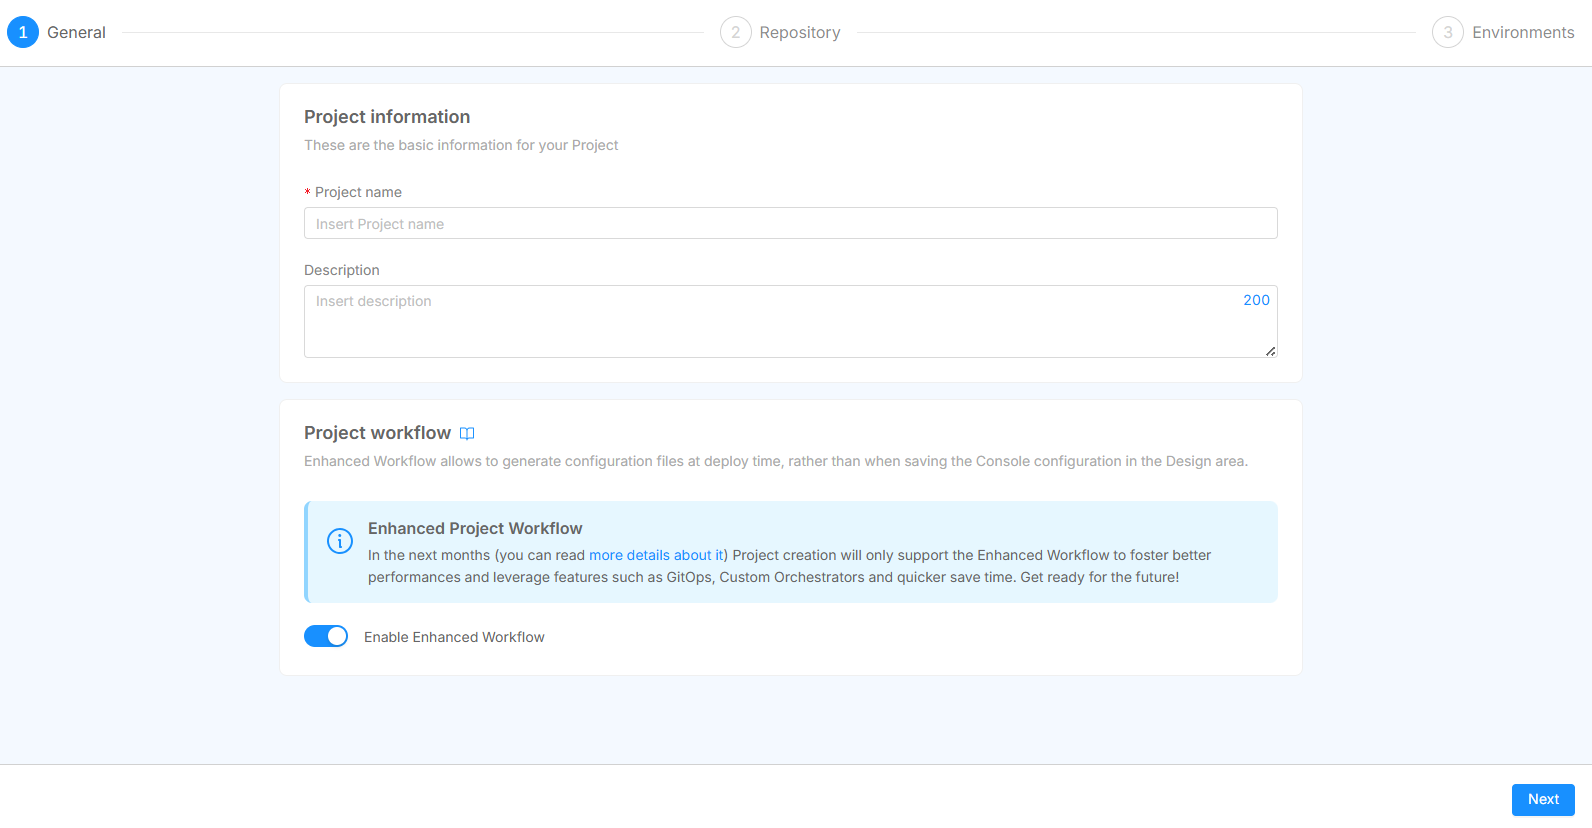
Newly created Projects will use the Enhanced Project Workflow by default from the very first moment of their life following the Project creation process.
By disabling the Enable the Enhanced Project Workflow switch, it is still possible to create a new Project with the Standard Workflow

When making this choice, also make sure the Project Template you wish to start from is already supporting the new folder structure required by the Enhanced Project Workflow.
If not, you can still start from any template and after the Project creation you may have to follow the migration guide in order to adapt the created Project repository to the new folder structure.
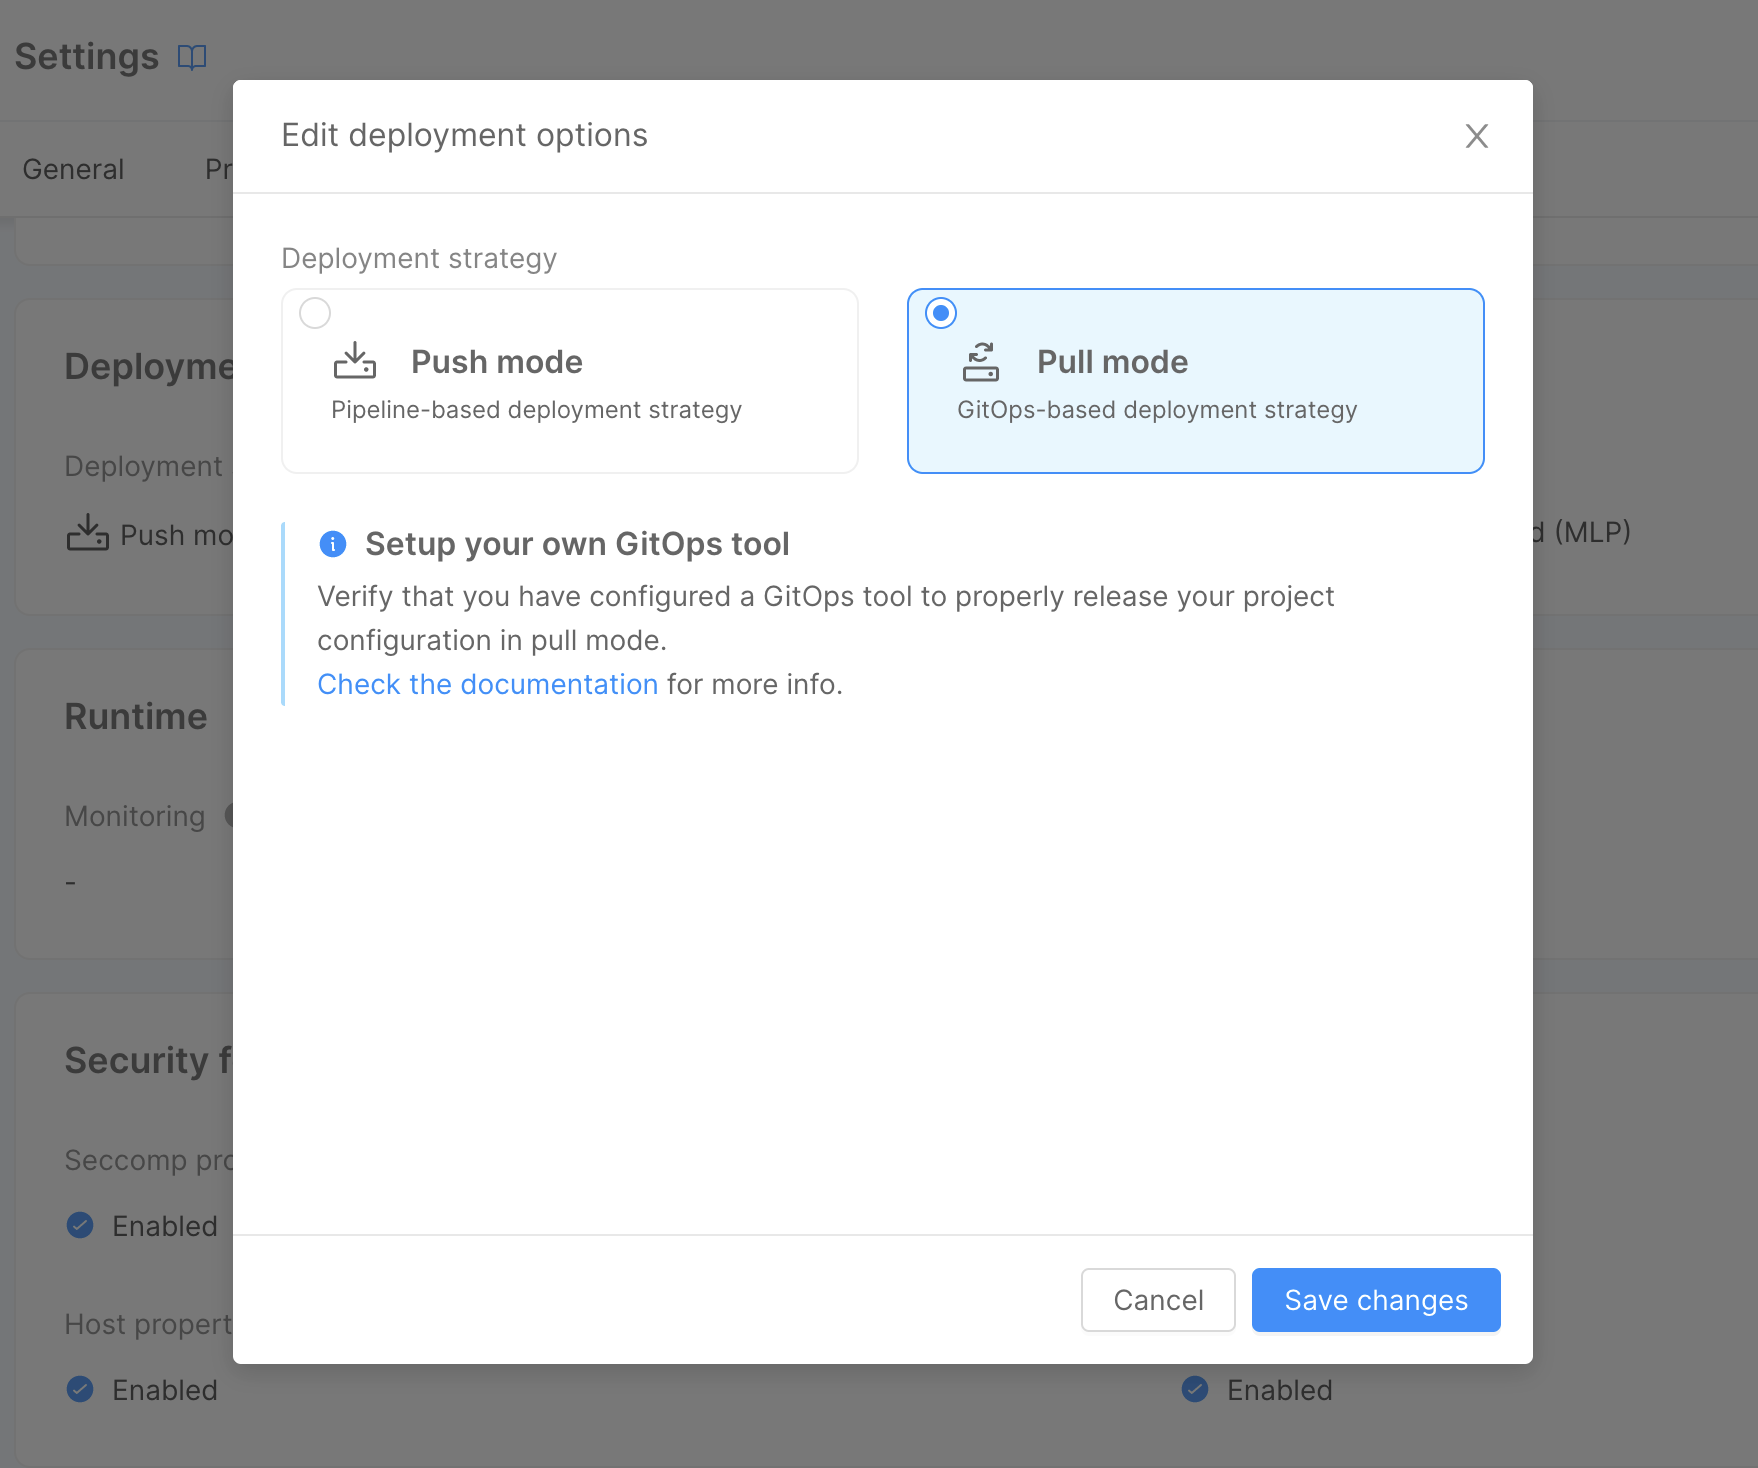
After the Project creation is completed, in the Project Settings, you will be able to select the deployment strategy between Push (for Pipeline-based deployments) and Pull (for GitOps-based deployments).

Migrate existing Projects
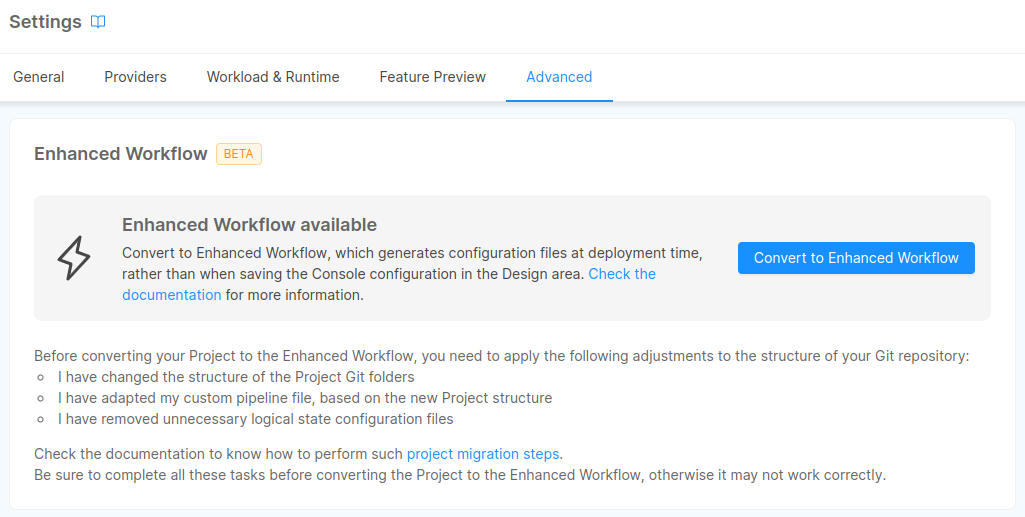
To enable the Enhanced Project Workflow on an existing Project, head to the Advanced tab in the Project Settings page and press the Convert to Enhanced Workflow button.

Enabling the Workflow on an existing Project will not make any changes to the Project repository, so make sure to follow the migration guide below before converting the Project to the new workflow.
Enable the Workflow on a whole Company
If you want to ensure that all Projects in your Company adopt the Enhanced Project Workflow, you can open a service request and ask for the support of a Mia-Platform referent in order to activate the ENABLE_CONF_GENERATION_ON_DEPLOY feature toggle at Company level. The activation of this feature at the Company level also disallows the creation of new Projects with the Standard Workflow.
Steps to migrate your Projects
In order for the migration to succeed, there are some manual adjustments that need to be performed, which can be summarized with the following steps:
- Secret Variables security enforcement
- Git repository structure clean-up
- Feature activation
- Default revision setup and adjustment of a few Project Settings
Secret Variables Security Enforcement
Despite secrets providers are supported in the Enhanced Project Workflow as these currently are in the Standard Workflow too, there are a few constraints to consider when migrating to this workflow whether you are planning to use a Push or Pull deploy strategy.
When using PUSH mode (pipeline-based deploy) all secrets providers supported in the Standard Workflow are supported as well; You can define secrets and use them in your Projects as you always did.
When using PULL mode (GitOps-based deploy), only Secrets stored in Vault are currently supported.
Altough Standard Workflow allows you to interpolate Secret Variables on your Project, we discourage this usage pattern. This practice opens severe security implications, exposing values that are supposed to be secret as plain text when inspecting containers on Kubernetes.
To avoid this bad practice to be used, Secret Variables interpolation is not supported on the Enhanced Project Workflow. Please make sure to fix any Secret Variable usage before migrating to the Enhanced Workflow.
Git Repository adjustments
With the new Workflow we changed the way Console organizes the Git repository.
Previously, Console supported two different folder structures based on whether the Project used kustomize or not.
With the new workflow Console uses a single common structure for both the cases. This structure contains the following directories:
environments: this one is automatically generated by the Console and contains one directory for each environment. Here are stored all the configurations files generated at each deploy.configuration: contains your global customization files to be applied to all environments. If the Project useskustomizethere will be also akustomization.yamlmanifest file.overlays: containing one directory for each environment. Here all your environment-specific patch files are stored, as well as akustomization.yamlmanifest if you are usingKustomize.
The final repository structure should be similar to the following:
├── overlays
│ ├── dev
│ │ └─── <dev custom file>
│ ├── production
│ │ └─── <prod custom file>
│ ├── other_env_id
│ │ └─── <env_id custom file>
│ └── ....
│
├── configuration
│ └─── <global custom files>
│
├── environments
│ ├── dev
│ │ └── <k8s config files>
│ ├── production
│ │ └── <k8s config files>
│ ├── other_env_id
│ │ └── <k8s config files>
│ └ .....
All the contents of the environments directory are generated from scratch each time, any additional file that is not managed by the Console will be overwritten!
The migration process for the git repository differs depending on whether the Project is using kustomize or not.
Follow the right section for your Project to correctly update the git repository:
- Plain
- Kustomize
Edit overlays/:environmentId/kustomization.yml file and replace the path ../../configuration with ../../environments/:environmentId.
When generating the environments/:env/kustomization.yml, the Console will automatically import the configuration/kustomization.yml if present.
Your kustomization.yml file should look like this:
apiVersion: kustomize.config.k8s.io/v1beta1
kind: Kustomization
resources:
- ../../environments/dev
Within the configuration folder you have to delete all the k8s configuration files previously handled by the Console. Leaving only the kustomization.yml and your custom files (if any).
Create a folder named overlay and one subfolder for each environment of the Project. These subfolders should be named using the environment Id.
To do this, you can refer to the example structure just above.
Move every k8s configuration file from the configuration/:envId to the relative directory just created inside the overlays folder.
The configuration folder should then contain only global customization files (if any).
Other common cleanup for git repository
-
If you have a pipeline file (e.g.
gitlab-ci.yml) it may contain deployment scripts that may work based on the previous directory structure. For this reason, custom pipelines have to be updated according to the new directory structure; if your Project is using a pipeline provided by Mia-Platform templates, a new template can be used: please ask your Mia-Platform referent to know which one. -
All the Console configuration state files and directories that were previously saved on Git can now be safely removed.
Here is a list of the files and directories that can be deleted:api-console-config.jsonfastdata-config.jsonmia-craft-config.jsonrbacManagerConfig.jsonbackofficeConfigurations.jsonconfig-mapsconfig-extensionvariablesoverlays/:env/variables.env