Create a Project
A Project is a resource composed of a set of APIs, microservices, and applications whose lifecycle can be entirely managed and developed through the areas of the Console. When you create a new Project, you will be able to configure it from scratch.
Requirements
This section informs you about the requirements needed to create a new Project. In particular, you need to have already set up your Console and configured these three resources:
Company: a company is a resource that has governance on all the projects it contains. It also provides the default information (providers, environments, CI/CD integration, and cluster information) that will be inherited by newly created projects. To create a company, please refer to the create company guide.
Git Provider: the Git Provider is the resource that will be used by the Console to correctly retrieve the third-party service configurations needed by your projects. You can create a Git Provider for your company by following the procedure described here.
Template: a template is a repository with pre-filled configurations. Each company can have one or more templates. The template allows you to pre-fill resources in your Project and start similar projects with the same configurations. In short, it constitutes a base from which your Project will be created. Here you can find a guide on how to handle Project templates.
Once you have at least a provider, a company, and a template correctly configured, you will be able to create a new Project.
To create a new Project, you must have the permission console.company.project.create.
Creation process
The Project creation process is divided into three phases:
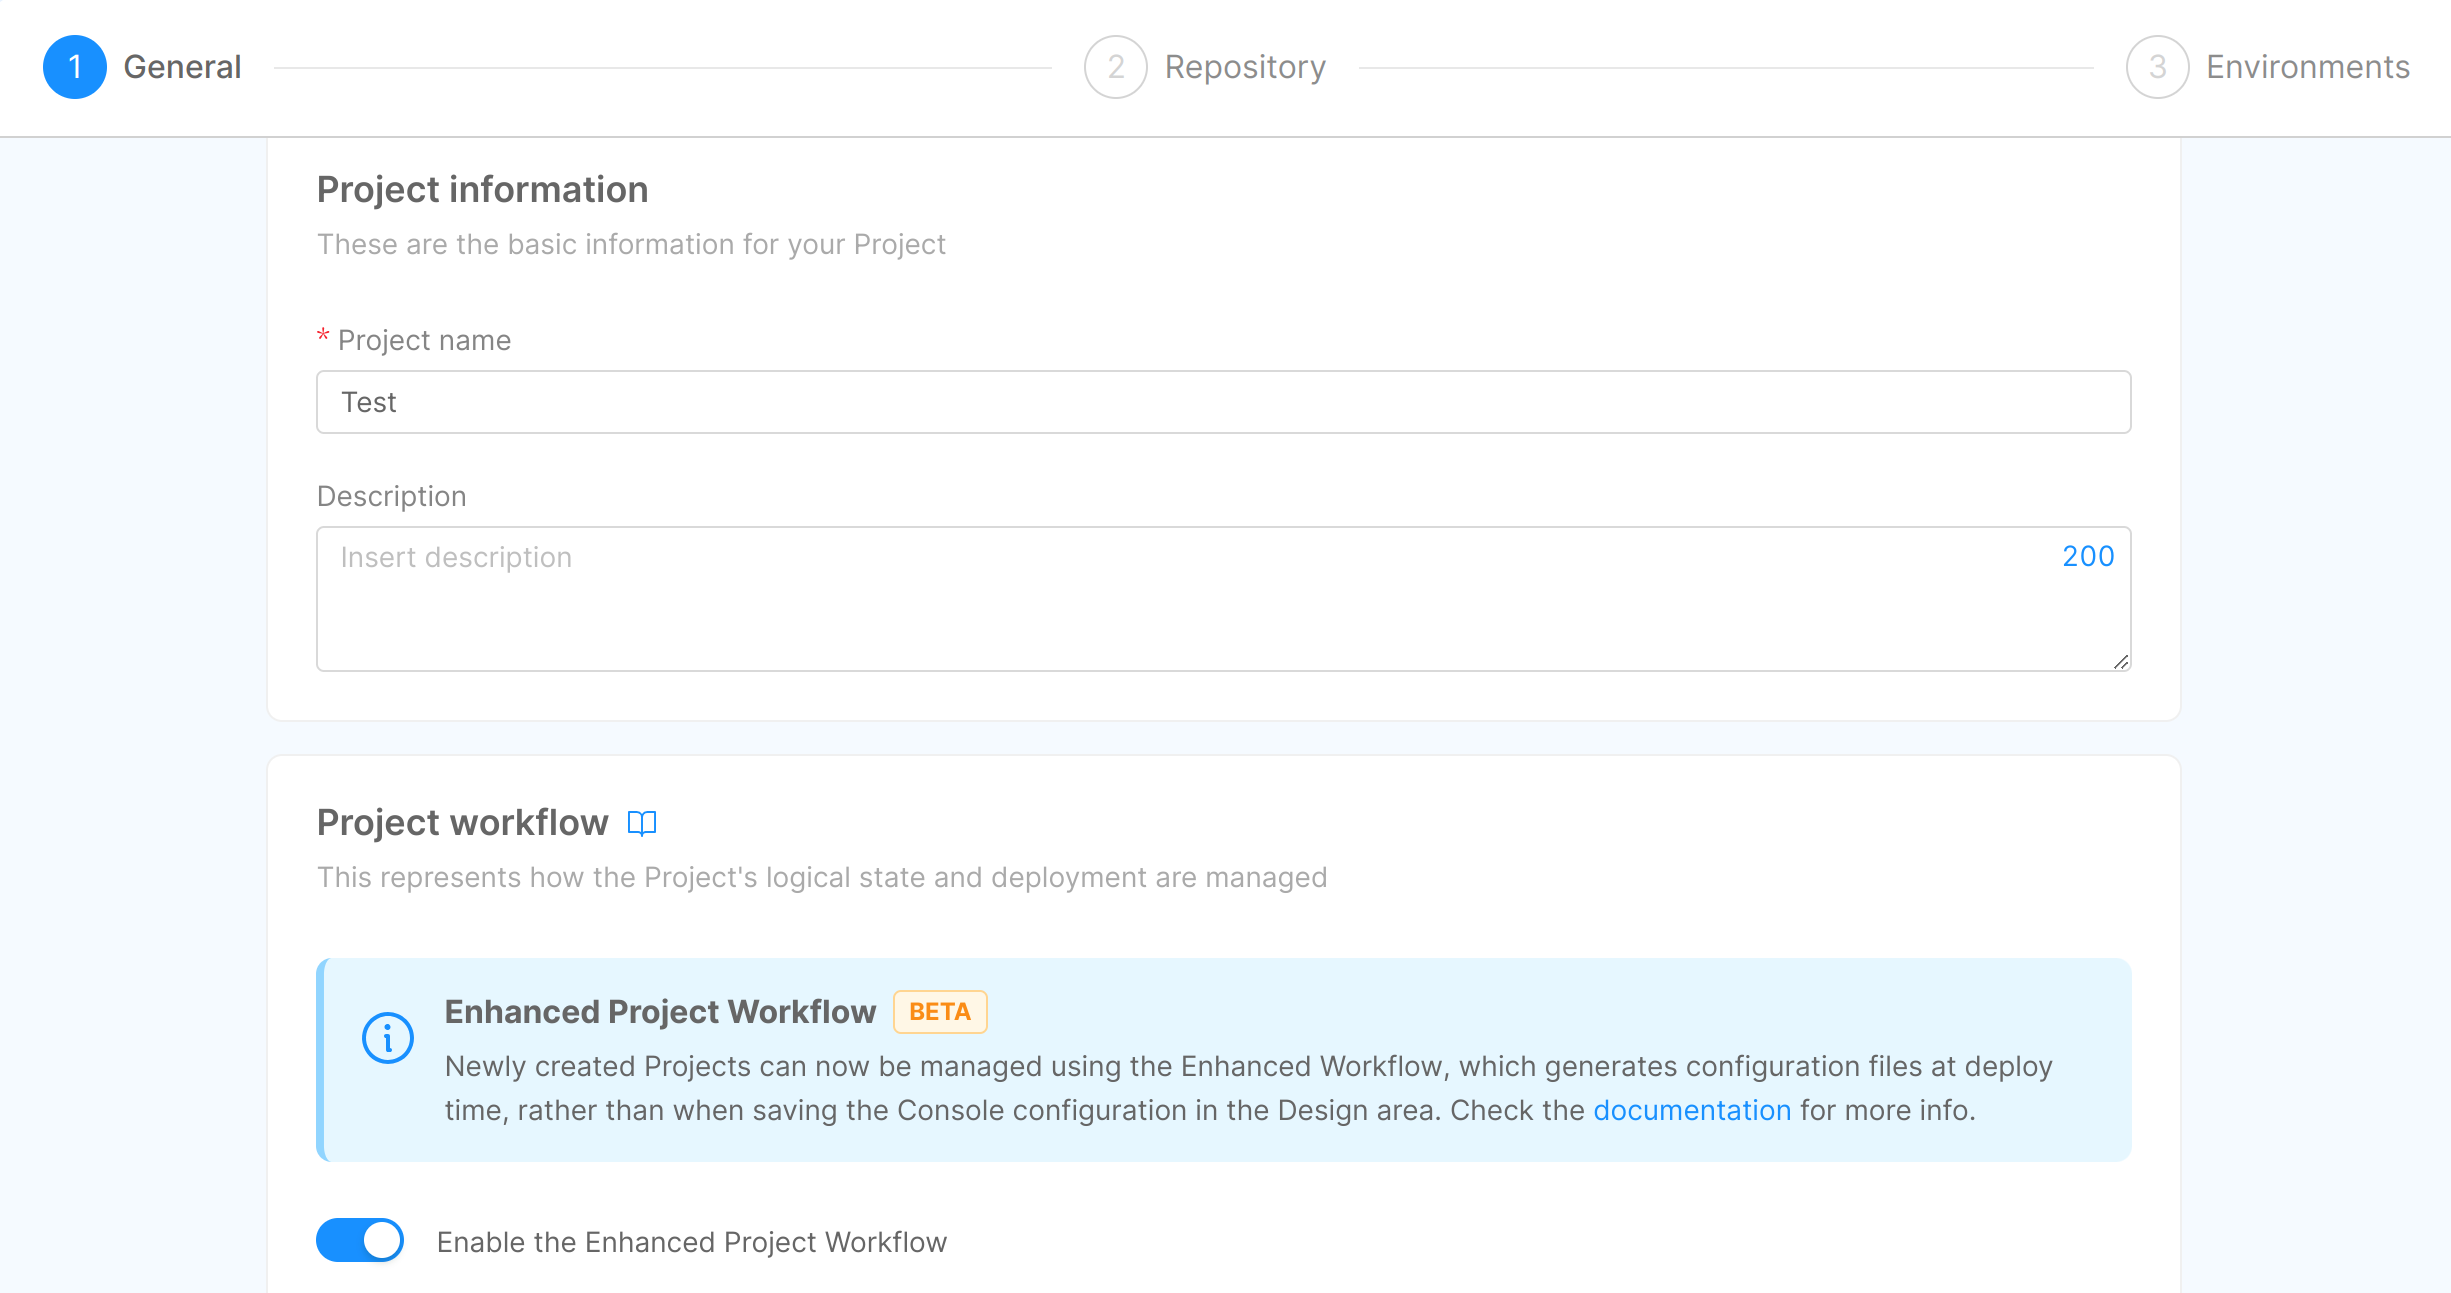
General: in this phase, you will be asked to insert general information about your Project:
- Company (required): the company that you want to create your Project into, selected from a list of pre-configured companies. As mentioned before, selecting a specific company allows you to keep the same configuration for different projects;
- Project name (required): the name of your Project. It will be shown in the Project card in the Home section of the Console;
- Description: the description of your Project. It will be shown in the Project card in the Home section of the Console.
- Project workflow: you can specify whether to use the Enhanced Project Workflow or keep using the standard one.
Repository: in this phase, you will be asked to choose the basic configurations of the repository associated with your Project and the template to start the Project from. You also will be asked to select a Git Provider, starting from the default one configured for the company:

Git provider: one of the supported Git Provider types. Check out the complete list of supported providers;
cautionAt least one Git Provider must be configured at the company level in order to create the Project.
If there are no configured Git Providers for the company, an informative modal is displayed, and you will not be able to continue.
Git repo path: the path where the configuration will be saved on the Git Provider. It specifies the location of your Project on the Git Provider website;
This field will be precompiled with the Repository path template of the chosen provider, if any, interpolated with the Project identifier.
cautionMake sure the selected Git Provider has the right permissions for creating Projects on the configured path.
Here are some tips on how to correctly configure the property, grouped by Git Provider:
- GitLab
- GitHub
- Azure DevOps
- Bitbucket
It corresponds to the full path of the repository where to create the Project, in the form
groupPath/repoPath, wheregroupPathis the path of the group where the repository will be created andrepoPathis the name of the repository.If the group does not exist, the Project will be created only if the user has the needed permission to create the group in its parent.
For example, if your group is reachable at the URL
https://my-gitlab-host.eu/mia-platform/projects,
then thegroupPathmust bemia-platform/projects.If your group does not exist (in the example groupB):
- /groupA/groupB -> if the user has permission to create groups in groupA, then groupB will be created;
- /groupA/groupB -> if the user has no permission to create groups in groupA, then groupB will NOT be created;
- /groupA/groupB -> if groupA does not exist, then it will NOT be created any group.
It corresponds to the path of an existing organization to which the repository name is appended.
If the organization does not exist, the Project will not be created.
For example, if your organization is reachable at the URL
https://github.com/mia-platform,
and the repository you want to create is namedmy-project, then the corresponding path ismia-platform/my-project.There are two different possibilities: use an already existent Azure DevOps Project with multiple Console Project inside it or create an Azure DevOps Project for each Console Project.
The path should be:
organization-name/azure-devops-project-name/_git/repository-name. If the Azure Devops project already exists (e.g. if the project at the urlhttps://dev.azure.com/mia-platform-devops/Testexists) it will be created a new repository for the Console project configurations.Otherwise, if the Azure Devops project does not exists, it will be created (if permission are enough).
It corresponds to the path where your Bitbucket Project is reachable with the repository name appended: the pattern is projects/project-code/repository-name.
For example, if your Project is reachable at the URL
https://bitbucket.mia-platform.eu/projects/Test,
and the repository is calledmy-repository, then the path must beprojects/Test/my-repository.Visibility: the visibility states the status of your Project once it will be saved on the Git Provider. Either one of the following:
public: the repository can be accessed and viewed by anyone, including non-authenticated users;internal: the repository can be accessed and viewed by any authenticated user within the same Git Provider instance or organization;private: the repository can only be accessed and viewed by users who have been explicitly granted access by the repository owner.
Template (required): the template used by your Project, selected from a list of pre-configured templates. It adds pre-filled configurations to your Project.
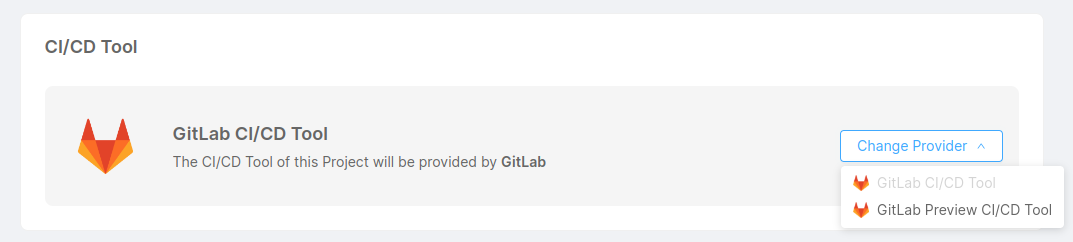
CI/CD Tool: one of the CI/CD providers configured for the specified Company.
Environments: in this phase, you will be asked to review all the details regarding the environments that will be created for the Project:
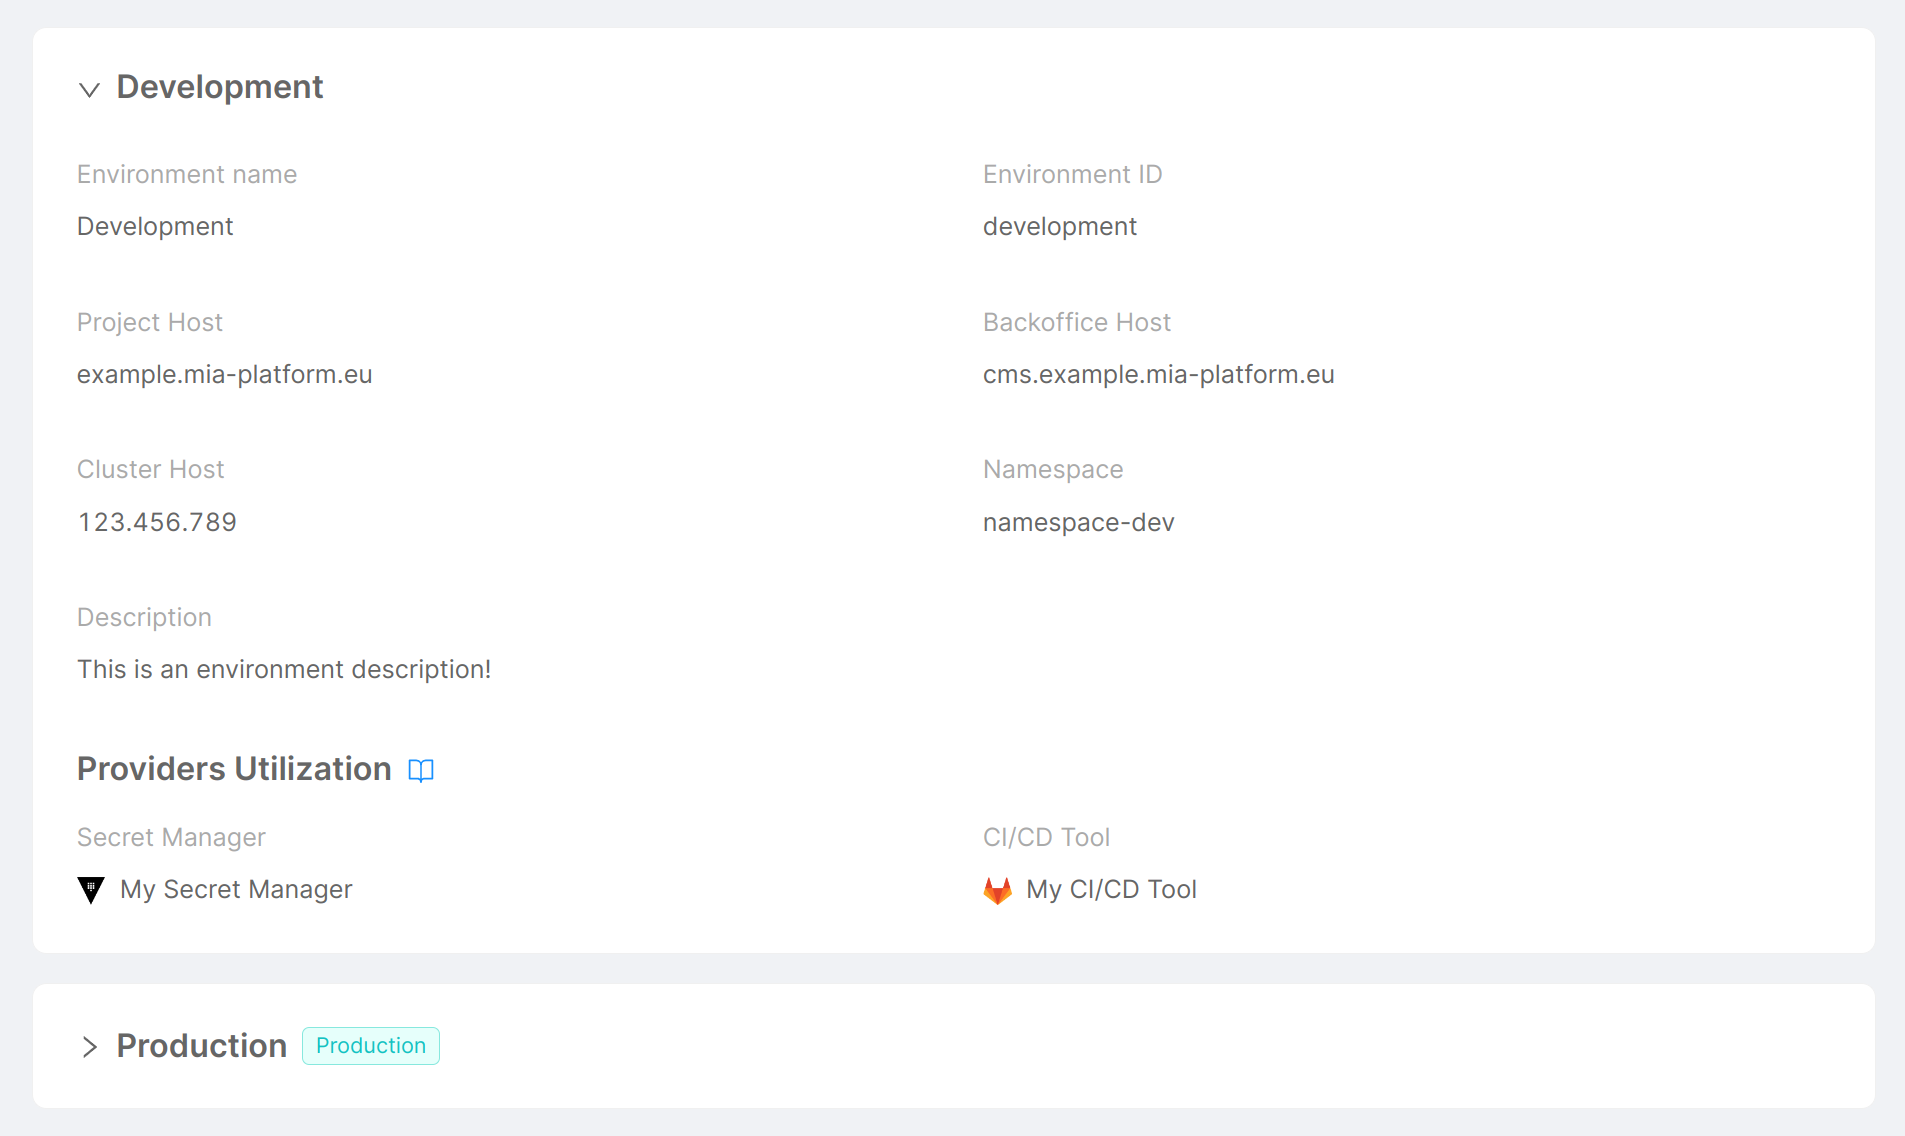
- Environment name: the name given to your environment;
- Environment ID: the human-readable ID set to your environment;
- Project Host: the host which exposes documentation and APIs;
- Backoffice Host: the host which exposes CMS and backoffice APIs;
- Cluster Host: the IP of the Kubernetes cluster where the Project will be deployed;
- Namespace: the namespace taken from Kubernetes;
- Description: the description of your environment;
- Secret Manager: the provider configured as a Secret Manager for the environment;
- CI/CD Tool: the provider configured as a CI/CD Tool for the environment.
Once your Project has been created, you will be redirected to the Project Overview area.
Here you will be able to see the Project basic settings, the Project environments and a list of environment variables:
Environment Variables
Once you create a new Project, your Project will already include variables.
Some variables will be already pre-filled from the Project or the company default settings, such as _CMS_IMAGE_NAME_, _LOG_LEVEL_, and _CRUD_LIMIT_CONSTRAINT_ENABLED_, while others will not be pre-filled, such as _NOTIFICATIONS_COLLECTION_ROUTES_ and _NOTIFICATIONS_SERVICE_PATH_.
All variables are mandatory, except for:
_CRUD_LIMIT_CONSTRAINT_ENABLED_;_NOTIFICATIONS_SERVICE_PATH_;_NOTIFICATIONS_COLLECTION_ROUTES_.
All mandatory variables that are not pre-filled, such as _MONGODB_SHORT_URL_, _MONGODB_URL_, and _REDIS_HOSTS_, need to be manually configured.
Namespaces
The Console automatically tries to create the namespace for each environment in the Project, and if the creation is successful it also sets the following labels in the namespace:
| Label | Value |
|---|---|
mia-platform.eu/company | tenantId |
mia-platform.eu/environment | envId |
mia-platform.eu/project | projectId |
After the Project creation phase, you have to commit and deploy your new Project to effectively conclude the process.
Project Metrics
When a production environment is defined for a Project, a preview of its Kubernetes Metrics will be rendered inside the related card on the Home Page. These metrics will show the following information:
- Environment name;
- Status (healthy, down);
- Number of pods up and running;
- CPU usage;
- RAM usage.