Create Microservice from Template
Following we will see how to create a Microservice using the Console.
The following guide is generic, so you can follow it to create any type of Microservice from template.
You can read here a dedicated guide about creating from the Node.js Template
1. Microservice creation
In the Console, follow these steps:
- Go to
Design sectionand click onMicroservices - Click on
Create a Microservice: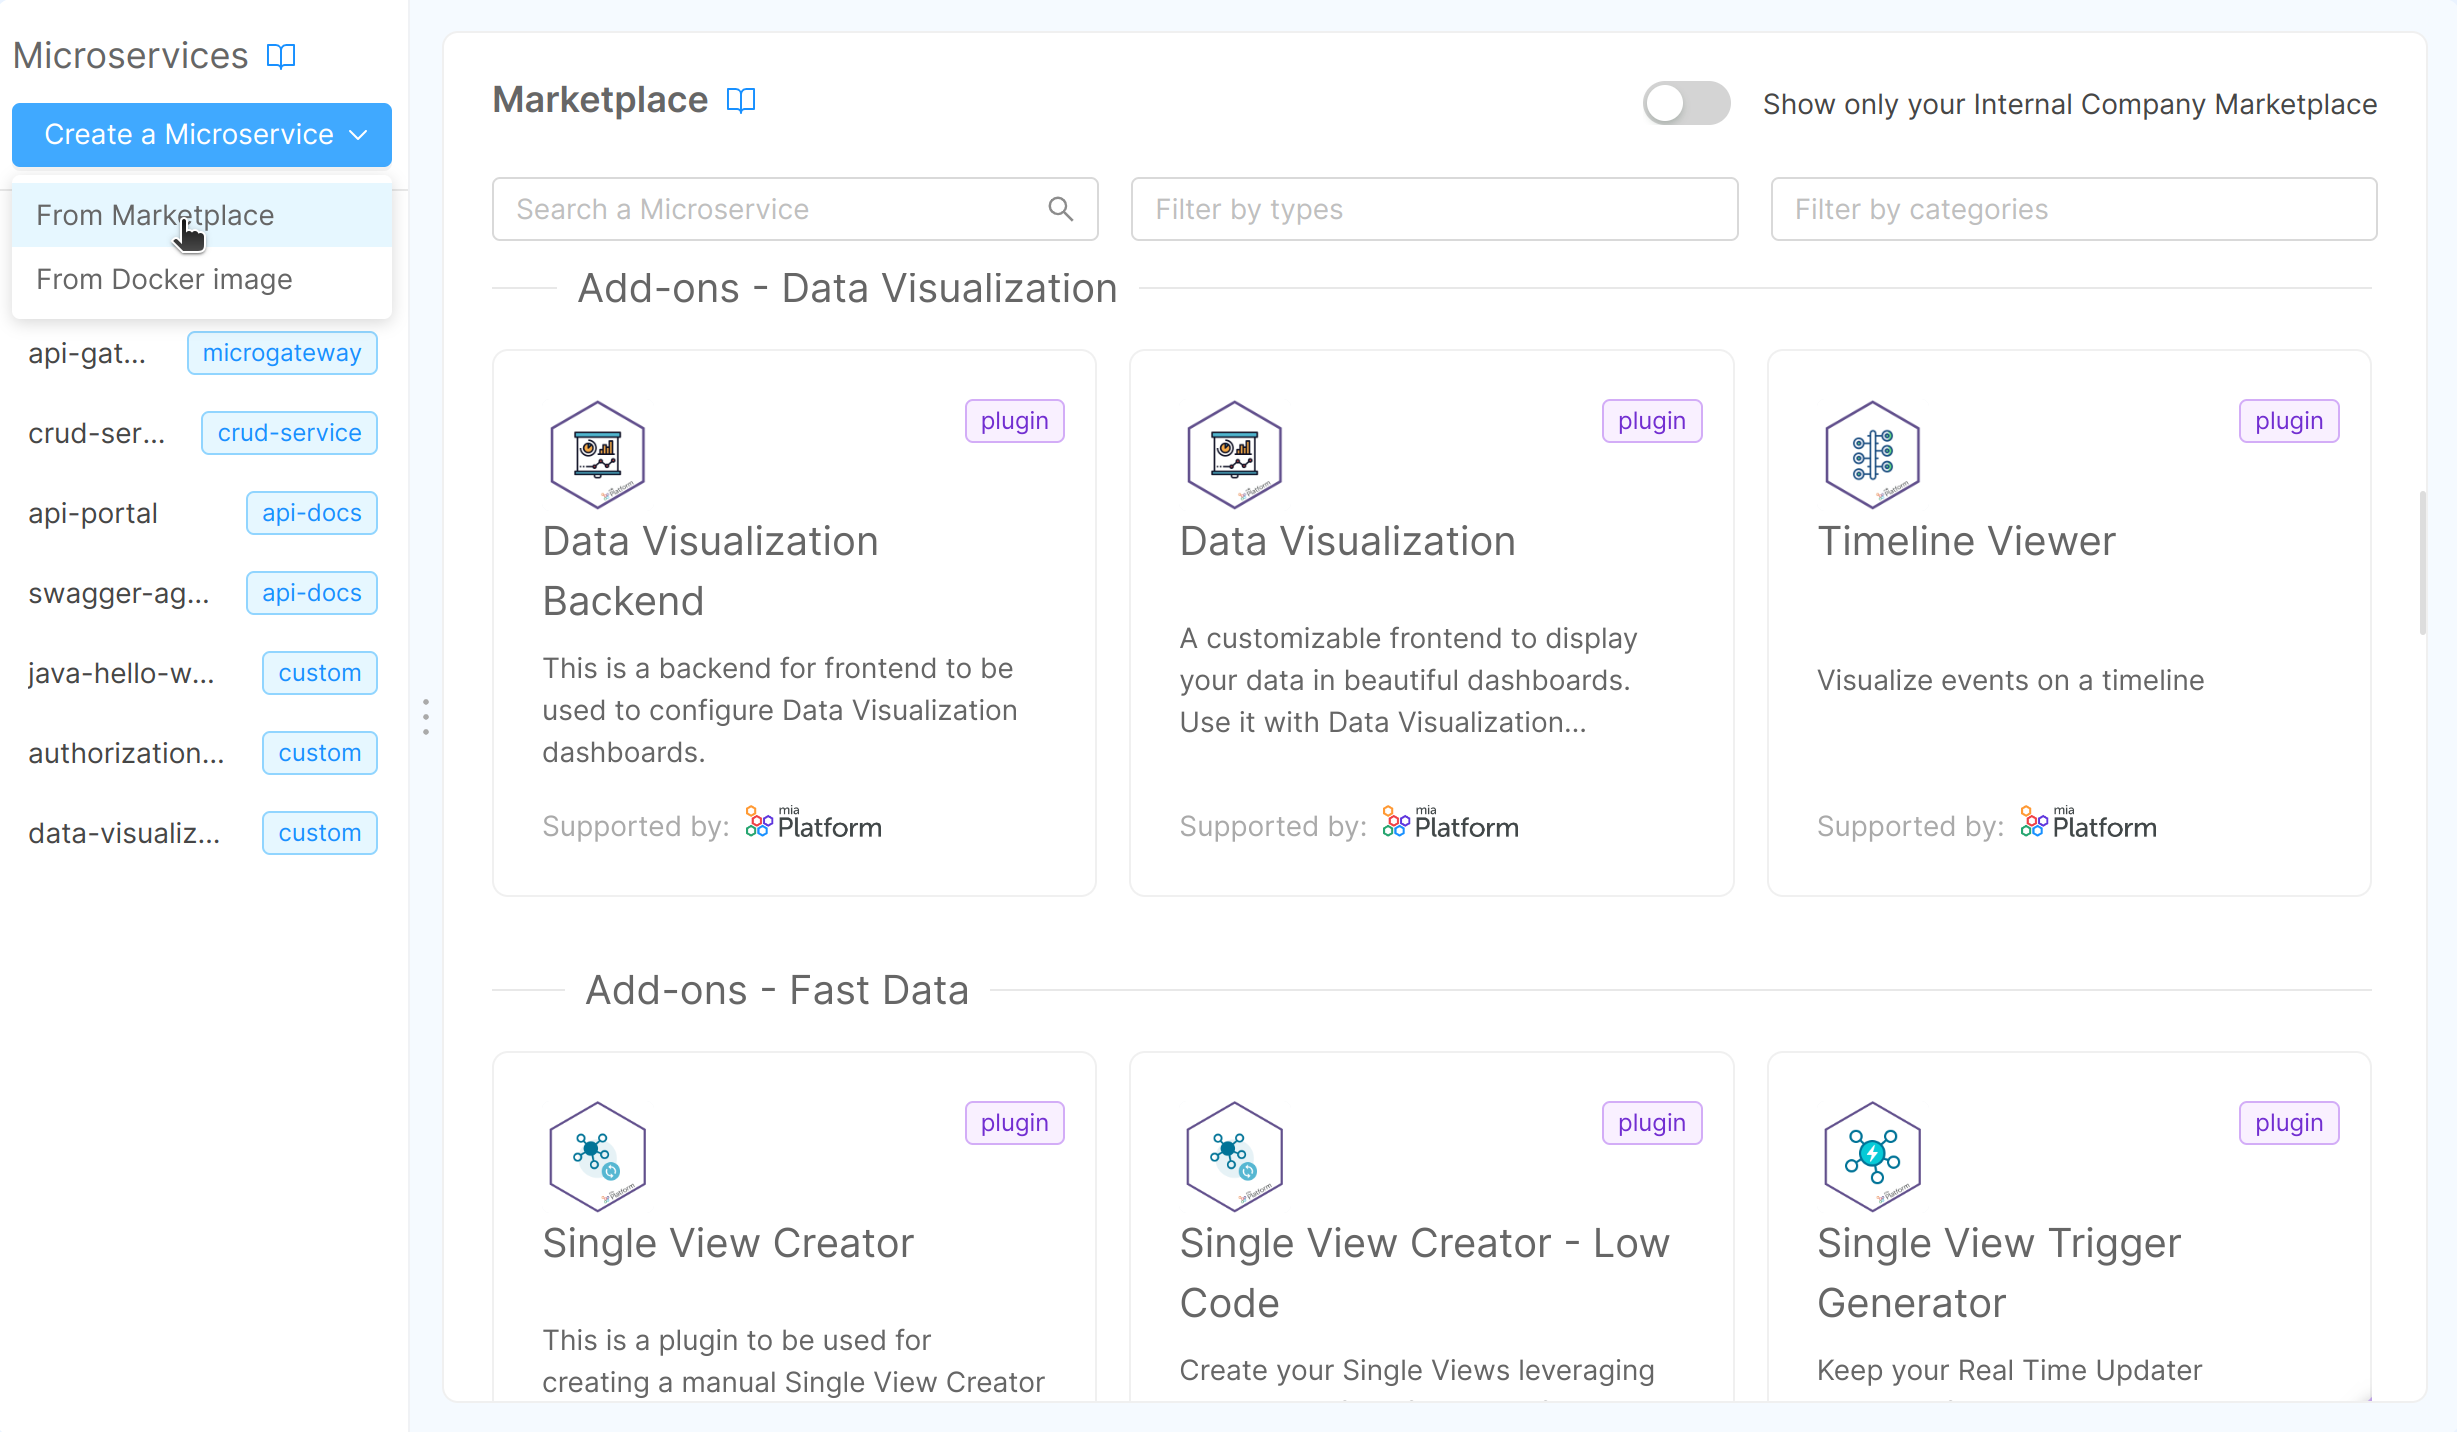 You can search for a template, adding
 Templatesto types filter. Each template belongs to specific Category. You can filter by category usingFilter by categoriesfilter. - Select a Template and add the Microservice information:
- Name of the Microservice (required): this is the internal hostname
- Description (optional): this is the description of your Microservice
- GitLab Repository owner (required): you have to select, from a list of options, where you want to save your microservice
- GitLab Repository name: the gitlab repository name that you want for your Microservice
- Docker image name: the docker image name, you can leave the default one too. You can choose the Container Registry from a dropdown list, which contains the Container Registries configured in the Project Settings.
- Then click on
Createbutton
Now you have a customization interface and you can optionally customize some configuration if you want.
By default the standard Kubernetes configurations are enabled, providing the default yaml configurations, but you can use your custom files by enabling Raw manifest configuration mode
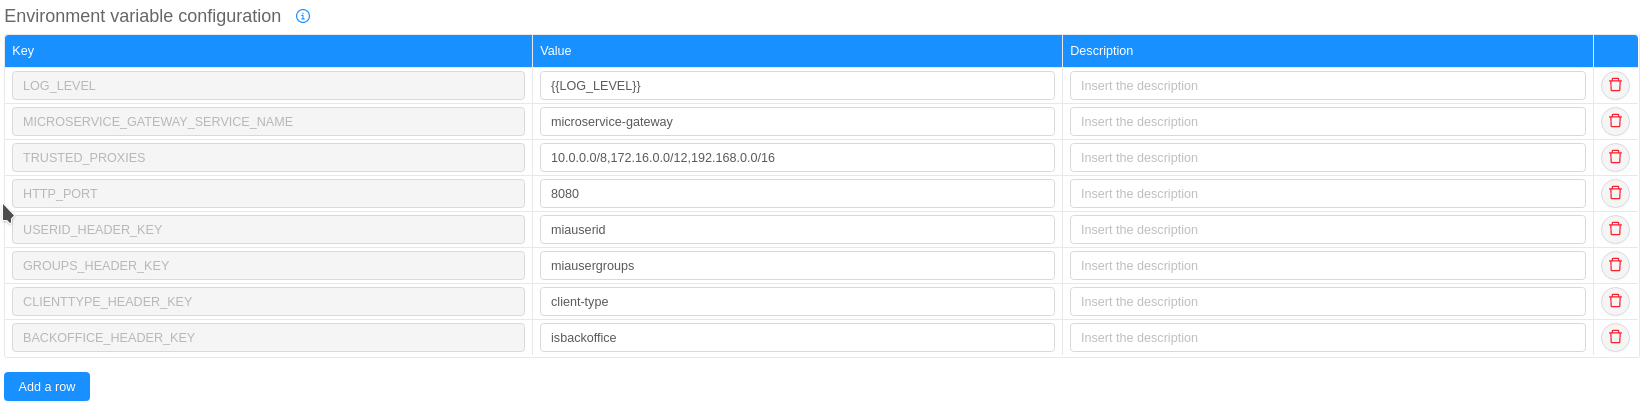
In the Environment variable configuration section you can customize the environment variables.
2. Creating the endpoint
Now we need an endpoint to call to access our Microservice.
Following the steps for the creation of an endpoint:
- Go to
Design sectionand click onEndpoints - Click on
Create new endpoint - Insert the endpoint data:
- base path: the endpoint base path
- type: select Microservice
- Microservice: select the Microservice that you have just created
- description: the endpoint description
- Click on the
Createbutton and your endpoint will be created
3. Save the project
Finally it's time to save our configuration, so:
- In the main navbar, on the top, click on
Commit & Generatebutton - Insert a commit title
- Insert a commit message
4. Deploy the project through the API Console
In order to have our Microservice up and running follow these steps:
- Go to
Deploy sectionand click onEndpoints - Select the environment and the branch to deploy
- Click on the
Deploybutton - Wait for the end of the deploy process
Now your Microservice should be up and running, you can check it calling the /-/healthz route. You should get a response like this:
![]() .
.
The status property should be OK.
Trough the Log & monitoring section you can monitor the status of the related Microservice container