Configure a New Environment
After you have followed the steps needed to add a new environment to your Console project, you must properly configure your project on your Git provider to allow the Console to successfully run the deploy task.
Enable the Pipeline
To enable deployment on the newly created environment, you will need to manually edit the project CI file to be able to deploy. The manual operations described in this guide are to be repeated in each branch for which you want to enable deployment to the new environment. To do this, you can replicate the same commit on all the branches for which you want to enable deployment (working on one branch and then cherry-picking the commit on the others), or rebase from the main branch.
Since each environment is associated with a Kubernetes cluster, the following information needs to be added to the CI file:
- cluster URL, in order to allow the environment to connect to the cluster;
- cluster Service Account Token, needed for authentication of the namespace created by the Console;
- cluster CA, in order to verify the identity of the cluster;
- environment variables prefix, in order to be able to configure the secreted environment variables needed to use the microservices.
A couple of example snippets to be added to the CI file are shown below:
- GitLab CI (using Mia-Platform template)
- GitLab CI
include:
  # job template
  - project: "platform/pipelines-templates"
    file: "/deploy/deploy-job.yml"
    ref: "master"

<environment-id>:
  stage: release
  extends: .deploy_job

  variables:
    KUBE_URL: "${KUBE_CLUSTER_URL}"
    KUBE_TOKEN: "${KUBE_CLUSTER_TOKEN}"
    KUBE_CA_PEM: "${KUBE_CLUSTER_CA_PEM}"
    ENVIRONMENT_PREFIX: "<environment-variables-prefix>"

  only:
    variables:
      - $ENVIRONMENT_TO_DEPLOY == "<environment-id>"
In this example, the reference CI tool is GitLab and therefore the file to edit is .gitlab-ci.yml.
The user has added as KUBE_CLUSTER_* variables the required information about the target cluster and used their value to set up the standard
KUBE_URL, KUBE_TOKEN, and KUBE_CA_PEM that our scripts use by default.
The only clause is used to specify that the Console will call the pipeline and run the pipeline jobs only when the ENVIRONMENT_TO_DEPLOY
environment variable is set to the chosen environment-id. This may differ in your pipeline.
The deployment instructions are here inherited from the deploy-job.yml template file, which is defined in the include section and whose commands are extended,
and applied to the specific environment, in the release stage.
<environment-id>:
  variables:
    KUBE_URL: "${KUBE_CLUSTER_URL}"
    KUBE_TOKEN: "${KUBE_CLUSTER_TOKEN}"
    KUBE_CA_PEM: "${KUBE_CLUSTER_CA_PEM}"
    ENVIRONMENT_PREFIX: "<environment-variables-prefix>"

  scripts:
    - your script to deploy to the Kubernetes cluster

  only:
    variables:
      - $ENVIRONMENT_TO_DEPLOY == "<environment-id>"
In this example, the reference CI tool is GitLab and therefore the file to edit is .gitlab-ci.yml.
The user has added as KUBE_CLUSTER_* variables the required information about the target cluster and used their value to set up the standard
KUBE_URL, KUBE_TOKEN, and KUBE_CA_PEM that tools like kubectl use by default.
The only clause is used to specify that the Console will call the pipeline and run the pipeline jobs only when the ENVIRONMENT_TO_DEPLOY
environment variable is set to the chosen environment-id. This may differ in your pipeline.
The deployment instructions are here not inherited from any template file, and the user must enter them manually within the script section.
Further information about the variables used by the pipeline and how to configure it can be found here.
Setup Git Provider
As well as enabling the pipeline, Git provider setup must also be performed manually on each branch for which you want to enable deployment on the newly created environment. Git provider configuration varies by project type: Plain or Kustomize.
If you are unsure of the type of your project, you can verify this information through the CMS.
Another clue might be the presence of the overlays folder within the project repository, which typically indicates a Kustomize project.
Plain Project
If your Console project has resources not managed by the Console in the form of yaml files within subfolders of the Configurations folder of the repository,
and if you want these resources to be used by the newly created environment, you will need to create a new subfolder (within Configurations) that has your environment ID as name,
and add those custom files inside it.
For setting up a starting point for public environment variables, you can also create a new file inside the variables folder named <environment-id>.env,
and then copy/paste the contents from one of the other env files within the folder, appropriately changing the variables or their values to fit the new environment.
Kustomize Project
If your project is of the Kustomize type, you need to create a new subfolder that has your environment ID as name within the overlays folder.
In case of, for example, an environment whose ID is "DEV", the subfolder will then be overlays/DEV/.
In this folder you have to create at least two files:
variables.env, which will be filled with the public environment variables of the project through the "Public Variables" section in the Design area. For setting up a starting point for public environment variables, you can also create thevariables.envfile and then copy/paste the contents from one of the othervariables.envfiles contained in a subfolder ofoverlaysrelated to another environment, appropriately changing the variables or their values to fit the new environment;kustomization.yaml, which is used to patch, via Kustomize, the specified resources. The file must contain at least the following snippet:
apiVersion: kustomize.config.k8s.io/v1beta1
kind: Kustomization
resources:
- ../../configuration
Within the kustomization.yaml file you can declare paths to granularly patch specific files via Kustomize. More information about Kustomize can be found here.
If you are a PaaS client or use Traefik, you will need to configure a third file called default.ingressroute.yml, which is needed to expose services deployed in your project.
More information about the IngressRoute configuration can be found here.
In addition to these files (variables.env, kustomization.yaml, and eventually default.ingressroute.yml), if you have custom files that are not handled by the Console,
you will also need to add these within the overlays/<environment-id>/ folder.
Setup Environment Variables & Commit
The last step necessary to enable the release on the new environment is the setup of the environment variables.
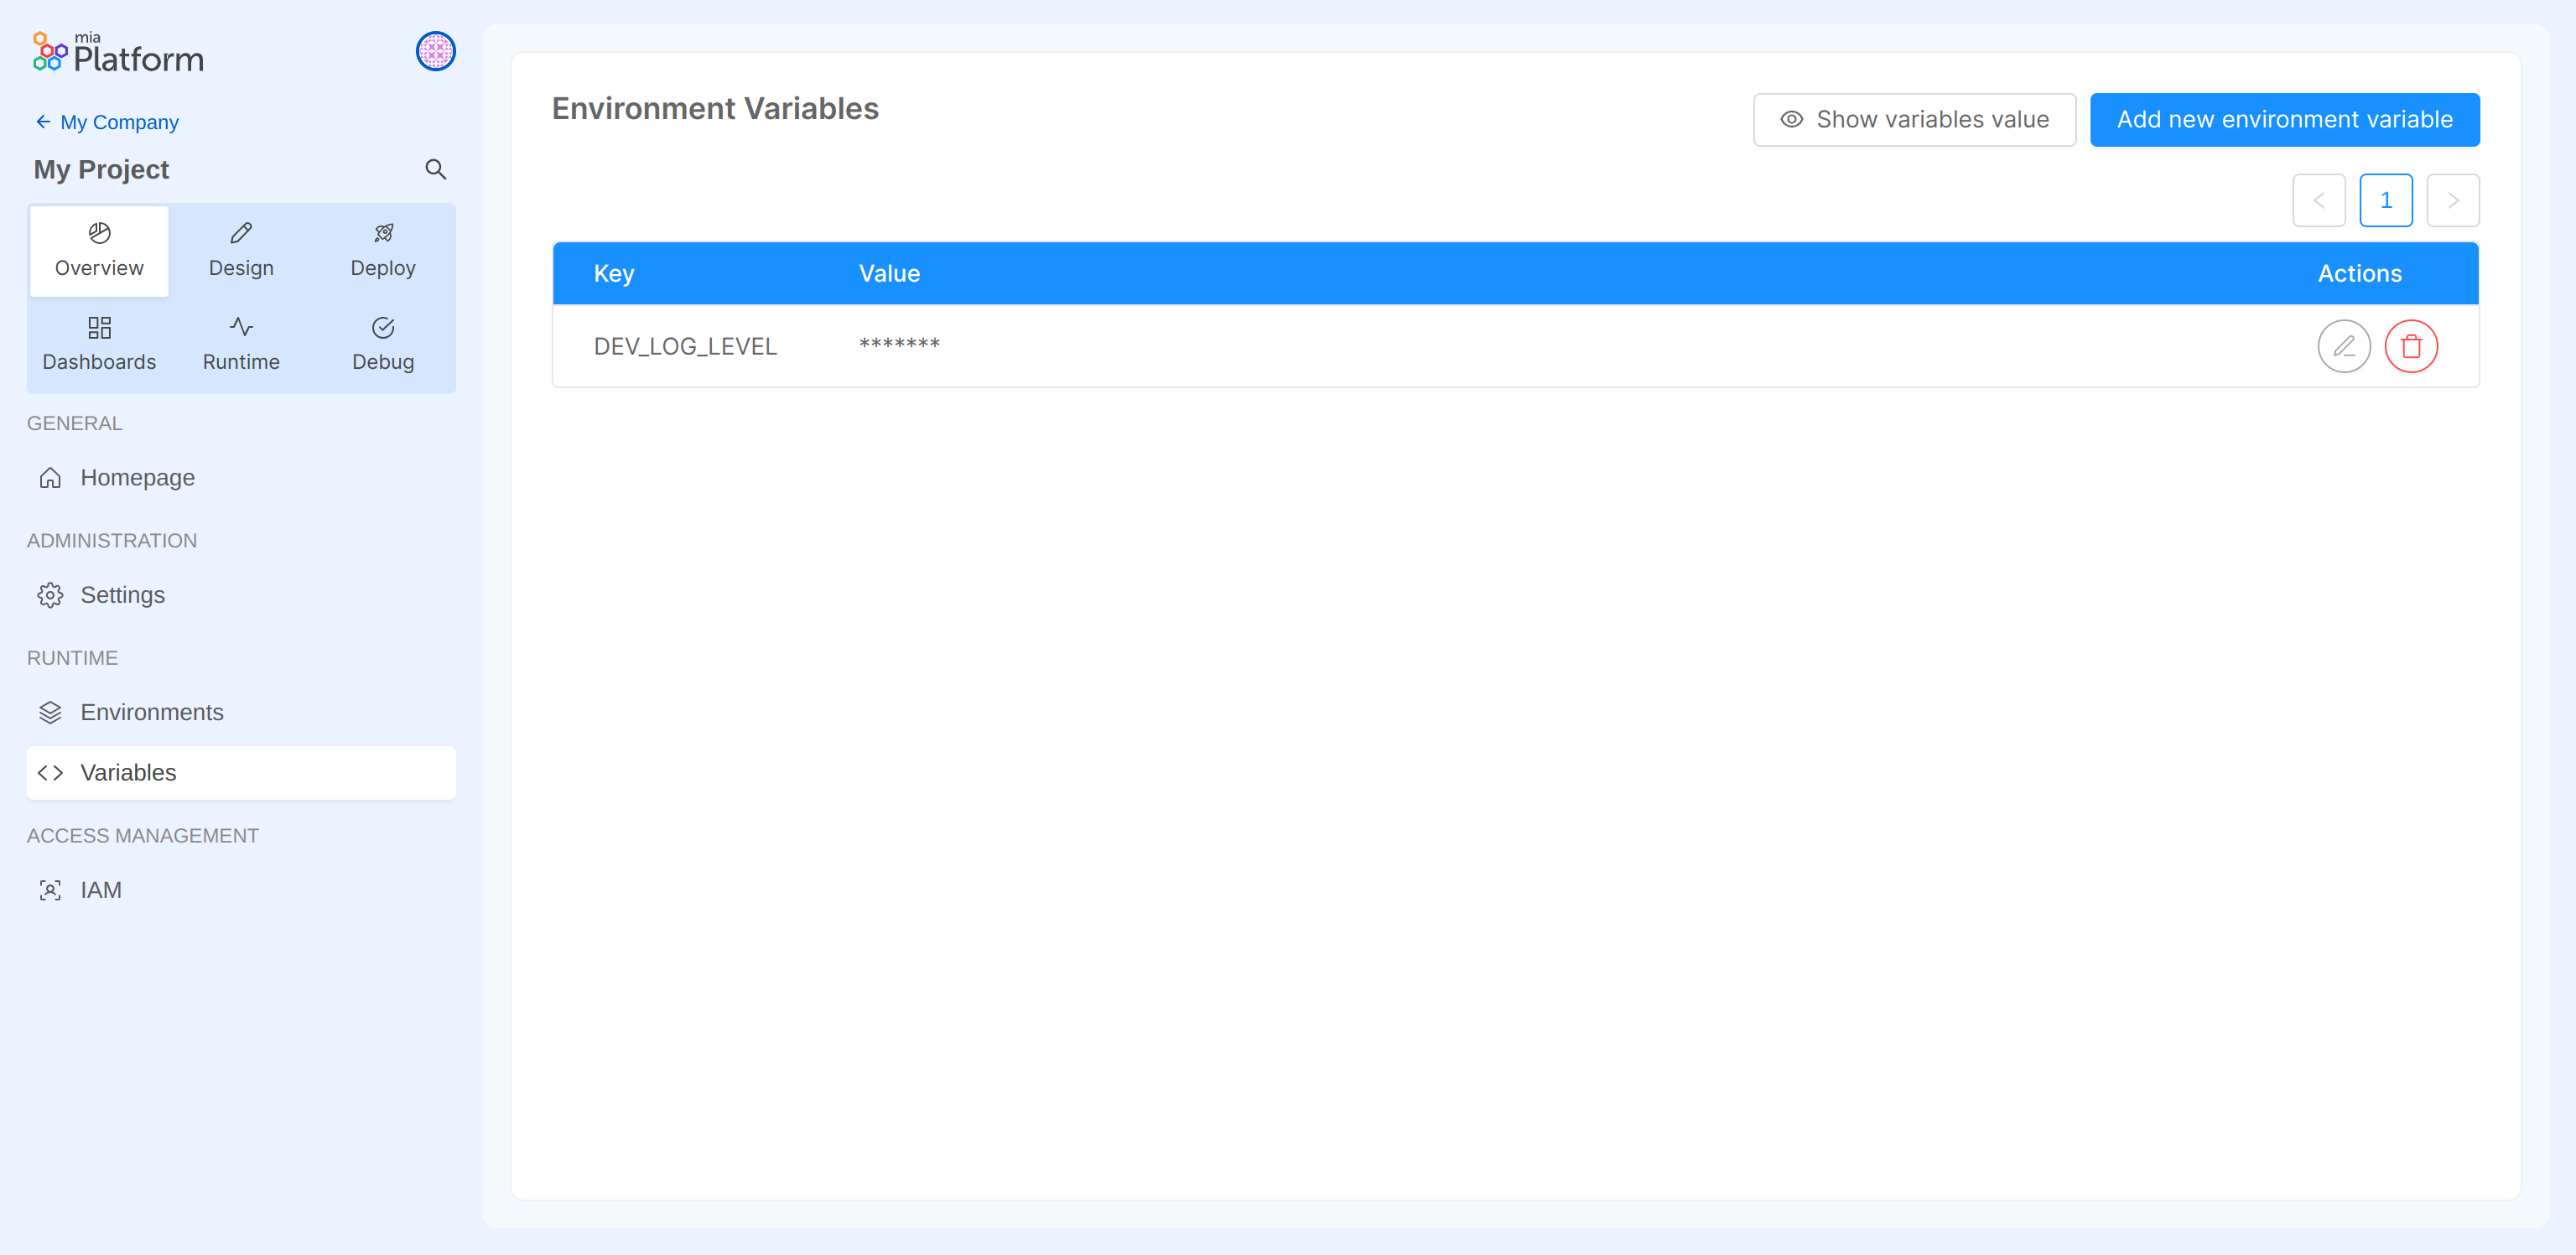
Regarding secreted environment variables, you can set them at the project level in the "Variables" section of the "Overview" area. To access the "Variables" section and add environment variables, make sure you have the permissions needed to manage secreted environment variables from the Console.
Remember to include the environment variables prefix in the secreted variable key to enable it for the new environment.
More information about secreted environment variables and how to add them can be found here.
Regarding public environment variables, you can set them for the specific environment in the "Public Variables" section of the "Design" area.
When saving the configuration, these variables will populate the variables.env file on the project repo.
As well as for pipeline enablement and Git provider setup, this operation is to be repeated for each branch on which you want to enable deployment on the new environment.

More information about public environment variables and how to add them can be found here.
Once you have finished setting the environment variables, remember to save your configuration (thus generating a commit on the project repo). Now you are finally able to deploy to your new environment!